How a Crossbow Works
How a Crossbow Works
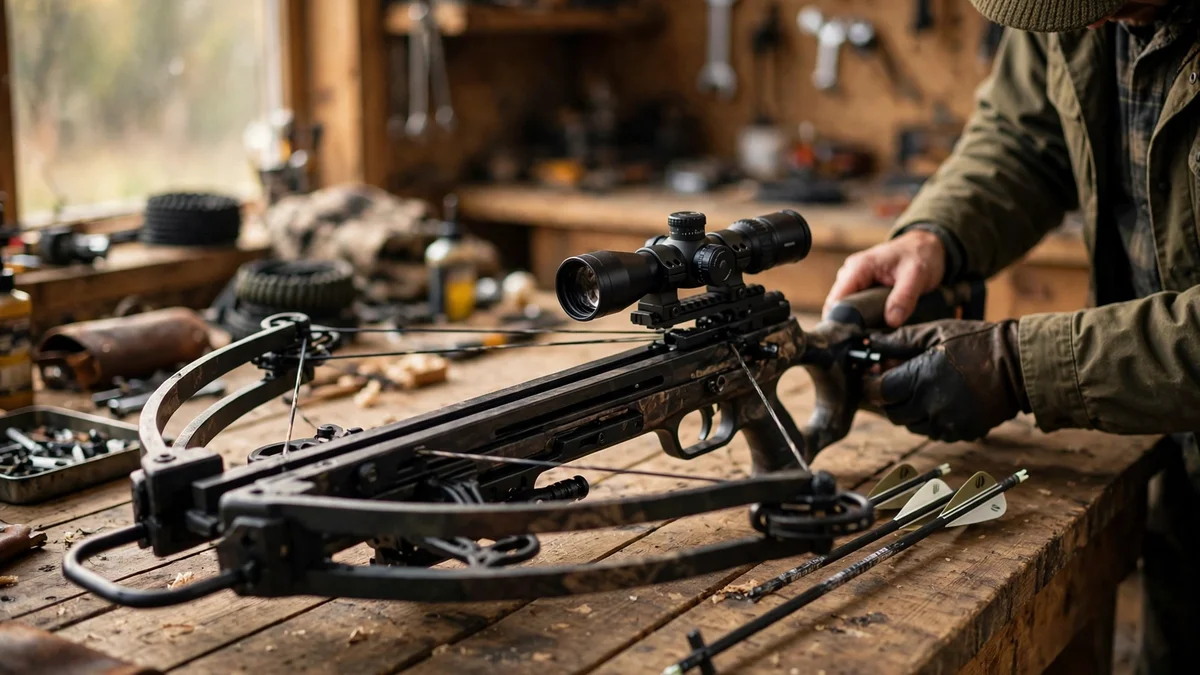
A crossbow is a bow laid sideways on a stock, with a trigger that holds the draw for you. A vertical bow archer holds the full draw weight with muscle power until the moment of release. A crossbow hunter does the hard work once, while cocking, and then the latch carries the load. From that point the bow is a cocked machine waiting for a light trigger pull, and the energy stored in the bent limbs is released in a fraction of a second. This guide walks through that machine step by step: the firing cycle, every part and what it does, the power stroke, draw weight versus kinetic energy, why advertised speed is never the speed you hunt with, how compound cams and reverse draw layouts work, what a dry fire does, and the maintenance that keeps the system working.
The Short Answer
A crossbow works by storing energy in bent limbs and releasing it through a string. You cock the bow, which pulls the string back along the rail and bends the limbs like a drawn spring. A latch inside the trigger box catches the string and holds it, so you carry no draw weight with your arms. You load a bolt and seat its nock against the string, which presses down the anti-dry-fire device and unblocks the trigger. You aim, switch the safety off, and pull the trigger. The trigger moves a small catch called the sear, the latch lets go, and the limbs snap the string forward down the rail. The string pushes the bolt for the full length of the power stroke, typically 10 to 14 inches, and then the bolt flies free at 300 to 500 feet per second. That is the whole machine in one paragraph. The rest of this guide is the detail behind it, and the detail is what keeps you safe and accurate.
A Crossbow in One Picture: the Fifteen Parts
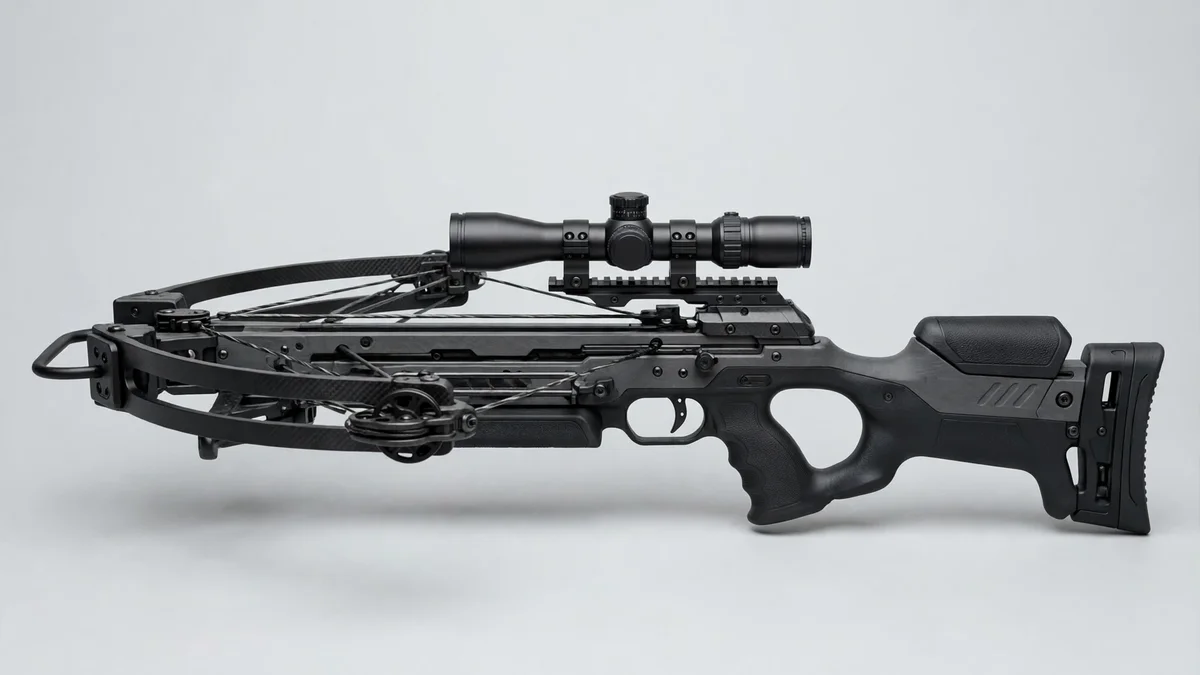
Before the firing cycle makes sense, you need the map. A crossbow looks simple from the outside, but fifteen parts work together on every shot, and a failure in any one of them shows up downrange or, worse, in your hands. Read the table from the shoulder to the front of the bow, the way you hold it. Each label gives the part, what it does, and what goes wrong when it fails.
| Label | Part | What it does | What goes wrong if it fails |
|---|---|---|---|
| 1 | Buttstock and stock | The chassis you shoulder. Everything bolts to it, and it houses the trigger box. | A cracked stock is a structural failure. Stop shooting. |
| 2 | Trigger blade | What your finger pulls. It moves the sear inside the trigger box. | A gritty or creeping trigger hurts accuracy before the bolt moves. |
| 3 | Safety switch | Blocks the trigger until you switch it to fire. It usually engages automatically when the bow is cocked. | Never trust it blindly. It is a small mechanical device and it can fail. Verify by eye every time. |
| 4 | Trigger box (latch and sear) | Grips the cocked string and releases it when the sear moves. | Wax or dirt in the trigger box can stop the string latching. A worn sear can release early. |
| 5 | Flight rail and groove | The track the bolt rides in. It guides the bolt straight while the string pushes it, and it sets the distance of the push. | Dirt, grit, or scoring in the groove chews vanes and serving, and changes friction shot to shot. |
| 6 | Anti-dry-fire lever | A small plunger in the rail, pressed down only by a fully seated bolt. It blocks the trigger otherwise. | Dirt, debris, or a worn spring can defeat it, and it cannot detect a bolt seated badly. |
| 7 | Arrow retention spring | A spring arm that presses the bolt down onto the rail and keeps it seated against the string. | A bent or weak spring lets the bolt lift at the shot, which shows up as vertical stringing on the target. |
| 8 | String (center serving marked) | Transfers limb energy to the bolt. The center serving is the tightly wrapped section that rides the rail and sits in the latch. | Fraying, broken strands, or separated serving change latch engagement and can snap under full draw. |
| 9 | Cams (compound only) | Eccentric wheels at the limb tips that shape the draw force curve and store energy efficiently in a short power stroke. | Bent cams, worn cam tracks, or derailed strings after a dry fire. |
| 10 | Cables (compound only) | Connect the cams to each other and to the opposite limb, and synchronize cam rotation so both limbs release together. | A stretched or frayed cable puts the cams out of time, and accuracy collapses. |
| 11 | Limbs | The springs. They bend on cocking and snap forward on firing. Modern limbs are laminated composites, usually fiberglass with carbon fiber. | Cracked, splintered, or delaminated limbs can fail catastrophically. Inspect them every session. |
| 12 | Riser | The bridge at the front, or near the middle on reverse draw bows, that the limbs mount to. | Loose riser bolts change limb alignment and point of impact. |
| 13 | Stirrup | The metal loop at the front. Your foot anchors the bow to the ground while you cock it. | A loose stirrup is a cocking hazard. Check its screws. |
| 14 | Scope mount and scope | Aims the bolt, with speed calibrated holdover marks, usually 20 to 100 yards. | A loose mount makes zeroing pointless. Verify holdovers at 20, 30, and 40 yards. |
| 15 | Bolt (shaft, fletching, nock, point) | The projectile. The nock meets the string, the vanes stabilize flight, the point is a field point or a broadhead. | A cracked shaft can shatter on release. The wrong nock type is a dry fire risk. |
The Firing Cycle, Step by Step
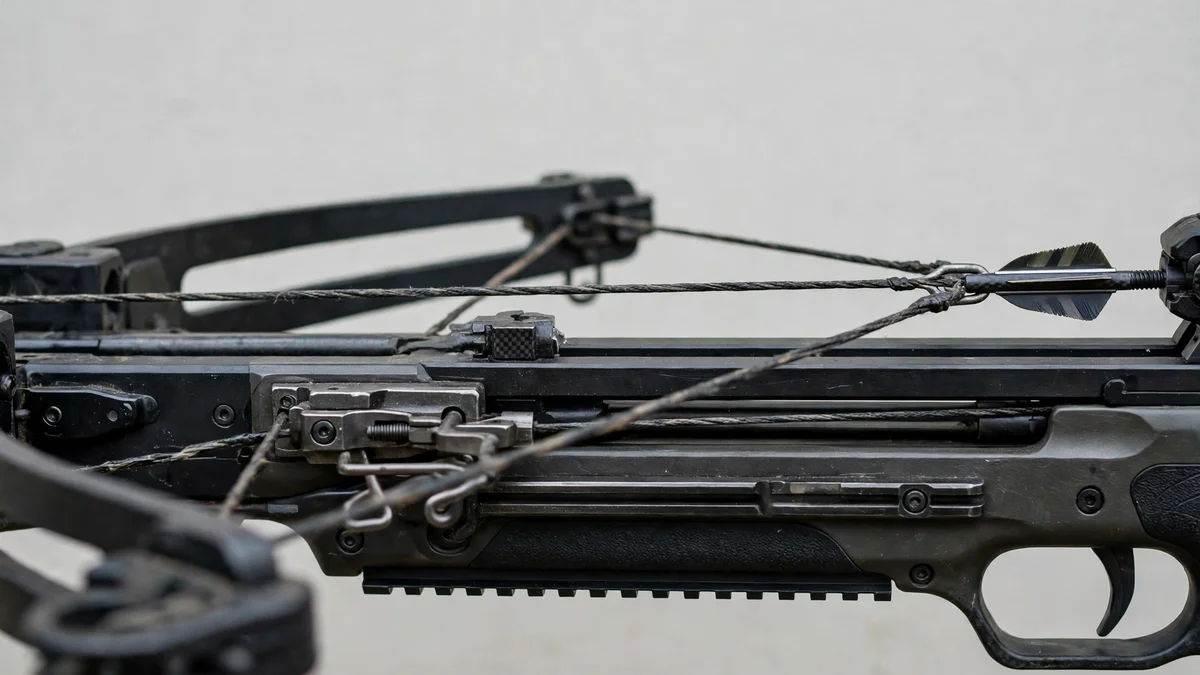
Every crossbow shot follows the same seven steps. Learn them in order, because each step sets up the next one, and most crossbow accidents happen when a step is skipped or rushed.
Step 1: Cock It, Bending the Spring
Cocking pulls the string back along the rail, bending the limbs. The limbs are springs, and bending them stores elastic potential energy. The distance the string travels from rest to cocked is the power stroke, the single most important measurement on a crossbow. A rope cocker, a crank, or an integrated crank all do the same job, pulling the string straight back and centered, and the cocking section below covers each method with its real effort figures. At the end of this step the limbs are fully bent, the string is under 150 to 400 plus pounds of draw force, and all of that energy is waiting in the limbs.
Step 2: The Latch Catches the String
At full draw the string seats into the trigger mechanism, where a latch captures it. Older designs called this part the nut or the string catch. Modern trigger boxes call it the sear assembly, but the job is the same. The latch grips the string and holds it, and the safety typically engages automatically at this point. The bow is now cocked, and you no longer hold any draw weight with muscle power. This is the defining difference from a vertical bow, and it is the whole reason a crossbow can hold 200 pounds of draw weight while you aim calmly. The latch, not your arms, carries the load. If the string does not click firmly into the latch, stop. Do not force it, and do not load a bolt.
Step 3: Load the Bolt and Seat the Nock
With the bow cocked and the safety on, lay a bolt in the flight groove with the cock vane down, and slide it back until the nock seats firmly against the string. That firm seat matters more than most beginners realize. Seating the nock depresses the anti-dry-fire device, a small lever or plunger in the flight deck, and until that device is depressed, the trigger is blocked on bows that have one. A bolt slid back halfway leaves a gap, and on the shot the string jumps that gap and slams into the bolt instead of pushing it smoothly, which costs accuracy and can damage the string. Push the bolt back until you feel it seat, and look at it before you raise the bow.
Step 4: Aim, and the Safety Comes Off
Now you shoulder the bow, take the safety off, and aim through the scope or sight. The arrow retention spring, a small spring arm over the rail, holds the bolt down in the groove so it cannot lift or roll before the shot. A cocked crossbow is a loaded weapon, and the safety is a small mechanical device, not a guarantee. Keep your fingers below the rail at all times, keep the muzzle pointed in a safe direction, and only switch the safety off when you are on target and ready to shoot. If you need to lower the bow, switch the safety back on first. The full safety habits belong in the safety rules for handling every bow, and I recommend reading it before your first session with a new bow.
Step 5: The Trigger, the Sear, and the Release
Pulling the trigger moves the sear, the small catch that holds the latch. The latch pivots or drops, and the string is freed. The clever part is the mechanical advantage. A light trigger pull, typically 1.5 to 3.5 pounds on current models, releases a string held under 150 to 300 plus pounds of draw force. The trick is old. The Chinese bronze trigger lock, made from three interlocking cast pieces, worked in sequence with two bearing surfaces that gave the same mechanical advantage, so a light pull released a heavy draw. Modern trigger boxes use the same principle with machined steel parts instead of bronze. The sear is the catch, the latch is the part that grips the string, and the trigger blade is what your finger moves. A gritty or creeping trigger, where the blade moves in stages before the release, hurts accuracy before the bolt moves, because your hand is already moving while you are still trying to aim.
Step 6: The String Pushes the Bolt Down the Rail
The moment the latch lets go, the limbs snap forward and drive the string along the rail. The string pushes the bolt for the full length of the power stroke, typically 10 to 14 inches on a conventional crossbow, longer on reverse draw designs. This is the acceleration phase, and it is violent and brief. The bolt goes from standing still to 300 to 500 feet per second in the space of a handspan. Some of the stored energy never reaches the bolt. Friction between the string and the rail turns energy into heat, the limbs and string themselves have mass that must be moved, and some energy leaves as noise and vibration. That is why a dry rail costs speed, why a heavy string costs speed, and why the power stroke matters so much: the longer the string pushes, the more of the stored energy becomes bolt speed.
Step 7: The Bolt Flies Free
At the end of the power stroke the string reaches its rest position and stops. The bolt, now moving at full speed, leaves the string and flies free. The fletching stabilizes it in flight, keeping it from pitching or swaying. From here on the bolt is a projectile, and the bow has no more say in where it goes. That is why everything before this step matters so much: the rail guided it straight, the string pushed it evenly, and the nock seated firmly.
The Parts, and What Each One Actually Does
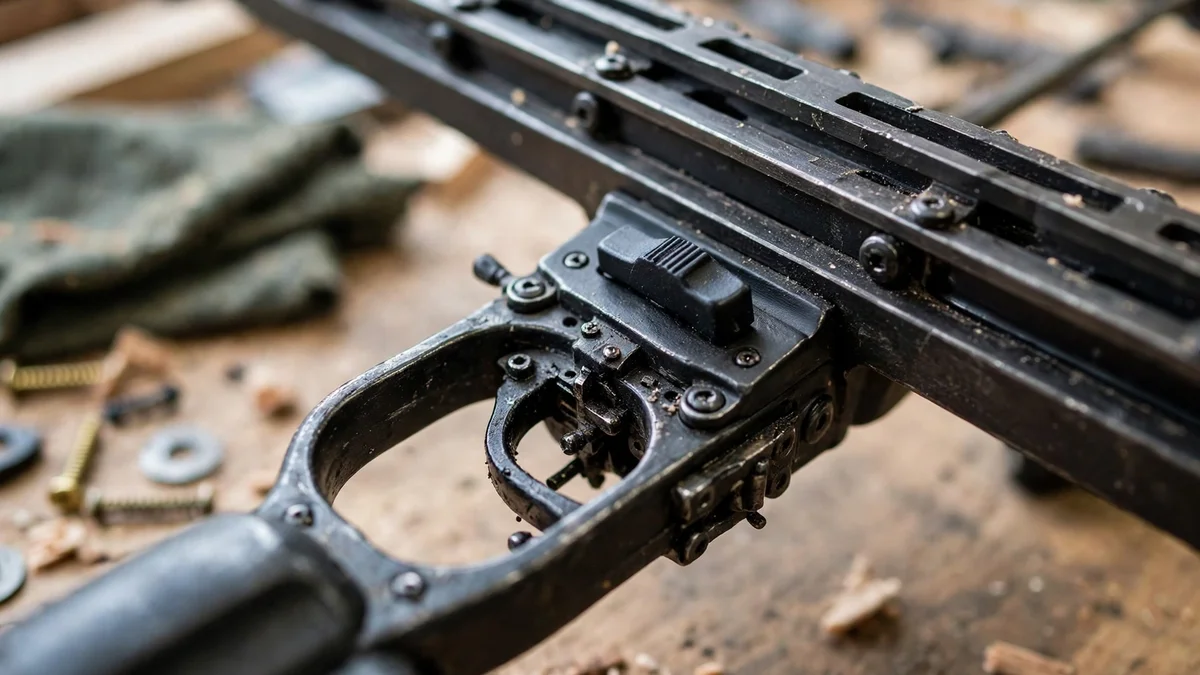
The table above gives every part its function and its failure mode, so this section adds only the mechanics that explain why each part is built the way it is. The stock is the chassis, and a cracked stock is a structural failure, so stop shooting. The limbs are the spring, modern laminated composites of fiberglass with carbon fiber, and they deserve an inspection every session, including a fingernail run along the edges to catch hairline cracks. The string is the link that transfers limb energy to the bolt, and its center serving takes more abuse than any other part, so fraying or separated serving is a stop shooting sign. On a compound bow the cables synchronize the cams, and cam and cable work needs a bow press, so it belongs in a pro shop. The trigger box holds the latch, the sear, the safety, and the anti-dry-fire device in one housing, and wax or dirt in it can stop the string latching, so keep wax and lube out of it. The scope aims the bolt with speed calibrated holdover marks, and a loose mount makes zeroing pointless. The full cocking methods live in the step-by-step cocking walkthrough guide, and optics are compared in the what to look for in a scope guide.
The Bolt: the Other Half of the Machine
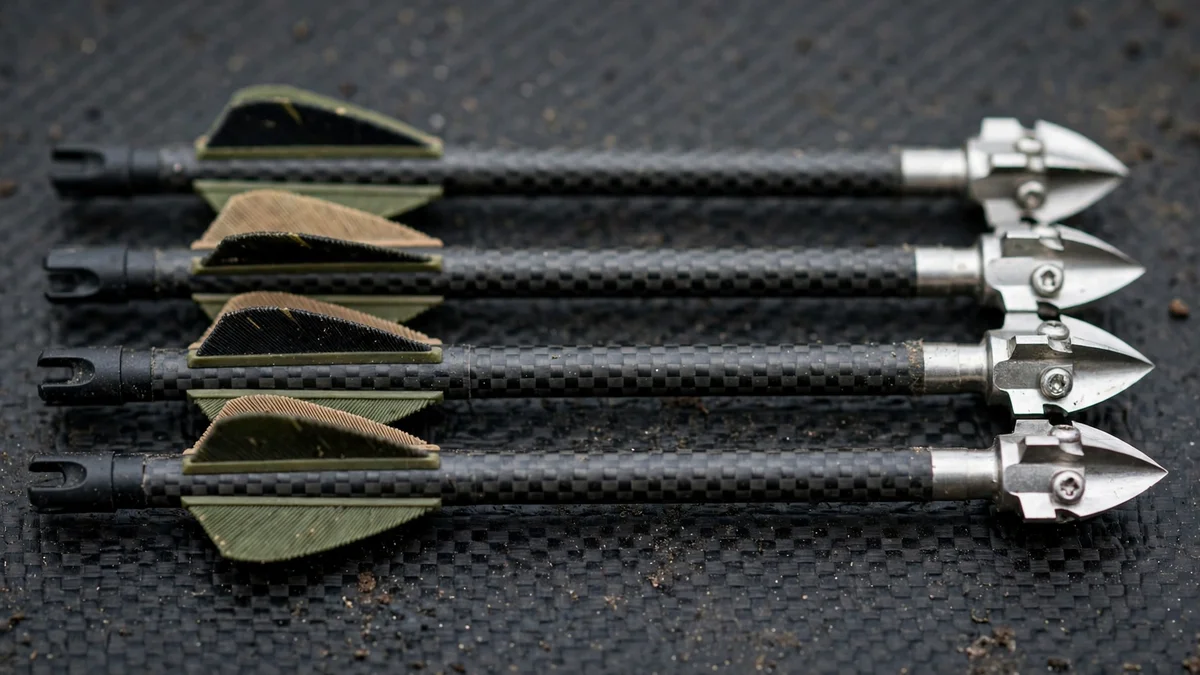
A crossbow without a bolt is a spring with nothing to push. The bolt is the other half of the machine, and getting it wrong is one of the fastest ways to damage a bow or miss a deer. Modern bolts are carbon fiber or aluminum, or a carbon core with an aluminum jacket. They are not wood. Wood shafts splinter under crossbow launch forces, and the old line that bolts are often made of metal or wood is wrong. Correct that in your head now, because everything about bolt selection follows from the material: stiff, straight, and built to survive an explosive launch.
| Bolt part | Function | What to know |
|---|---|---|
| Shaft | The main body. Must be stiff, with the correct spine, to survive the launch without flexing erratically. A vertical bow arrow is too weak for a crossbow. | Typical hunting length is 20 inches. Lengths run about 15 to 22 inches across models. Always use the length your manual specifies. A bolt shorter than the rail is dangerous. |
| Insert | A small piece glued into the front of the shaft, with a thread for the point or broadhead. Brass inserts add front weight for better front of center balance. | A loose insert means a wobbling point. Check tightness before every session. |
| Nock | The plastic or aluminum piece at the rear that meets the string. Types: flat nock, half-moon nock, capture nock. | The wrong nock type for the bow is a dry fire risk. Flat, half-moon, and capture nocks are not interchangeable. Check the manual. Some makers use proprietary nocks. |
| Fletching (vanes) | Three or four short, stiff plastic vanes near the rear. They stabilize the bolt in flight and stop it pitching or swaying. Shorter and stiffer than vertical bow fletching so they clear the rail. | Damaged vanes cause keyholing, sideways impact, and poor groups. |
| Field point | A pointed practice tip, typically 100 to 125 grains. For target practice only. | Practice with the same weight as your hunting broadhead, or point of impact shifts. |
| Broadhead | The hunting tip. Fixed blade, removable blade, or mechanical (expandable) blade. Typically 100 to 125 grains, some 150 grain. | Fixed blades can plane at crossbow speeds. Mechanicals fly closer to field points. Test both at 30 yards before hunting. |
Bolt weight is a system, not a single number. Shaft plus insert plus point plus nock plus vanes, finished hunting bolts commonly run 350 to 480 grains. Always meet the manufacturer minimum bolt weight. A bolt that is too light absorbs too little energy, which damages the bow in the same way a dry fire does, only less severely. If you are choosing bolts, the how to pick the right bolts guide covers six picks with nock compatibility notes. Nock type deserves special attention, because it is the most common beginner mistake in this section. A flat nock sits square against the string, a half-moon nock cups it, and a capture nock wraps around it. Each bow is built for one of them, and using the wrong one can leave the string pushing off center, or the bolt seated badly enough that the anti-dry-fire device never engages. Read the manual and match the nock.
Power Stroke: the Number That Explains Everything
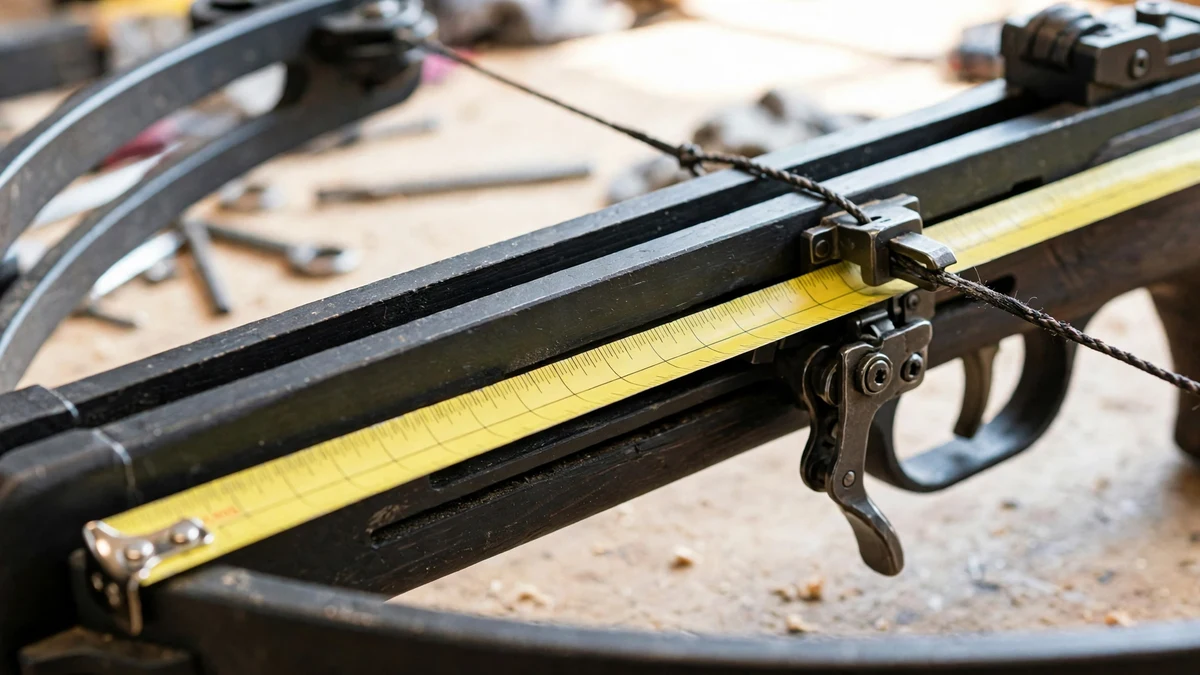
Power stroke is the distance the string travels from its rest position to its cocked position. It is the distance over which the string pushes the bolt. It is not the same as draw length on a vertical bow, and a crossbow has no draw length in the vertical bow sense. A typical conventional crossbow power stroke is 10 to 14 inches. Two verified examples make it concrete: the R29X has a 12.5 inch power stroke, and the R26X has a 9.5 inch power stroke.
Why it matters comes down to one plain rule: work equals force times distance. A longer power stroke gives the limbs more distance to accelerate the bolt, so it stores and delivers more energy at the same draw weight. That is why a crossbow needs 150 to 400 plus pounds of draw weight to do what a 40 to 80 pound longbow does with a roughly 22 inch power stroke. A short power stroke must be compensated with brute draw weight. A long power stroke lets a bow reach the same speed with less draw weight, which means less vibration, less noise, and less string wear.
Draw Weight vs Kinetic Energy: Stop Confusing Them
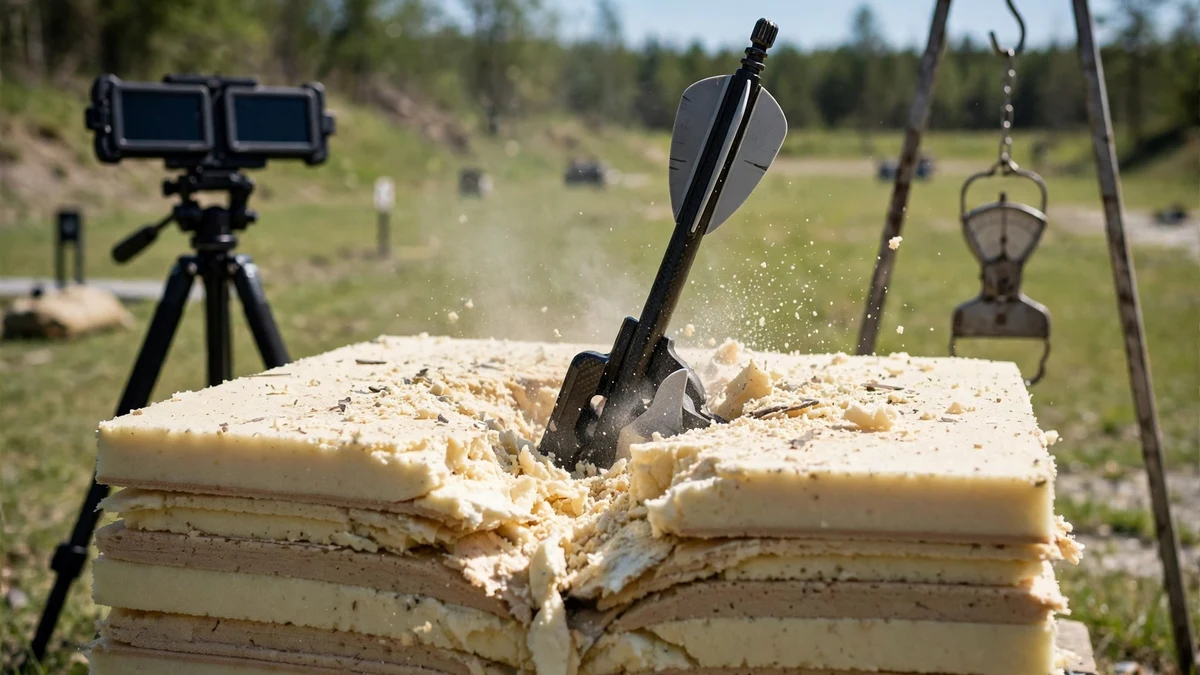
Draw weight and kinetic energy sound like two ways of saying the same thing. They are not, and confusing them is the most common mistake beginners make when they shop for a crossbow.
Draw Weight Is a Force, KE Is the Hit
Draw weight is the peak force needed to pull the string to full cock, in pounds. It is a force, not an energy figure. By itself it does not tell you how hard the bolt hits. Kinetic energy, KE, is the energy of the moving bolt, in foot-pounds. It is what drives penetration. A bow with a huge draw weight and a short power stroke can hit softer than a bow with a moderate draw weight and a long power stroke, because the power stroke decides how much of that force becomes bolt speed. Draw weight is the input. KE is the output. Judge a bow by the output.
The KE Formula, With Worked Examples
The standard formula, published by Easton Archery and used across the industry, is: KE equals bolt weight in grains times velocity in feet per second squared, divided by 450240. Speed is squared in the formula. Doubling bolt weight adds energy linearly, but increasing speed adds it much faster. A 400-grain bolt at 300 fps gives 80 ft-lb. The same 400-grain bolt at 400 fps gives 142 ft-lb, a 78 percent increase in energy for a 33 percent increase in speed. Always state the bolt weight with every KE figure, because a KE number without a bolt weight is meaningless.
| Bolt weight | Speed | Kinetic energy |
|---|---|---|
| 400 grains | 300 fps | 80 ft-lb |
| 400 grains | 350 fps | 109 ft-lb |
| 400 grains | 400 fps | 142 ft-lb |
| 400 grains | 410 fps | About 149 ft-lb |
| 410 grains | 400 fps | 146 ft-lb |
| 445 grains | 420 fps | 174 ft-lb |
| 440 grains | 460 fps | 207 ft-lb |
| 350 grains | 400 fps | 124 ft-lb |
Why Speed Matters More Than Weight, and Why Momentum Still Matters
Because speed is squared, a small speed gain beats a large weight gain for KE. That is why makers chase feet per second in their advertising. But KE is not the whole story. Momentum is mass times velocity, and it is what drives pass through. A heavier bolt gives up some speed but keeps more momentum downrange, which is why experienced hunters often choose a heavier bolt than the lightest one that gives the highest fps number.
How Much KE Is Enough
There is no single settled floor for deer, so here is the range with attribution instead of a single number. Commonly cited minimums put whitetail deer at about 40 ft-lb at impact, with some sources citing a 27 to 40 ft-lb range. Elk, moose, and bear are commonly cited at about 65 ft-lb. Those are rules of thumb from hunting sources, not law, and your state sets its own equipment minimums where they exist. A modern hunting crossbow shooting a 400-grain bolt at 400 fps makes about 142 ft-lb, far above the deer figures, so KE is rarely the limiting factor on a modern bow. Accuracy, trajectory, and animal reaction time limit you long before energy does.
Advertised Speed vs Real Hunting Speed
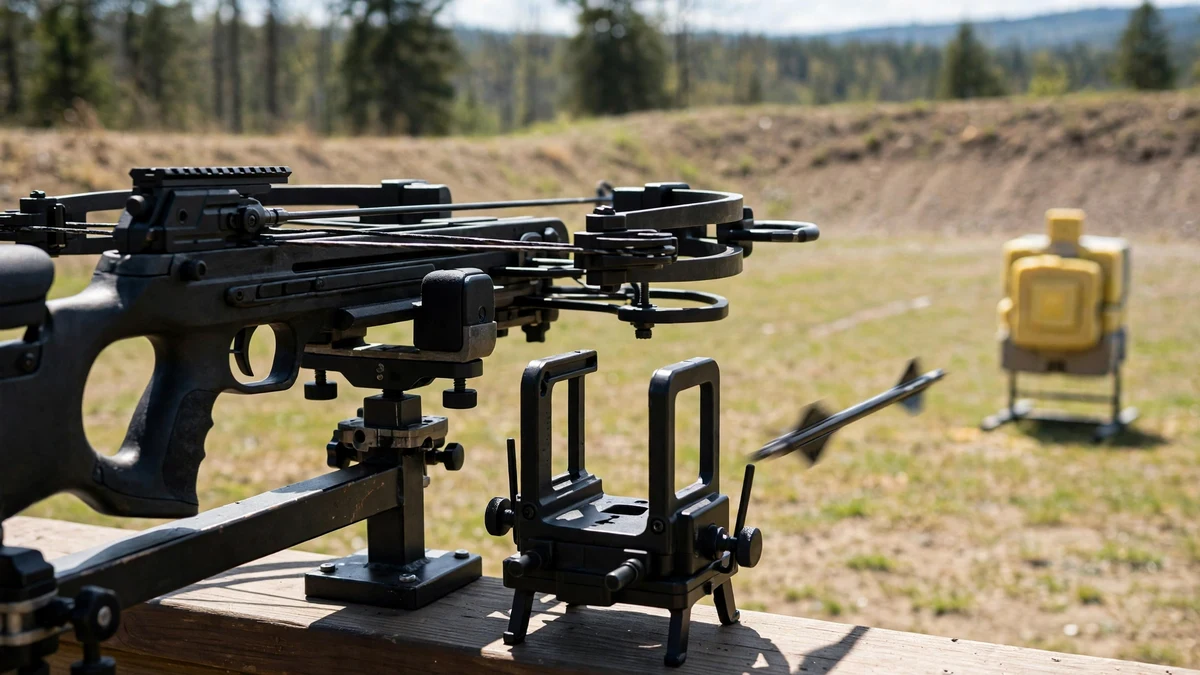
No universal crossbow speed standard exists. That is the first thing to understand, because the big speed number on the box looks like a standard and it is not. The vertical bow world has the IBO test: a 70 pound bow, a 30 inch draw, and a 350-grain arrow, which is 5 grains per pound. That test does not apply to crossbows, which have no 30 inch draw length. Do not present IBO as a crossbow standard. The one IBO figure that does touch crossbows is a competition rule, not a manufacturer test: the IBO rulebook limits its Crossbow Class to a 350 fps bolt speed. That is a class limit for competition, not a speed rating, and it tells you nothing about how fast a hunting bow shoots.
How makers get the big number is simple. They test with a light bolt, often 350 to 400 grains, sometimes lighter, and quote the fastest number the bow produces. The bolt weight used is often buried in the fine print or not stated at all. Your hunting setup is always slower, because a hunting bolt with a broadhead typically weighs 400 to 450 plus grains. A useful rule of thumb is about 1 fps lost for every 3 grains over the test weight. Compare bows by speed only when the test bolt weight is the same, and expect your hunting setup to shoot 20 to 40 fps slower than the advertised number.
Two verified examples show the gap in real numbers. The TenPoint TX Ultra is advertised at 460 fps, and it shoots 440 fps with its supplied 440-grain arrows, with independent chronograph testing at 445 fps. The Barnett Hyper Raptor T-Rex is advertised at 440 fps, with a verified tested figure of 423 fps with a 399-grain arrow in the independent test table, and a bare weight of 8.2 lbs against 9.2 lbs as tested. The TenPoint Titan X tested at 400 fps with a 410-grain bolt. None of these bows is lying about its speed. Each one reports the fastest number its test setup produced, and each one slows down with a real hunting bolt.
Recurve vs Compound: Two Ways to Store the Same Energy
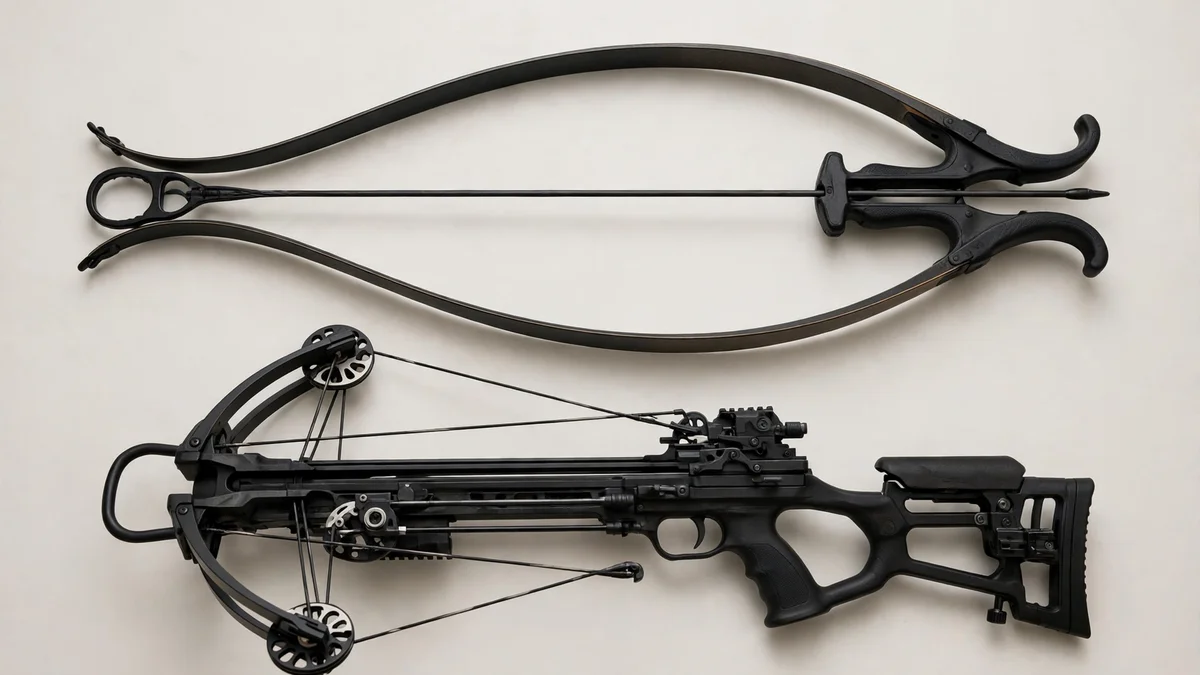
Every full size hunting crossbow is either a recurve or a compound, and the difference is how the limbs store energy. The how compound, recurve and reverse-draw bows differ guide covers all five crossbow types in full. Here is the mechanics version.
Recurve: Simple, Wide, Field Serviceable
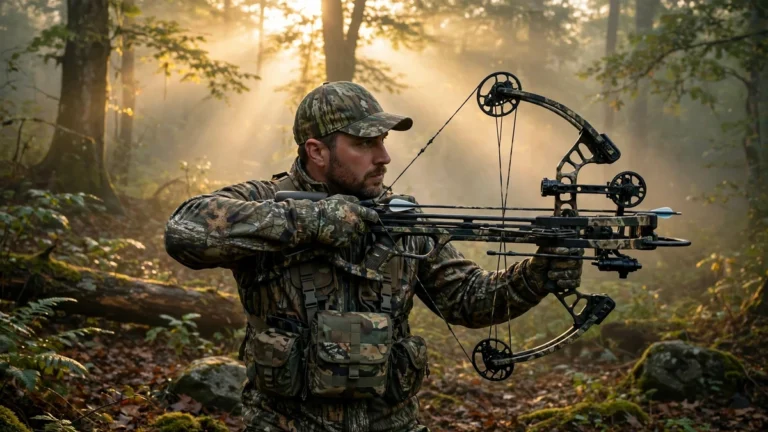
On a recurve the limbs curve away from the shooter. One string, no cams, no cables. The draw weight rises steadily through the whole pull and is at its maximum at full draw. It is simple, reliable, and field serviceable: the owner can change the string with a stringing aid, and no bow press is needed. The trade off is width. Recurve limbs are wider, the bow is longer overall, and the power stroke is shorter for the same length, so it needs more draw weight for the same speed. It is also louder, with more vibration than a compound at the same speed, in general.
Compound: Cams, Cables, and the Let-Off Question
On a compound, cams sit at the limb tips, connected by cables. As the string is drawn, the cams rotate and change the leverage ratio through the draw. The cams let the limbs be shorter and stiffer, which makes the bow narrower and more compact, and they store more energy in a shorter power stroke while shaping the acceleration curve. The trade off is complexity: more moving parts, cables that stretch and need timing checks, and string changes that need a bow press and a pro shop.
Now the let-off question, because it confuses almost everyone. On a vertical compound bow, let-off means the holding weight at full draw drops sharply, so the archer holds far less weight while aiming. On a crossbow that idea does not apply, because the trigger latch holds the string, not the shooter’s arms. Holding weight is not the shooter’s problem at all. What the cams actually do on a crossbow is change the shape of the draw force curve, let the limbs store more energy in a shorter power stroke, and reduce the force the latch and trigger must hold. Sources quote conflicting let-off percentages for crossbow cams, and the dev tuning guide says let-off has no adjustable meaning on a crossbow. This guide gives no let-off percentage for a crossbow, because no percentage survives that conflict. Remember that the latch, not your arms, holds the draw.
Which One Suits a Beginner, and Why
A beginner who wants the fewest things that can go wrong should start with a recurve: fewer parts, easier string changes, and a mechanism you can see and understand. A beginner who wants the narrowest, fastest bow for a tight blind or a treestand, and who is happy to let a pro shop handle string and cable work, should look at a compound.
Reverse-Draw: the Same Machine, Flipped Around
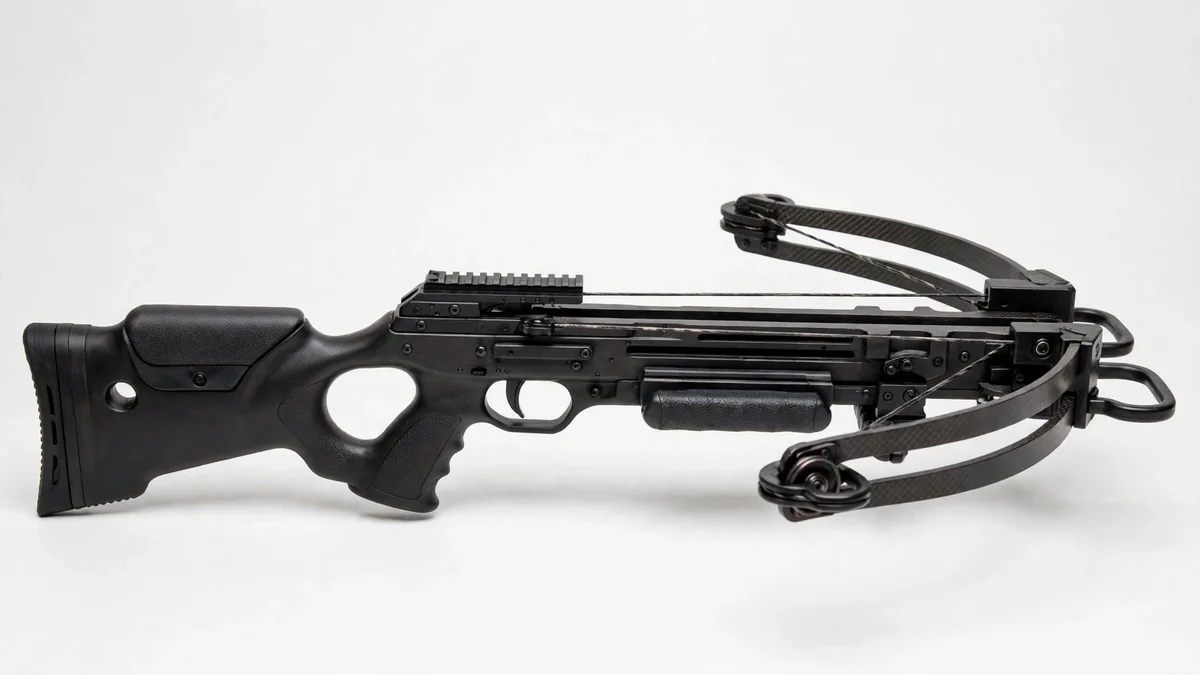
Reverse draw is a compound subtype. The riser sits near the middle of the stock, sometimes behind the trigger, and the limbs point forward from there. The string rest position is near the front of the rail, and the trigger sits well forward in a bullpup layout. That flip buys two real advantages. First, a longer power stroke in the same overall length, because the string starts further forward. One secondary source compares a reverse draw model with a 14 inch power stroke against a forward draw model of similar length with an 11 inch power stroke, though those are secondary figures, not manufacturer specs. Second, better balance, because the heavy limb assembly sits near the shooter’s hands instead of out past them, so the bow feels less front heavy. The trade offs are weight and price: reverse draw bows are typically heavier and pricier, and the uncocked width can be wide even though the cocked width is narrow. One figure stays out of this guide: a 16.25 inch power stroke cited for a reverse draw model in a secondary source, unverified against the manufacturer spec.
Cocking: How You Put 200 Pounds Behind a Trigger Pull
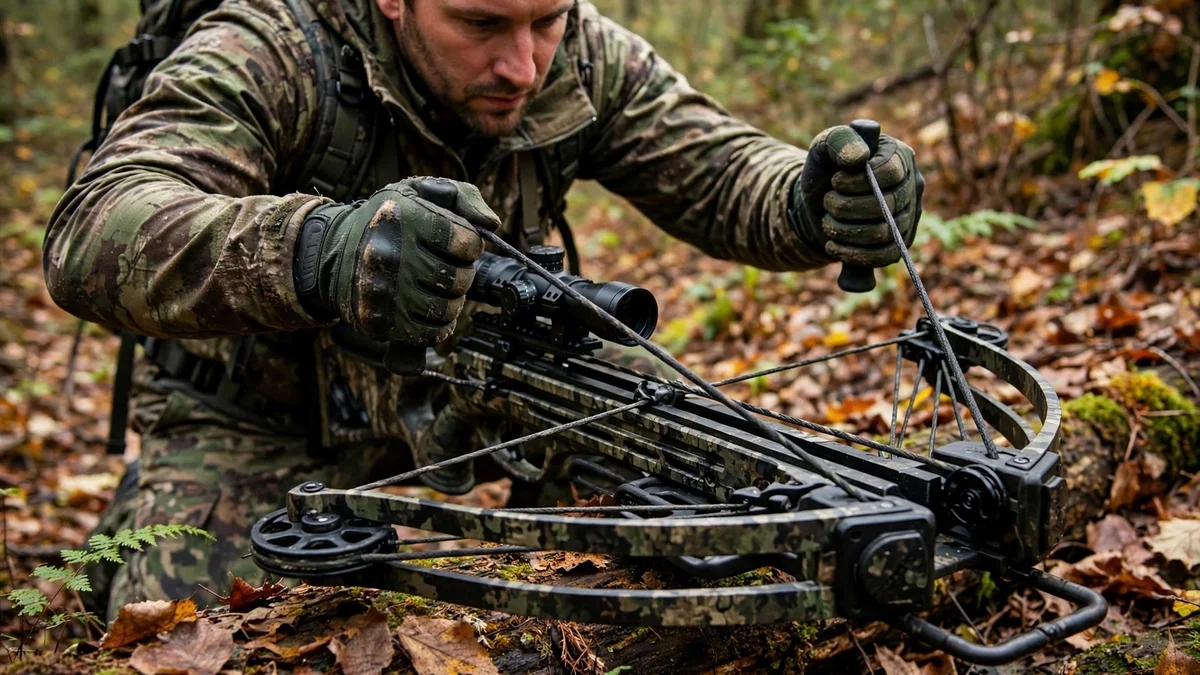
Cocking is where the work happens, and it is also where most beginners hurt themselves or cock the string crooked. Modern hunting bows run 150 to 270 pounds of draw weight. Hand cocking is only realistic under about 150 pounds, and even then it risks a shoulder injury and an uneven pull. Use a cocking device, and use it the way the manual says.
| Method | How it works | Effort | Notes |
|---|---|---|---|
| By hand | Foot in the stirrup, grip the string with both hands, pull straight back along the rail. | Full draw weight, no reduction. | Only realistic under about 150 lb draw. Shoulder injury risk, uneven pull. Not recommended for modern hunting bows. |
| Rope cocker (rope sled) | A rope with T-handles and two hooks. Hooks attach to the string on either side of the rail, centered on the serving. Pulling both handles uses a pulley effect. | Cuts effort by about 50 percent. A 160 lb bow feels like about 80 lb. | Cheap, light, fast. The pull must be even, or the string cocks off center and accuracy suffers. Hooks wear grooves into the serving over time. |
| Attachable crank | A small gearbox that mounts to the stock, with a rope and hooks. Crank the handle to wind the string back. | About 5 to 10 lb of cranking effort. | Slower than a rope cocker. Must be removed before shooting, or the housing can block the bolt path. Good for bad shoulders and heavy bows. |
| Integrated crank | Built into the bow. Flip out a folding handle, hook the sled to the string, crank until the string clicks into the latch. Many also de-cock safely by cranking backward. | Varies by system, 5 to 17 lb. State the exact figure per system, never a generic number. | Perfectly centered pull every time. Nothing extra to carry. The premium option. |
Integrated systems vary enough that a generic number would mislead you, so here are the approved per-system efforts, and only these. The Ravin R500 uses the VersaDrive screw drive system at 17 lb of effort. Note: Ravin recalled the R500 in March 2024 (about 13,300 in the US plus 425 in Canada, serials R050-R057); Ravin offers a free repair, 888-769-7287. The Ravin R10X Pro uses Versa-Draw at 12 lb. The TenPoint Titan X uses ACUdraw De-Cock at 5 lb. The TenPoint Turbo X is 5 lb. The TenPoint TX Ultra uses ACUslide MAXX at 13.3 lb tested. Do not state 5 lb for any MAXX bow. The Excalibur Rev X TD uses the Charger X integrated crank at 16 lb verified. The Charger EXT is a separate detachable 12 lb accessory at about $250, not Charger X, so do not confuse the two.
ACUdraw needs a warning of its own, because it is four different systems and writers keep collapsing them into one name. Plain ACUdraw is 5 lb with no safe de-cock. ACUdraw De-Cock is 5 lb with safe de-cock. ACUdraw Silent is 5 lb. ACUdraw Pro is 8.5 lb. Always name which one, per product. Two safety rules close this section. First, set the safety to FIRE before cocking, or the string latches but the automatic safety never engages, leaving a cocked bow that looks safe and is not. Check the manual for the exact wording, since wording varies by maker. Second, never leave a bow cocked overnight. Uncock by firing a discharge bolt into a safe target, or by using a safe de-cocking crank system. Never de-cock by hand, and never ease the string down with a rope cocker unless the manual explicitly approves it for that model.
What a Dry Fire Does, and Why It Destroys Bows
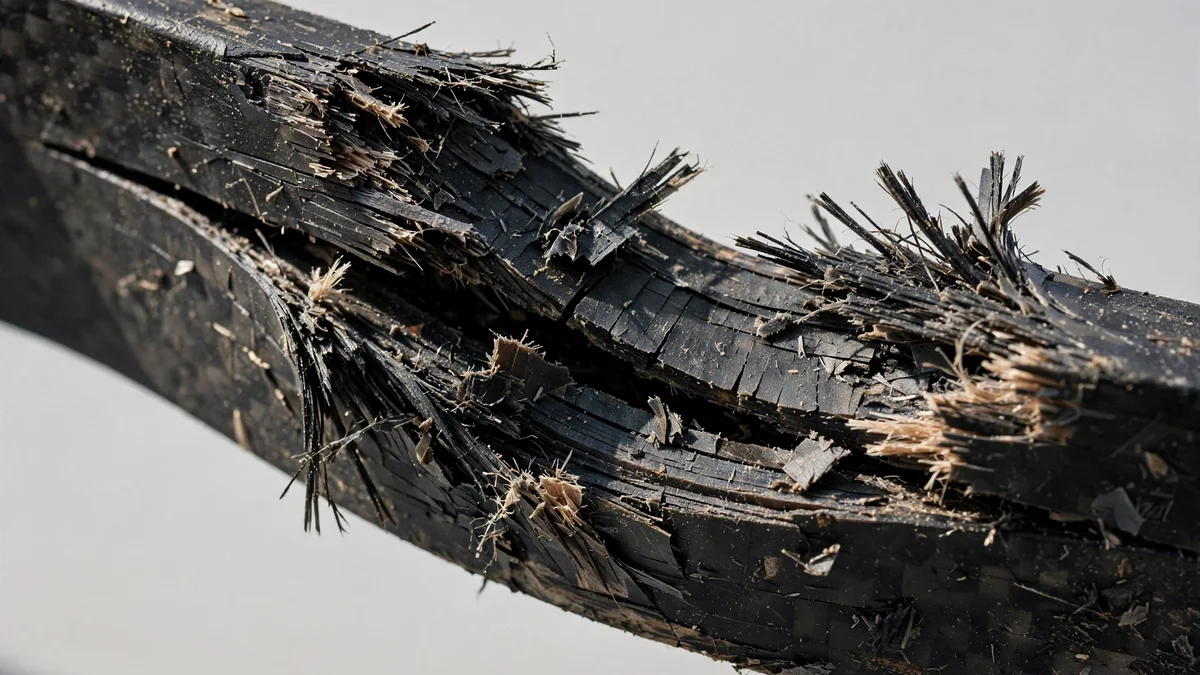
A dry fire is releasing the string with no bolt loaded, or with a bolt so light it cannot absorb the energy. On a normal shot, most of the stored energy goes into the bolt. Without a bolt, all of that energy has nowhere to go, so it rebounds into the bow as a shockwave through the limbs, string, cables, and trigger box. The energy that should have become a 400-grain bolt flying at 400 fps becomes vibration and impact inside the bow instead.
The damage is not theoretical. Limbs crack, splinter, or delaminate. Strings fray or snap. Cams bend or derail. Cam tracks warp. The string jumps its tracks. The rail can crack. Limb bolts can shear. In extreme cases the bow comes apart and fragments fly. A dry fire usually voids the warranty immediately, and many makers require a professional inspection before the bow is fired again. A bow that looks fine after a dry fire can fail catastrophically on the next shot.
The anti-dry-fire device is a backup against this, and only a backup. It is a mechanical interlock, usually a spring loaded plunger in the flight deck that blocks the trigger until a seated bolt depresses it. It can fail if fouled with dirt or debris, if the spring wears, or if the bolt is seated badly enough that the device does not detect it. A related trap is the too-light bolt: a bolt under the manufacturer minimum weight behaves like a partial dry fire. Always meet the minimum bolt weight.
After any dry fire, stop shooting immediately. Do not fire the bow again. Inspect the limbs, string, cables, and cams, and take it to a qualified bow technician. Do not attempt to repair a damaged limb or trigger yourself. Read the safety rules for handling every bow for the full safety sequence, and remember the danger triangle: the zone the string and cables travel through on firing. Imagine a line between the two cam axles as the base, with the string paths to the latch as the sides. A finger in that path is crushed or severed before you register the shot. Keep all fingers and thumbs below the rail, always.
Range and Accuracy: What Actually Limits You
The old live article on this topic stated an effective range of 30 to 60 yards as personal experience, with no source. That is not good enough, so this section replaces it with a sourced framing. Here is the honest picture: a modern crossbow can punch holes in paper at 100 yards, and a 400-grain bolt at 300 fps still carries enough KE to kill deer sized game at 80 yards on paper. Energy is not the limit. The limits are trajectory, wind, and animal reaction time.
Bolt drop is steep past 40 yards. A 400-grain bolt at 400 fps drops about 7 to 8 inches between 40 and 50 yards. A 5-yard ranging error at 40 yards is about a 3 inch miss. At 100 yards the same bolt falls over 7 feet. Animal reaction, often called jumping the string, is real too. At 40 yards the sound reaches the deer in about 0.1 seconds and the bolt arrives in about 0.3 seconds. In that window a deer can drop its body 6 to 8 inches. That is why a perfect shot on paper can become a gut shot in the field.
Commonly cited ethical maximums from the sources are 30 yards for the conservative view, 40 yards as the most common consensus for most hunters, and 50 yards as the outer limit for very skilled shooters only. Use the 30 to 40 yard band as the consensus for most hunters, and judge yourself by the three limit rule: your accuracy, the bolt’s retained energy, and the animal’s reaction time. Your ethical range is personal: the farthest distance at which you can put every shot into a 6 inch circle from a hunting position, not from a bench. Many hunters zero the top crosshair at 20 or 25 yards, the hunter’s zero, which keeps the bolt inside a 10 to 12 inch vital zone out to about 35 to 40 yards.
Pistol and Repeating Crossbows: Fun, Not Hunting Tools
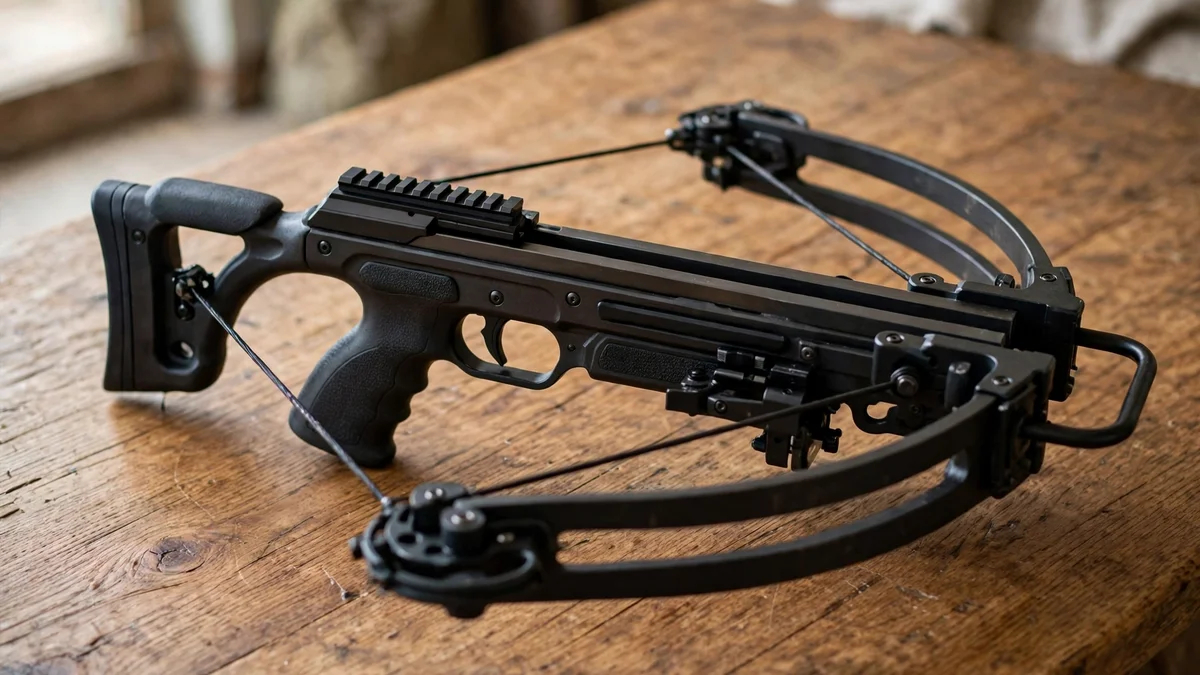
Two small designs deserve a short box, because the old live article presented one of them as a hunting option and it is not. Pistol crossbows are small, short range tools, typically 35 to 130 lb draw, shooting 6 inch bolts at 170 to 240 fps. They are for plinking, training, and backyard fun. Repeating crossbows use a magazine, typically 5 to 10 bolts, and a cocking lever, so several shots can be fired quickly. One cited repeating pistol model runs 55 lb draw, 190 fps, 6 inch arrows, and about 2.5 lb weight. Another runs 75 lb draw, 168 to 175 fps, and about 14 joules of KE, which is about 10 ft-lb.
Those numbers are the whole argument. Ten ft-lb is a fraction of the roughly 40 ft-lb deer figure, accuracy falls off sharply past 25 to 30 yards, and one reviewed model does not legally qualify as a hunting crossbow in most US states. Repeating and pistol crossbows are fun, and they are good training tools, but they are not practical hunting tools for deer sized game. Do not buy one as a hunting bow.
Maintenance, Tied to the Mechanics
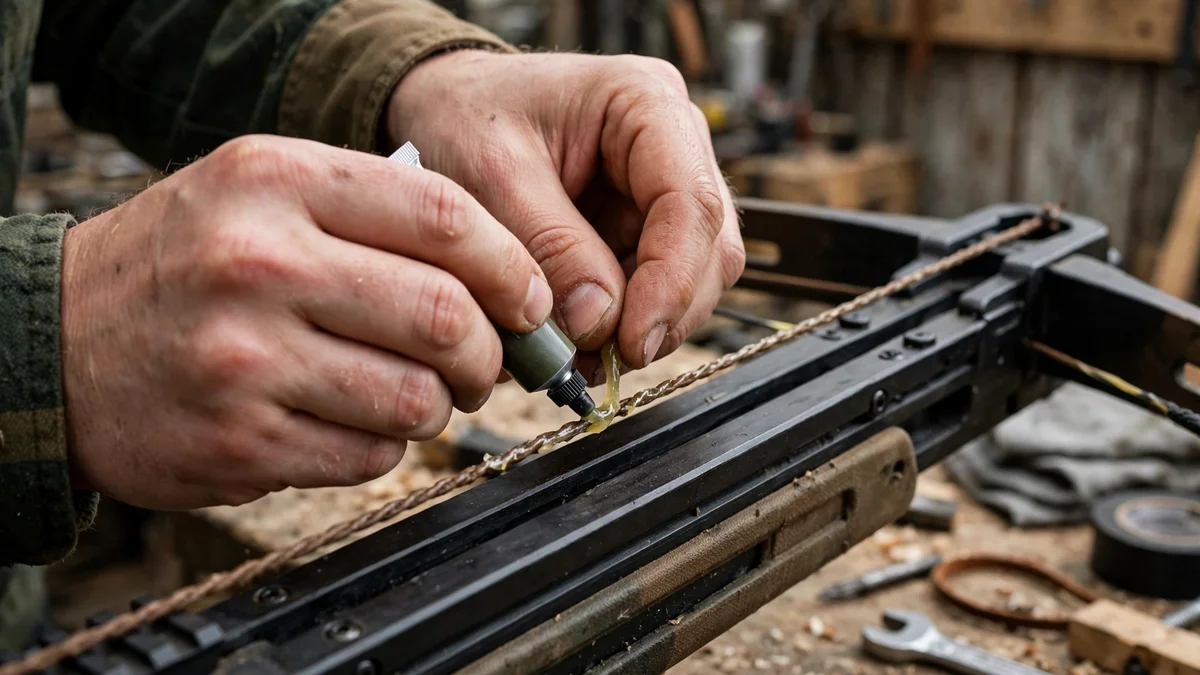
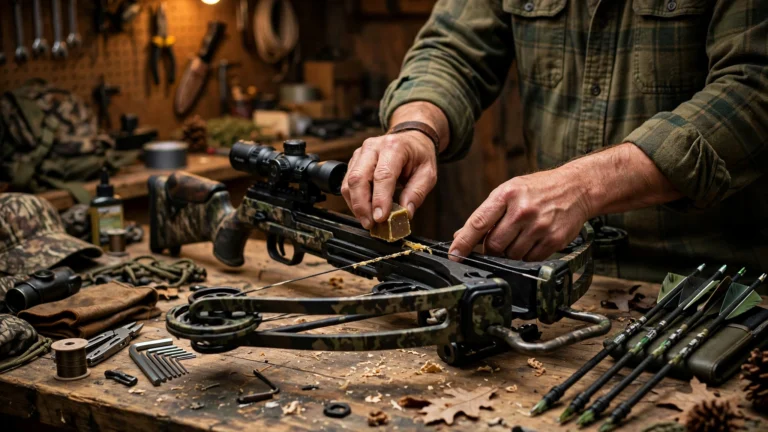
Maintenance makes sense once you understand the mechanics, because every maintenance job protects one specific part of the firing cycle. Wax the string, lube the rail, inspect the limbs, and replace the string on schedule, and the bow keeps shooting the way it did on day one. Skip those jobs, and the bow loses speed, then accuracy, then safety. The full routine lives in the maintenance routine. Here is why each job matters.
Wax the String, Lube the Rail, and Why Each One Matters
Wax the string and cables with beeswax based string wax only, rubbed into the exposed fibers until warm. Petroleum jelly and petroleum based products break down synthetic string fibers and serving, attract dirt, and gum up the trigger box. How often is a real conflict in the sources: the most common manual figure is every 50 to 75 shots, the cautious figure is every 50 shots, and the dev tuning guide says every 25 to 30 shots. This guide publishes the 50 to 75 shot range with follow your manual as the tie breaker, and flags the tuning guide figure as an internal inconsistency to fix separately. Wax is preventative, not restorative. A dry, frayed string cannot be saved by wax.
Lube the rail with a thin bead of purpose made rail lube on the flight groove, spread evenly. Rail lube is not string wax. Wax protects fibers, lube reduces friction between the moving string and the stationary rail. A dry rail raises friction, steals speed, and wears the serving, and the string drags across the rail on every shot. Friction converts stored energy into heat instead of bolt speed, and it abrades the center serving. A worn serving changes the string diameter and its fit in the trigger jaws, which changes latch engagement.
The Compound vs Recurve Wax Split
Wax placement differs by design, and this is a real beginner trap. On a compound bow, do not wax the center serving, the rail, or the trigger area. On a recurve, the Excalibur manual says to wax the center serving every 30 to 40 shots. Follow the owner manual for your specific bow, because the two designs genuinely disagree here.
The Pre-Shoot Inspection
Before every session, inspect the string and serving for fraying and separation, the limbs for cracks, splinters, and delamination, the cams for timing marks that should mirror each other, the fasteners for looseness from vibration, and each bolt by flexing it and listening for cracking. A cracked bolt can shatter on release and send carbon splinters back toward the shooter. Check stock bolts, scope rings, stirrup screws, and limb pocket bolts regularly, and snug them without over torquing. For cam timing, most cams have timing dots or marks that should mirror each other at rest and at full draw. If they do not, one cam rotates first and the string pushes the bolt unevenly. Checking is DIY, fixing needs a bow press and a pro shop. Measure axle to axle between the cam axle centers, uncocked, and compare with the factory spec. A deviation over 3/16 inch is a red flag that cables have stretched. The recurve vs compound tuning steps guide covers cam timing dots, brace height, and the DIY versus pro shop ladder.
When to Replace String and Cables
TenPoint’s baseline is every 2 years or 800 to 1,000 shots, whichever comes first, string and cables as a set. Other sources say 2 to 3 years. Always replace string and cables together, or the new string runs on stretched cables and the cams go out of time. String replacement on a compound is not a DIY job, because it needs a bow press. On a recurve it is owner serviceable with a stringing aid. For storage, never store the bow cocked. Unstring a recurve between seasons to relax the limbs. Do not back off limb tension on a compound for storage, because the TenPoint manual explicitly says not to.
A Short History
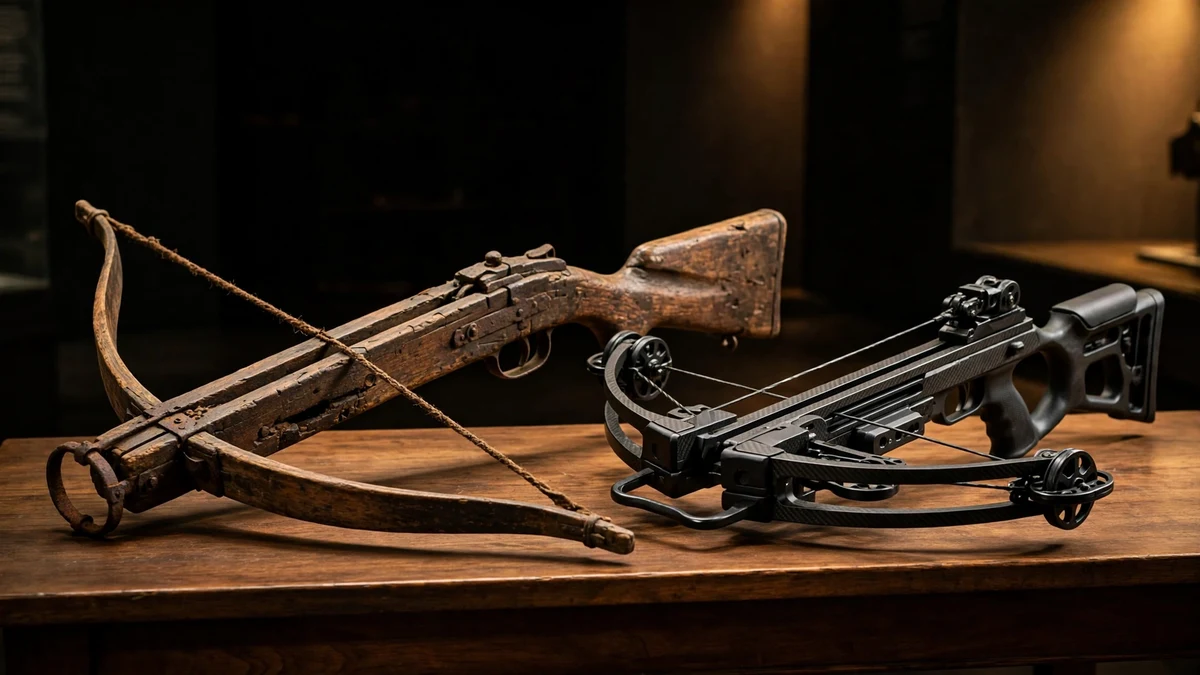
Crossbows date to ancient China and Greece, with the Chinese bronze trigger lock, three interlocking pieces with a sear and a nut, as the key invention that let a light trigger pull release a heavy draw weight. Medieval European crossbows used a rolling nut and were spanned with a stirrup, belt hook, lever, cranequin, or windlass. The modern crossbow is the same machine with composite limbs, synthetic strings, cams, and a precision trigger box. That is the whole history, because this article is about how a modern crossbow works, not about the past.
Frequently Asked Questions
How does a crossbow work in simple terms?
You cock it, which bends the limbs and stores energy like a drawn spring. A latch holds the string so you carry no draw weight. You load a bolt, aim, and pull the trigger. The trigger moves a small catch called the sear, the latch lets go, the limbs snap the string forward along the rail, and the string pushes the bolt for the length of the power stroke before the bolt flies free.
What is power stroke, and why does it matter more than draw weight alone?
Power stroke is the distance the string travels from rest to cocked, typically 10 to 14 inches on a conventional crossbow. It is the distance over which the string pushes the bolt. Work equals force times distance, so a longer power stroke delivers more energy at the same draw weight. That is why a crossbow needs 150 to 400 plus pounds of draw weight to do what a 40 to 80 pound longbow does with a roughly 22 inch power stroke.
What is the difference between draw weight and kinetic energy?
Draw weight is the peak force needed to pull the string to full cock, in pounds. Kinetic energy is the energy of the moving bolt, in foot-pounds, and it is what drives penetration. The formula is KE equals bolt weight in grains times velocity in feet per second squared, divided by 450240. A 400-grain bolt at 400 fps gives 142 ft-lb. Always state the bolt weight with every KE figure.
Why is my crossbow slower than the advertised speed?
Makers test with a light bolt, often 350 to 400 grains, and quote the fastest number the bow produces. Your hunting bolt with a broadhead typically weighs 400 to 450 plus grains. A useful rule of thumb is about 1 fps lost for every 3 grains over the test weight. Expect your hunting setup to shoot 20 to 40 fps slower than the advertised number. For example, the TenPoint TX Ultra is advertised at 460 fps and shoots 440 fps with its supplied 440-grain arrows.
How does a compound crossbow cam work, and what is let-off on a crossbow?
Cams are eccentric wheels at the limb tips, connected by cables. As the string is drawn, the cams rotate and change the leverage ratio, letting the limbs store more energy in a shorter power stroke and shaping the acceleration curve. Let-off is a vertical bow idea: the holding weight drops at full draw so the archer holds less while aiming. On a crossbow the trigger latch holds the string, not your arms, so holding weight is not your problem. Sources quote conflicting let-off percentages for crossbow cams, so this guide gives none. Understand what the cams do, and remember the latch holds the draw.
What is a reverse-draw crossbow, and is it better?
On a reverse draw bow the riser sits near the middle of the stock and the limbs point forward, so the string rest position is near the front of the rail. That gives a longer power stroke in the same overall length and better balance, because the heavy limb assembly sits near your hands. The trade offs are weight and price, and a wide uncocked width. It is better for balance and efficiency, not better in every way, and it costs more.
What happens if you dry fire a crossbow?
Releasing the string with no bolt loaded, or with a bolt too light to absorb the energy, leaves all the stored energy with nowhere to go. It rebounds into the bow as a shockwave through the limbs, string, cables, and trigger box. Limbs can crack, splinter, or delaminate, strings can fray or snap, cams can bend or derail, and the rail can crack. It usually voids the warranty. Stop shooting immediately, do not fire the bow again, and take it to a qualified bow technician.
How far can you ethically shoot a deer with a crossbow?
Sources cite 30 yards for the conservative view, 40 yards as the most common consensus for most hunters, and 50 yards as the outer limit for very skilled shooters only. Use the 30 to 40 yard band for most hunters, and judge yourself by three limits: your accuracy, the bolt retained energy, and the animal reaction time. Your ethical range is personal: the farthest distance at which you can put every shot into a 6 inch circle from a hunting position.
What kind of bolts does a crossbow shoot, and does nock type matter?
Modern bolts are carbon fiber or aluminum, not wood. A typical hunting bolt is 20 inches long and 350 to 480 grains finished weight, with a shaft, insert, nock, fletching, and a field point or broadhead. Nock type matters a great deal. Flat, half-moon, and capture nocks are not interchangeable, and the wrong nock for your bow is a dry fire risk. Check the manual and match the nock.
How often should I wax the string and lube the rail?
The most common manual figure for wax is every 50 to 75 shots, with a cautious figure of every 50 shots. The dev tuning guide says every 25 to 30 shots, which conflicts with the maintenance guide, so follow your own bow manual as the tie breaker. On a compound bow, do not wax the center serving, the rail, or the trigger area. On a recurve, the manual says to wax the center serving every 30 to 40 shots. Replace string and cables as a set every 2 years or 800 to 1,000 shots, whichever comes first.
Regular lubrication keeps everything moving smoothly. See the best crossbow lube and wax.
Keep Learning
- How to Shoot a Crossbow While Saddle Hunting
- Crossbow Hunting Guide
- Different Types of Crossbow: Recurve, Compound, Reverse Draw, Pistol, and Repeating Explained
- Crossbow vs Longbow: Which One Should You Hunt With?
- Deer Shot Placement Guide: Where to Aim With a Crossbow
- 6 Crossbow Hunting Tips for Beginners
- How to Cock a Crossbow Safely: Rope and Crank Methods
- Crossbow Safety Guide: How to Handle Every Bow Safely
- Crossbow Maintenance Guide: Keep Your Bow Shooting Like New
- Best Crossbows 2026: Tested Picks for Every Budget