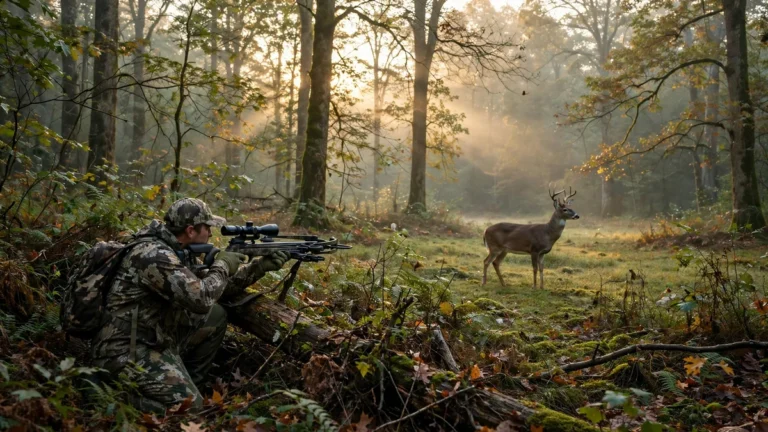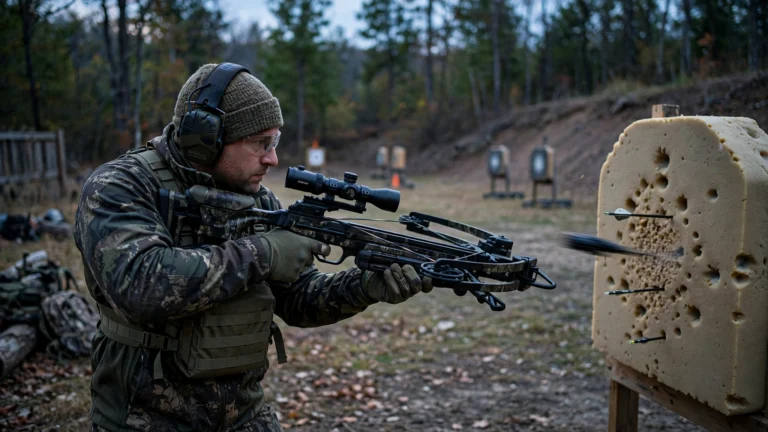
6 Crossbow Hunting Tips for Beginners
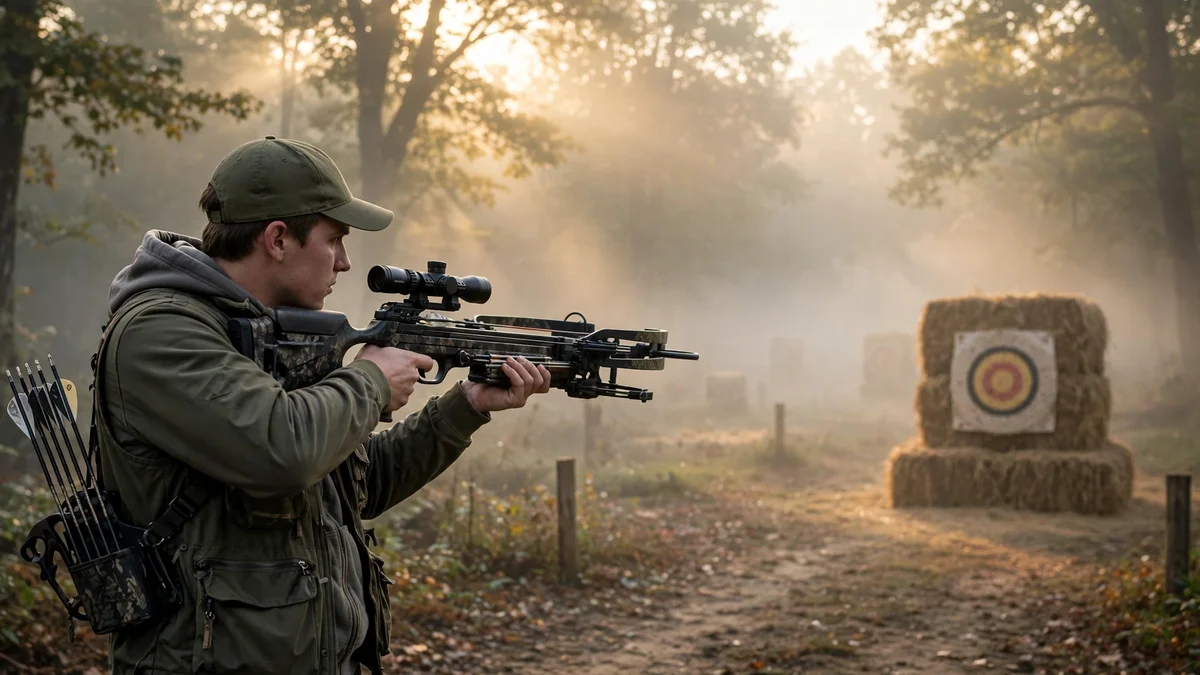
6 Crossbow Hunting Tips for Beginners
A crossbow feels simple on the range, and that is exactly what makes a first hunt tricky. The bow holds the draw for you, the scope gives you a clear picture, and the bolt flies flat out to 30 yards. Then you climb into a stand in heavy clothes, your heart starts pounding when a deer steps out, and everything you practiced on flat ground feels different. This guide covers the six skills that turn a first crossbow hunt from guesswork into a calm, ethical shot, plus the range, wind, and tracking skills that complete the hunt.
The Short Answer
Here are the six tips in brief. Practice with the exact broadheads you will hunt with, because fixed blades almost always fly differently from field points. Practice from your tree stand, in your hunting clothes, because shooting downhill changes where the bolt lands and the stand rail changes how you hold the bow. Stay safe in the stand: haul the crossbow up unloaded, keep your fingers below the rail, and know how your bow de-cocks before you climb down. Manage the adrenaline rush with slow breathing and a rehearsed checklist, because buck fever shakes fine motor control, not your strength. Check the full limb swing on both sides before you shoot, because a limb strike can deflect the bolt or crack a limb. Place the shot for a pass-through double lung hit, because a crossbow kills by blood loss, not by shock. Your hunting range is the distance where you can put three bolts inside a paper plate from your hunting position, in your hunting clothes, with your hunting broadheads, not the number printed on the box.
How to Use This Guide
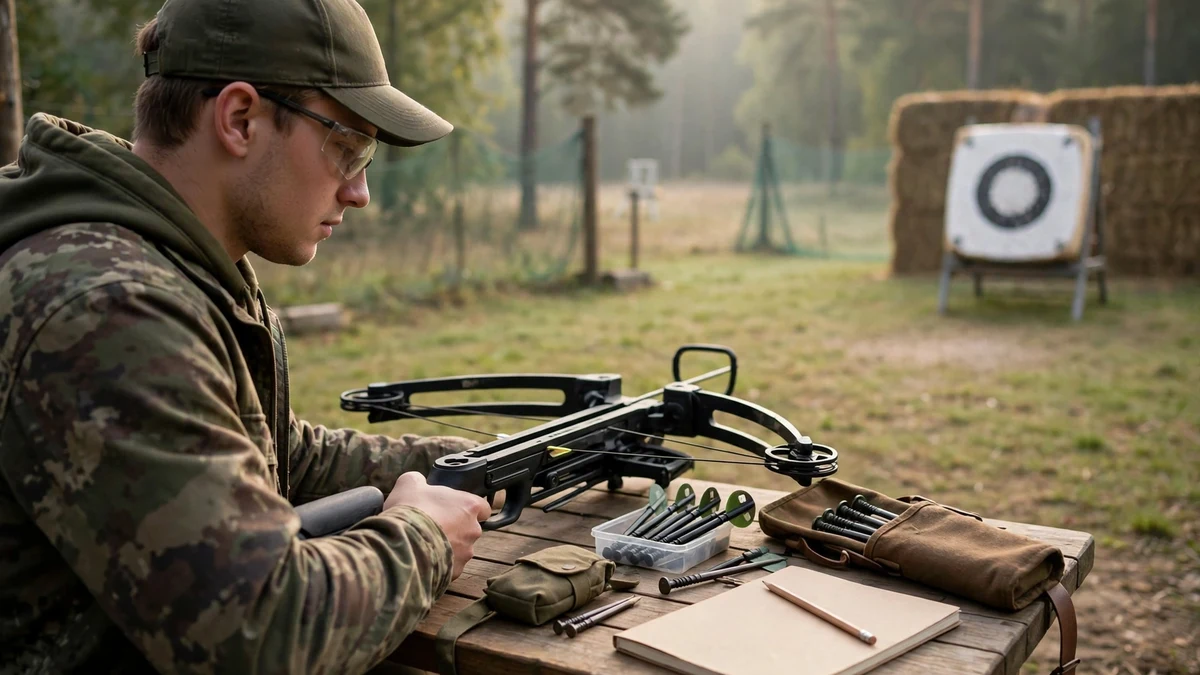
This guide is for a first-season crossbow hunter who already owns a bow and has sighted it in. If you have not bought a bow yet, start with the easy-to-learn starter picks guide, then come back here. Before opening day, do three things in this order: read the legal check below and confirm your state rules, run the paper-plate test to find your own maximum range, and practice from your stand, not just from the bench. The six numbered tips are the core of the guide, and the three support sections after Tip 6, range estimation, wind and scent, and tracking after the shot, complete the hunt.
Before You Hunt: The Legal Check and Your Ethical Range
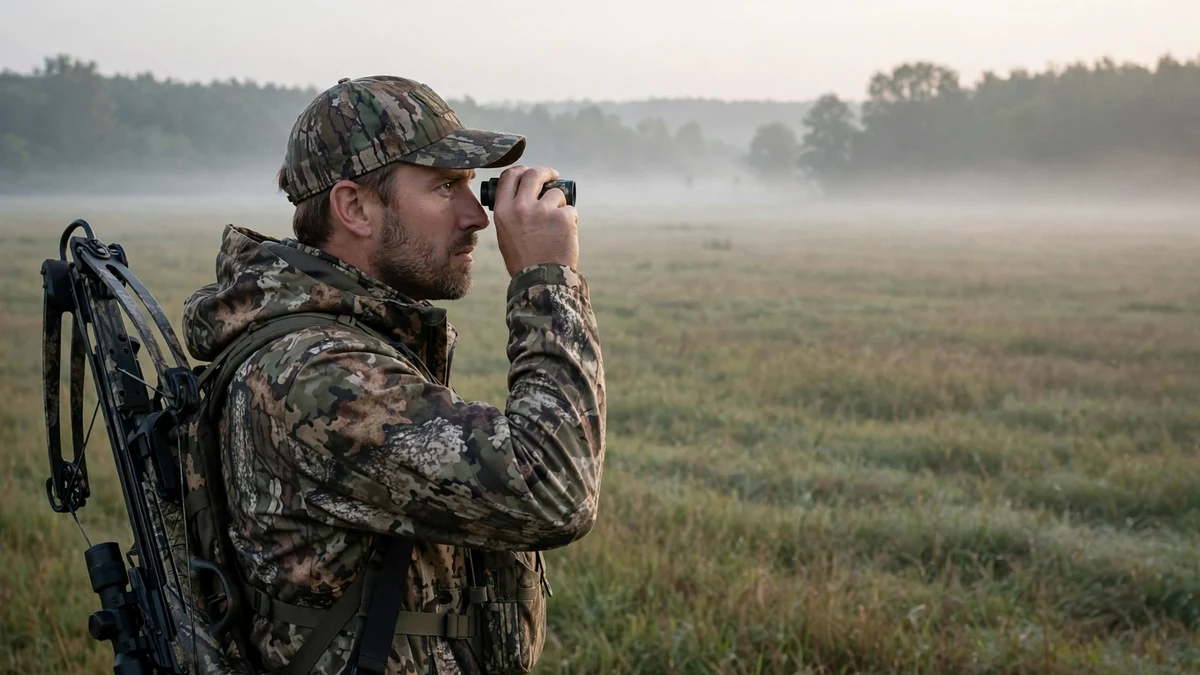
Check your state rules first
Crossbow hunting rules vary by state and by season. There is no single national rule, so never treat a number you read online as law in your state. Most states set a minimum draw weight for deer, a minimum bolt length, a minimum broadhead diameter, and a working safety requirement. As an example of the kind of rule a state sets, Illinois has a 125 pound minimum draw weight for deer and no maximum. Your state may set different numbers, and some states restrict mechanical broadheads, so check your state wildlife agency’s current regulations. Many states also require a hunter education course for first-time hunters, and it is worth taking even if your state does not require it.
Find your own maximum range with the paper-plate test
Sources disagree on a beginner maximum range, giving figures from 30 yards to 50 yards with equal confidence. There is no consensus number, so do not borrow one. Put a paper plate on your target, stand at your hunting position, in your hunting clothes, with your hunting broadheads, and shoot three bolts. Walk back five yards at a time and repeat. When you reach a distance where you cannot put three bolts inside the plate, that distance is beyond your limit. Subtract 5 yards from the last distance where you passed, and that is your personal maximum for this season. A shorter range you can hit is worth far more than a longer range you hope you can hit. Re-run the test whenever you change bolts, broadheads, or your stand setup.
Tip 1: Practice With Your Exact Hunting Setup
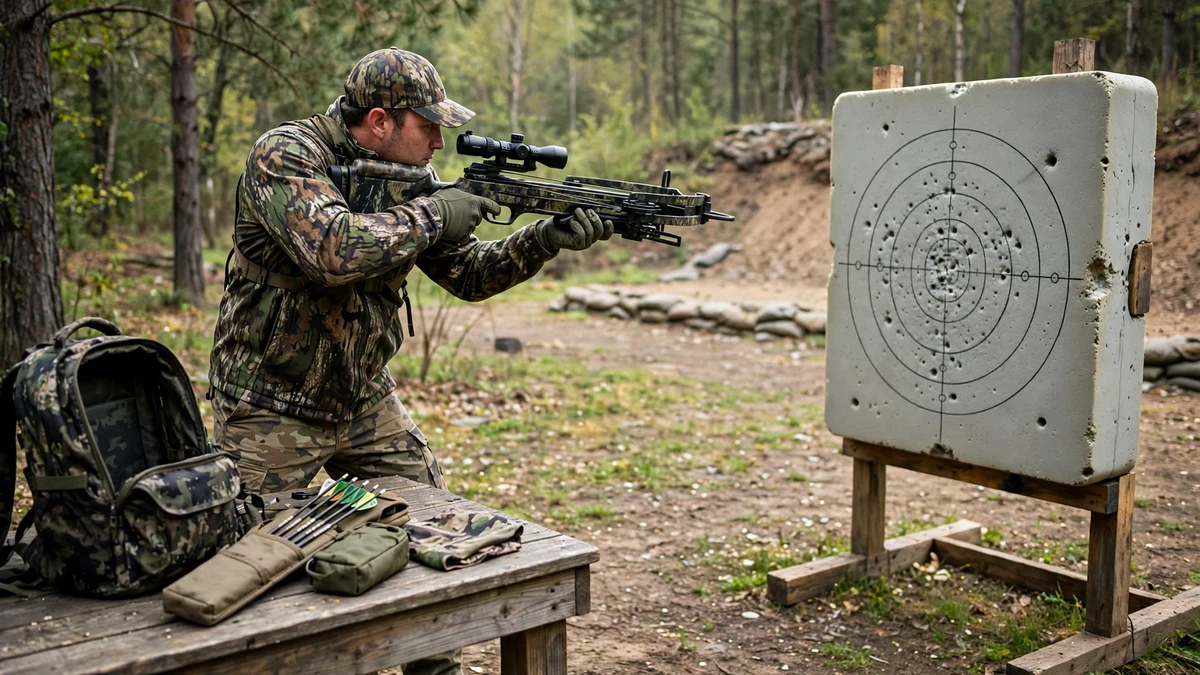
The most common beginner mistake is practicing all summer with field points, then screwing on a broadhead the night before opening day and assuming nothing changes. Your practice must match your hunt, bolt for bolt and point for point.
Why broadheads fly differently from field points
A field point is a smooth, narrow cone with almost no exposed surface for air to push against, so it forgives a small wobble on launch. A fixed-blade broadhead is different: its blades act like small wings at the front of the bolt, and if the bolt leaves the bow even slightly out of line, the blades catch air and steer the bolt away from your point of aim. The faster the crossbow and the bigger the blades, the larger the effect. TenPoint states this directly: fixed-blade broadheads almost always impact differently than practice points and require practice and sighting before hunting. Mechanical broadheads keep their blades closed in flight, so there is much less surface to steer the bolt, and they typically have the same point of impact as practice points. That is a manufacturer statement, not a guarantee for your setup, so you still have to verify mechanicals too.
The broadhead test: same bolt, same weight, three distances
Sight in with field points first, then shoot your exact hunting broadhead at 20 yards, 30 yards, and your maximum hunting distance, using the same bolt and the same grain weight. Compare the point of impact, not just the group size: a tight group three inches left of your field points is still a miss on a deer. If your broadheads group apart from your field points, re-sight for the hunting setup, or change the broadhead. A drift of about 3 inches at 40 yards can turn a lung shot into a gut shot, so this test is not optional. Spin test each broadhead-tipped bolt before you shoot it, and use a target rated for broadheads, because broadheads destroy ordinary foam targets and are hard to pull out of them.
Fixed blade or mechanical: what changes and what does not
Fixed-blade broadheads commonly have cutting diameters of 1 to 1.25 inches and 2, 3, or 4 blades, with 3 blades the most popular, and they offer high durability and penetration because there are no moving parts. Mechanical broadheads offer larger cutting diameters and field-point-like flight, but they depend on blades opening on impact, and some jurisdictions restrict them, so check your state rules before choosing them. Either way, choose a mechanical rated for crossbow speeds. Read the fixed vs mechanical broadhead picks guide, then test the broadhead you choose the way this tip describes.
Common mistakes
Do not practice with a 60-grain field point and hunt with a 100-grain broadhead: grain weight must match between practice and hunting points. Common hunting broadhead weights are 100 grains and 125 grains, stated here as a common choice, not a rule. Handle broadheads with the same care as a loaded bow, keeping fingers clear when loading a broadhead-tipped bolt. Heavier bolts around 400 grains total are often recommended for better penetration, and kinetic energy matters more downrange than the advertised speed on the box, but treat that as guidance, not as a required bolt weight. If you change anything about your setup, re-run the broadhead test before you hunt.
Tip 2: Master the Shot From Your Tree Stand
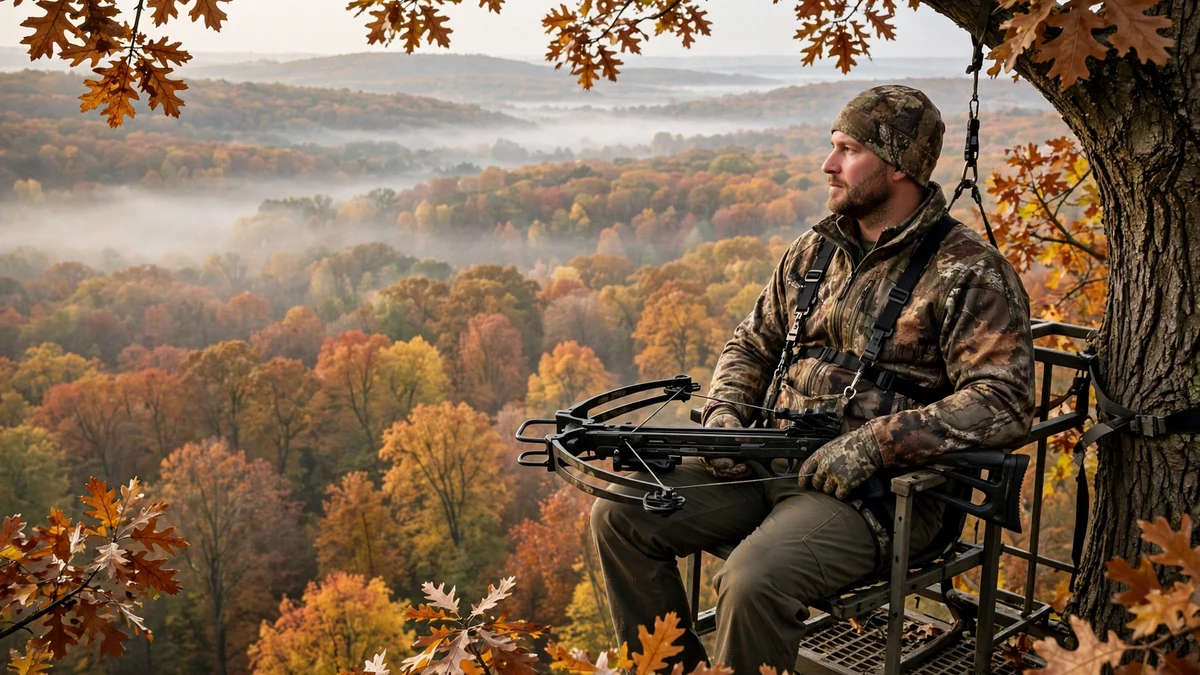
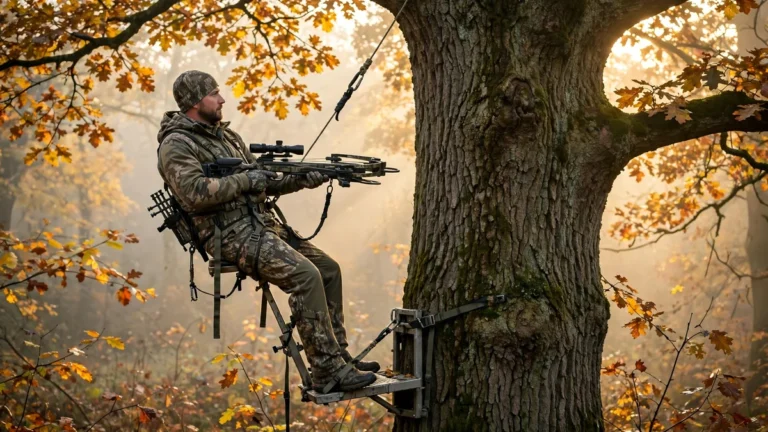
Shooting from a tree stand is a different skill from shooting from a bench: the angle changes the bolt flight, the rail changes your grip, and the deer can appear behind you or to your side. All three problems are solved in practice, not in the moment.
Why downhill shots fly high
On level ground the bolt feels the full effect of gravity over its flight. From elevation, shooting down at an angle, the bolt travels with gravity more than against it, so it drops less than it would on flat ground at the same line-of-sight distance. The practical result is that you can shoot high if you use the line-of-sight distance instead of the horizontal distance. TenPoint gives the example that a 30-yard shot from a tree stand might need the 20-yard pin or dot, depending on the angle. Treat that as TenPoint’s illustration, not as a fixed conversion table, because the real correction depends on stand height, distance, and bolt speed. The safe rule of thumb is to aim slightly lower than you would on flat ground at the same ranged distance, and the steeper the angle, the more it matters. At 25 yards and under, the difference is small.
An angle-compensating rangefinder reports the horizontal distance to aim for, not the longer line-of-sight distance, so use its bow or angle-compensation mode if it has one. If it does not, pre-ranging landmarks and practicing from elevation matter even more. Read the angle-compensating rangefinder picks guide if you are choosing one.
Practice from elevation, in your hunting clothes, in low light
Practice from an elevated position if you hunt from a stand, and from sitting if you hunt from a ground blind. Practice in the heavy outerwear you will hunt in, because a thick jacket changes your cheek weld, your shoulder position, and how the stock sits against you, and practice in low light too, because deer movement peaks at dawn and dusk. Shoot from a solid rest whenever possible: a crossbow weighs 7 to 9 pounds rigged, and freehand shooting magnifies tremor. A shooting rail, monopod, tripod, or shooting sticks steadies the shot, so pad the rail so the forend does not clank on it.
Map your lanes and your angles before the season
The height of the stand rail changes your grip and pivot points: a high rail can act like a gun rest, while a low rail or a net seat changes how you hold the forend. Find, in practice, where your support hand sits and where the scope sits relative to your eye at each likely shooting angle, including twisting to shoot behind or to the side of the stand. Treestand shot angles are restricted: a right-handed hunter facing the tree is restricted to about a 45-degree arc on the left side, for example. Map your stand’s shooting lanes before the season and clear them, rather than discovering a blocked angle when a deer appears. For steep shots, bend at the waist instead of just lowering the bow with your arms, which keeps the same upper-body geometry as a level shot.
Think about the exit, not just the entry
For a broadside deer from a stand, aim behind the front leg, about one-third of the way up from the bottom of the chest. Think about the exit, not just the entry: the bolt travels downward through the animal, so the entry can look high while the bolt still passes through both lungs toward the opposite lower side. Aim for the opposite shoulder on a quartering-away shot. Do not take a shot at a deer directly under the stand unless the angle still gives a clean path through the vitals, because a very steep angle turns the vital zone into a small, hard target and risks a spine or single-lung hit. If you are not confident the bolt will pass through both lungs, wait for a better angle.
Tip 3: Safety and Gear Check in the Stand
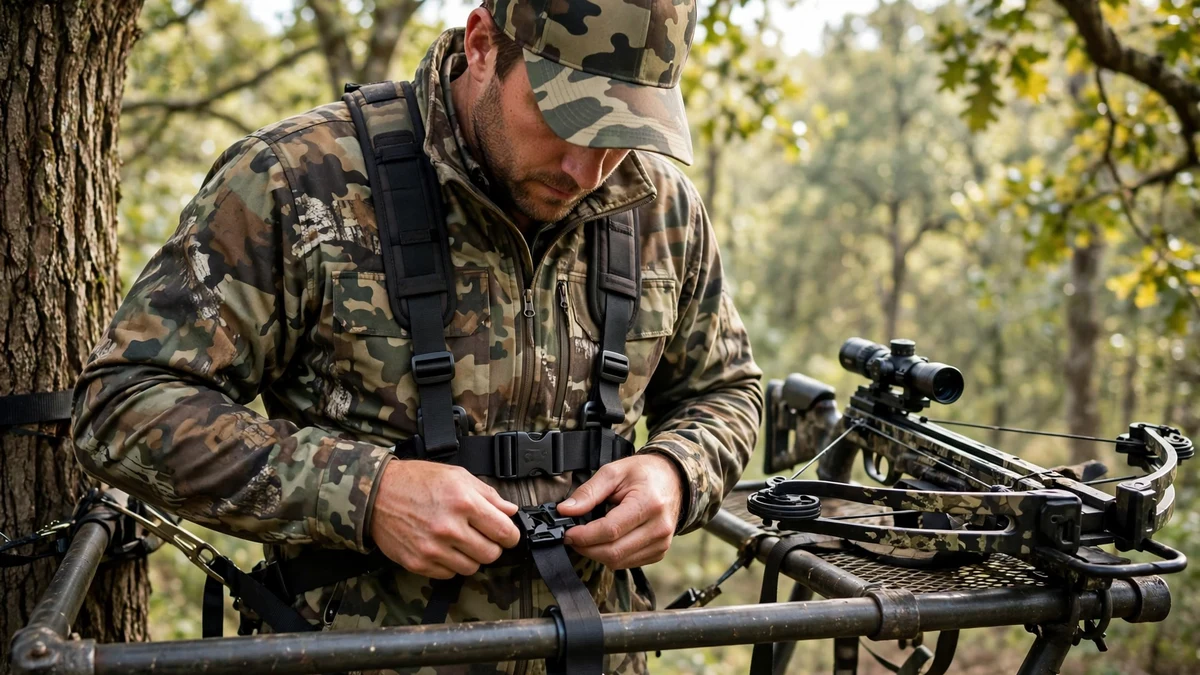
Treestand falls are the most common serious hunting accident, ahead of firearms incidents, and most falls happen while climbing in or out, or while transitioning onto the platform, not while sitting. The percentages you will see quoted for treestand falls come from secondary reporting of agency and foundation data, not from primary papers read for this guide, so this guide does not present them as verified figures. The firm takeaway is simple: wear a harness, stay connected, and never climb with a loaded bow.
The harness rule: connected from the ground up
Wear a full-body harness, not a waist belt, and stay connected from the moment your feet leave the ground until they return to it, using a lifeline so there is no unclipped moment during the climb. Check the harness expiry date, replace it after a fall or when it expires, and inspect the stand, steps, straps, and chains before the season, because structural failure is a leading cause of falls. Read the safety rules for handling every bow for the full safety sequence before your first hunt.
Haul it up unloaded, load it only when you are seated
Cock the crossbow on the ground, engage the safety, and haul it up on a pull rope tied away from the trigger, with the muzzle pointing down. Never climb with a cocked and loaded crossbow, never let the bow swing or bang against the tree on the way up, and never aim it up at yourself while pulling it up. Take the bolt out for the climb if your manual requires it, and load the bolt only once you are seated and secured. Never cock a crossbow while leaning over in a stand. Once you are up, inspect before loading: look for twigs, vines, or debris caught in the cables, string, or rail, check that the scope and quiver are secure, and check that the safety works.
Fingers below the rail, every single shot
Always keep your hands, fingers, and thumbs below the flight rail and out of the string and cable path. Owner’s manuals from multiple makers use the same warning in capital letters, and state that failure can cause serious injury including amputation. This is the single most important crossbow-specific safety rule, and it deserves its own place in your shot routine. Never dry fire: firing without a bolt lets the stored energy go into the limbs, riser, cams, and string instead of the bolt, and it can crack limbs, derail the string, and throw fragments toward you. Treat a cocked crossbow like a loaded firearm: muzzle in a safe direction at all times, finger off the trigger until you are ready to shoot, safety on until you are on target.
Cocking evenly, and how to safely de-cock after the hunt
Cocking evenly matters for accuracy, not just safety: uneven hand cocking shifts the point of impact by several inches, so always use the cocking aid your bow is designed for and follow the manual for that model. De-cocking after the hunt is where beginners get hurt or damage a bow. First, know which system your bow has, because not all cranks de-cock: a plain ACUdraw does not safely de-cock, while the ACUdraw De-Cock does, so never say just “ACUdraw” without saying which one. If your bow has a safe de-cock system, such as ACUdraw De-Cock or ACUslide MAXX, follow the manual exactly: remove the bolt first, put the trigger in de-cock mode, backwind the handle with control, and never let go of the handle midway unless the manual says the system stops instantly. If your bow does not have a safe de-cock system, the safe way to unload is to fire a practice bolt or a dedicated unloading bolt into a target or into soft, rock-free ground, where your state allows carrying a practice bolt. Never try to uncock by hand or by reversing a plain crank: the plain ACUdraw manual warns against it, because the string can slip and cause injury or damage. Never store or transport a crossbow cocked or loaded.
Tip 4: Conquer the Adrenaline Rush
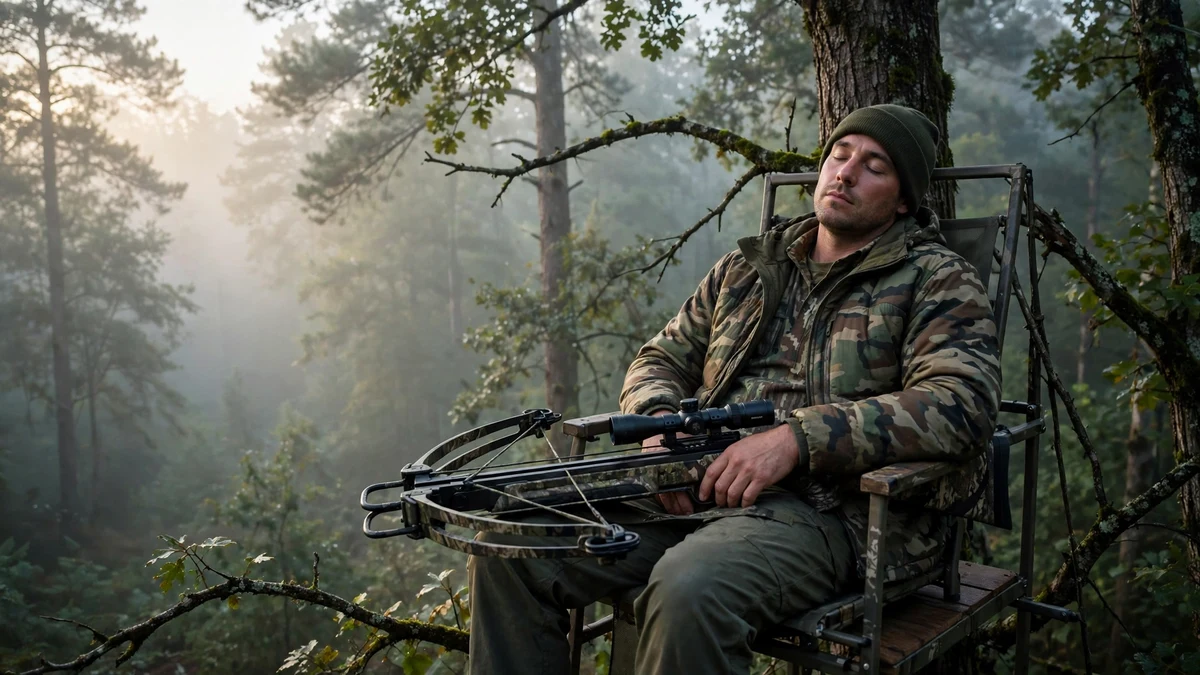
Buck fever is not a character flaw. It is a real adrenaline response, and it happens to experienced hunters too. When a deer steps into range, your sympathetic nervous system releases adrenaline: your heart rate rises, your breathing turns shallow and fast, your hands shake, your focus narrows, and your fine motor control gets worse while your gross motor strength holds up. A 2019 review in Frontiers in Psychology found that gross motor behaviour holds up under acute stress while finer muscle control declines. There is no real cure, only management, and you manage it with a routine you have rehearsed.
Breathe out longer than you breathe in
Slow, exhale-heavy breathing lowers arousal. Try breathing in for 4 counts and out for 6 to 8 counts, for 3 to 5 cycles. A 2018 systematic review in Frontiers in Human Neuroscience found that slow breathing under 10 breaths per minute increased heart rate variability and reduced arousal symptoms in healthy volunteers, who were not in a deer stand, so this guide presents the mechanism honestly, not as a hunting study. A long exhale raises vagal tone and slows the heart. Do it before you raise the bow, not while you are trying to aim.
Run the same checklist every time
Run a short verbal checklist, in your head, in the same order every time: breathe, safety is off, fingers below the rail, settle the pin, squeeze the trigger. The words matter less than the sequence: saying the steps forces sequential thinking and pulls you out of the panic loop. Rehearse this checklist at the range until it is automatic. Get on a rest whenever you can: a rail, a monopod, a tripod, or the side of the tree steadies the shake.
Aim small, and know when not to shoot
Pick one small spot behind the shoulder, not the whole deer and not the antlers. Focusing on the spot redirects your attention from the animal to the task. Wait for the shot you practiced: if the deer is moving, quartering toward you, or beyond your proven range, do not shoot. A passed shot is a successful hunt. Never use medication to calm your nerves for hunting.
Rehearse it at the range: the heart-rate drill
At the range, set a timer for a random 30 to 40 seconds, do jumping jacks or a short jog to raise your heart rate, then take one careful shot from your hunting position. Repeat. This simulates the adrenaline state in a safe place. Use live bolts on a rated target, and never dry fire for this drill.
Tip 5: Be Cognizant of Limb Expansion
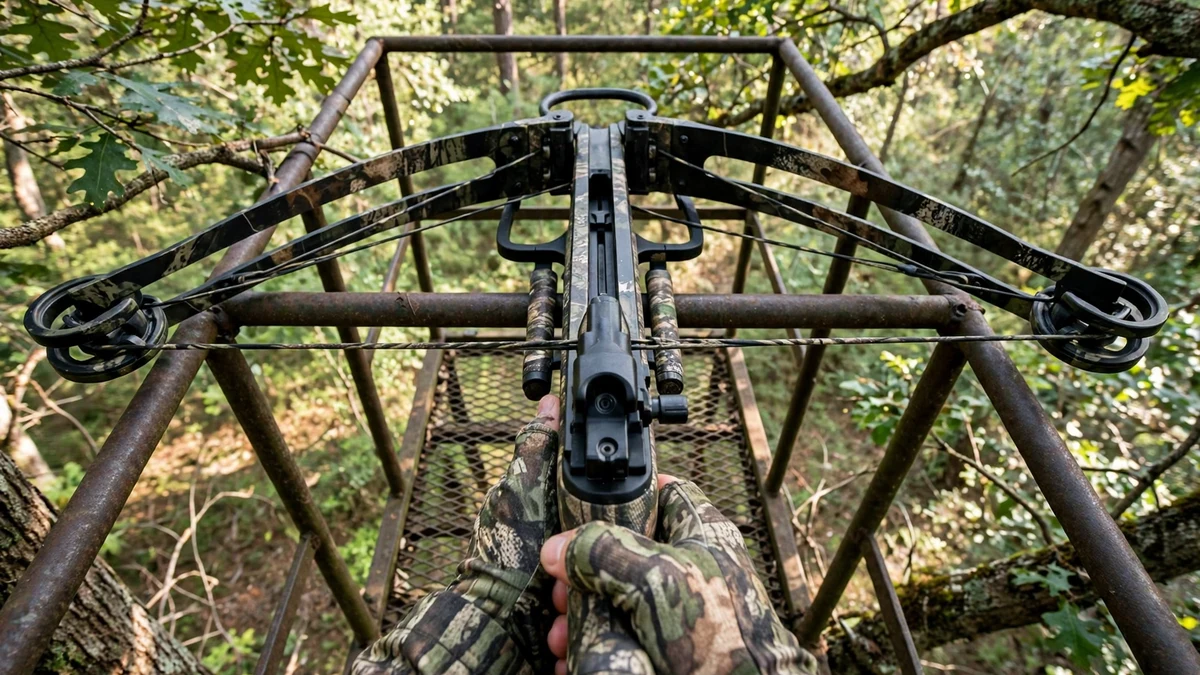
When a crossbow fires, the limbs snap forward and outward to their resting position with great force, and anything in that sweep gets hit. Owner’s manuals state this plainly: always be sure the limbs are clear from striking any obstacle before shooting, because a strike can damage the limbs and the obstacle, deflect the bolt, and injure the shooter with debris.
What happens when the limbs snap forward
The limbs do not just move forward: they sweep outward to the sides as they return to rest, so the check is wider than the bolt path. A limb strike happens to the sides, not just in front. Check both sides of the bow, across the full width the limbs will reach when fired. Do not use a single clearance number in inches, because it depends on the model. Check your model’s cocked width, for example the R500 at 3.6 inches cocked is unusually narrow and the R10X Pro at 6.5 inches cocked is wider, then add margin for branches that can move in the wind or for the bow shifting as you track a deer.
Treestand cover and ground-blind windows
In a treestand, the risk is higher because you are nestled in cover, and multi-trunk trees give good cover and bad clearance. Before the season, clear twigs from the limb path at every spot you might shoot from, and re-check on the day, because wind moves branches. In a ground blind, keep the limbs fully inside or fully outside the window, never resting against the frame, and rest the crossbow on the forend of the stock, behind the limbs.
Add the limb check to your shot routine
When you track a deer across the shooting zone, the limb path changes with your aim: a lane that was clear for a deer straight ahead may not be clear for a deer at 45 degrees. Add a pre-shot limb check to your shot routine: bolt path clear, limbs clear on both sides, fingers below the rail, then shoot. Best case if you skip it, a miss. Worse cases, a wounded animal from a deflected bolt, a cracked or splintered limb, a derailed string, or debris striking you. If you are unsure whether a limb is clear, do not shoot. Read the safety rules for handling every bow for the full limb clearance and safety sequence.
Tip 6: Master Shot Placement for Ethical Kills
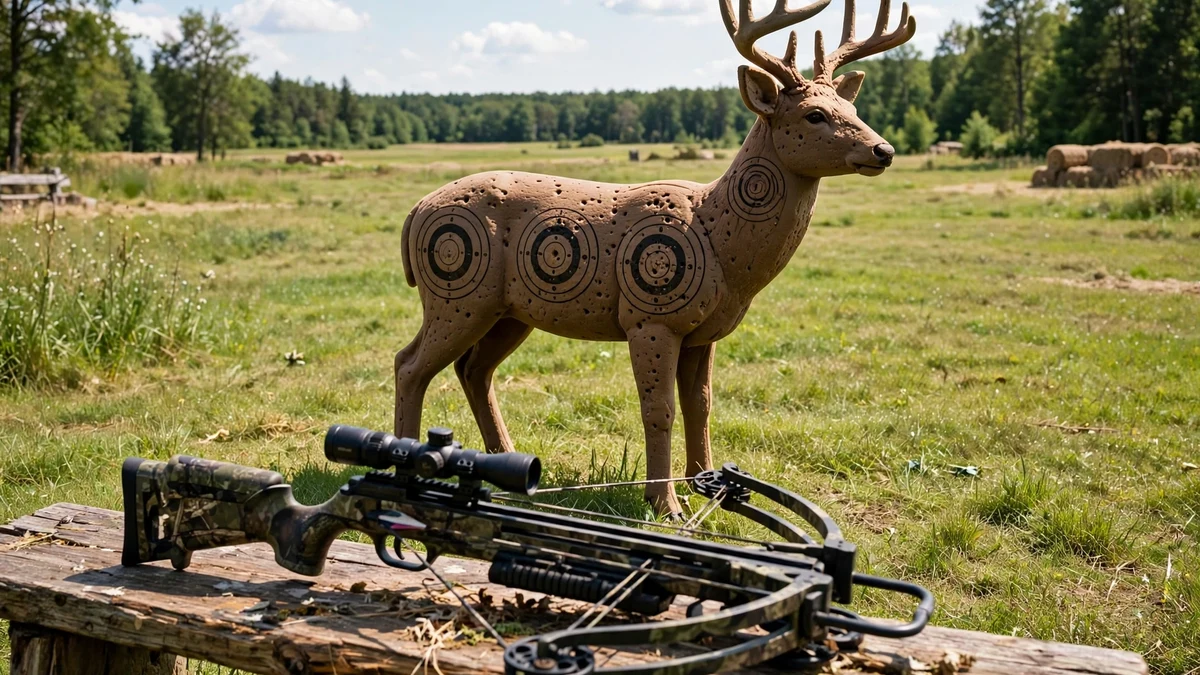
A crossbow is not a rifle. It is an archery weapon, and it kills in a different way: a rifle bullet kills partly through blunt trauma and massive tissue disruption, while a broadhead kills by cutting tissue and blood vessels so the animal bleeds out. There is no meaningful shock effect from a bolt, so the broadhead must physically pass through vital tissue to be lethal. That is why a crossbow cannot take the shots a rifle can.
How a bolt kills: hemorrhage, not shock
The heart and both lungs sit in the chest cavity directly behind the front shoulder. Sources describe the vital zone in different ways, about 8 inches tall and 6 inches wide on a mature deer, or about 8 inches in diameter, so this guide does not present one exact inch figure as settled anatomy. Think of the zone as roughly the size of a paper plate. A double-lung hit is the goal: it collapses both lungs, severs major vessels, causes rapid blood loss, and usually puts the deer down within 100 yards, often within 50 yards. One source gives a minimum of 40 foot-pounds of kinetic energy for whitetail deer, with 55 foot-pounds or more preferred for reliable pass-through on broadside shots, but that is that source’s guidance, not a universal legal minimum.
The vital zone and the broadside aim point
For a broadside deer, aim directly behind the crease of the front leg, about one-third of the way up from the bottom of the chest, visualizing the heart low and forward, with the lungs filling the cavity above and behind it. The broadside shot is your best shot: it gives the widest view of the vitals, and an inch or two off still hits vitals. At longer distances, remember that a deer can react to the sound of the shot and move before the bolt arrives. One source puts the bolt travel time at about 0.4 seconds at 40 yards, as an illustration of why long shots are risky, not as a timed measurement for every bow.
Quartering-away is a Plan B, quartering-toward is a no
A slight quartering-away angle, less than about 45 degrees, is ethical, and it is a solid Plan B when a broadside shot is not coming. Aim for the near-side shoulder area so the bolt travels forward through the chest toward the off-side shoulder, passing through liver, lung, and major arteries, and the blood trail is usually heavy. Do not group it with quartering-toward: a quartering-toward shot is a no for a beginner, because the shoulder blade blocks penetration and the bolt may reach only one lung. Sharp quartering-away shots are also a problem, because the window shrinks as the angle grows and the risk of a glancing wound rises. Do not take head shots, straight-away shots, or shots at a deer directly under a steep stand angle unless the path through the vitals is clean. For the full angle-by-angle detail, read the where to aim on a deer.
Why a pass-through matters for the blood trail
A bolt that exits the opposite side creates two wound channels and a much better blood trail than a bolt that stays inside, which is why broadside and slight quartering-away are preferred, and why hitting heavy shoulder bone is to be avoided: a bolt hitting a major shoulder bone is unlikely to pass through, and a bolt that stays in the deer can plug the exit and thin the trail. Your broadhead choice matters here too, so read the fixed vs mechanical broadhead picks guide and test your broadheads the way Tip 1 describes. When in doubt about the angle, the range, or the shot, wait.
Know Your Range Before the Deer Arrives
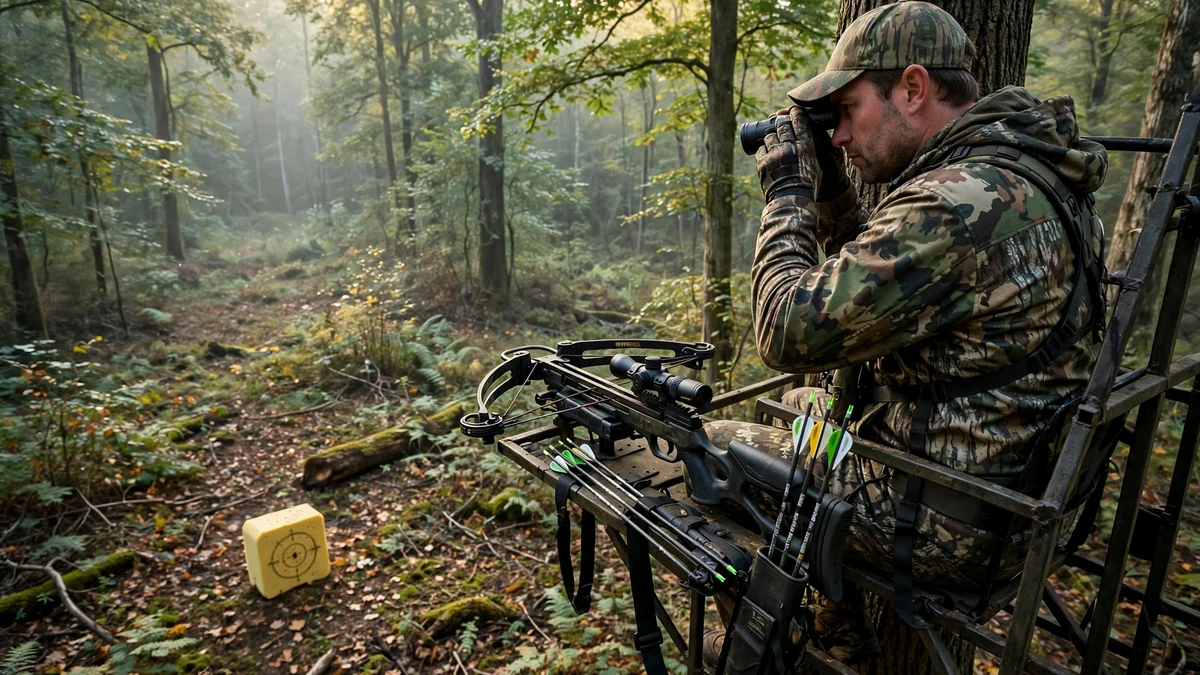
Range-estimation error is the most common reason for missing shots on game, so treat the rangefinder as essential kit, not as an accessory. Pre-range landmarks from the stand before the deer arrives: the base of trees, trail crossings, stumps, rocks, and field edges. Build a mental distance map, the oak is 20 yards, the trail crossing is 30 yards, the field edge is 40 yards, so when a deer steps into a known lane, you already know the distance without lifting the rangefinder and moving.
Use an angle-compensating rangefinder from a stand, which reports the horizontal distance to aim for, not the longer line-of-sight distance. Range the ground or a tree trunk behind the deer if the deer itself gives a jumpy reading, because hair and brush give inconsistent returns. Practice judging distance without the rangefinder too, then check with it. A 20-yard zero is a common starting point, and one source illustrates it as putting the bolt 1 to 2 inches high at 15 yards and 2 to 3 inches low at 25 yards. That is a speed-dependent illustration, not a universal table, so confirm your own trajectory at 30, 40, and 50 yards. Read five-step sighting-in walkthrough for the full sighting-in sequence, and the angle-compensating rangefinder picks guide for choosing one.
Play the Wind and Scent
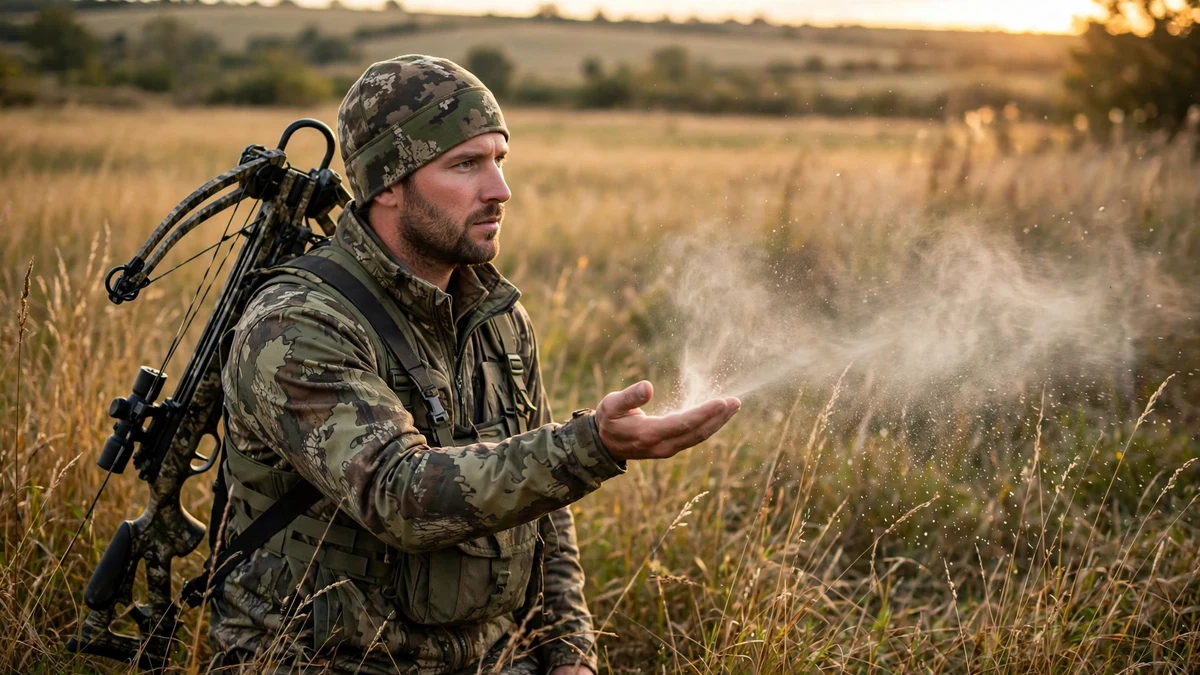
Crossbow hunting happens at 20 to 40 yards, where a deer can see movement, hear a shuffle, and smell you, so scent control is stricter than for rifle hunting. Wind is the primary control. Position the stand so the prevailing wind blows from the deer’s expected approach toward you, so your scent stream goes away from the deer. Hunt with the wind in your face or as a crosswind, never at your back. If the wind shifts against you, the honest advice is to move or leave, not to trust a spray.
Thermals matter in hilly ground: morning air rises as the ground warms, and evening air falls as it cools, so a wind that is right on a map can swirl in a valley or a bowl. Use a simple wind indicator, milkweed, powder, or smoke, at the stand to see what the air is actually doing. Treat scent as hygiene, not as a guarantee: wash clothes in scent-free detergent, store them sealed, and use scent-free soap. There is very little credible third-party evidence that commercial scent products fully prevent detection by deer in real hunting conditions, and wind placement matters more. Move the crossbow slowly into position and keep gear from clanking on the rail.
What to Do After the Shot
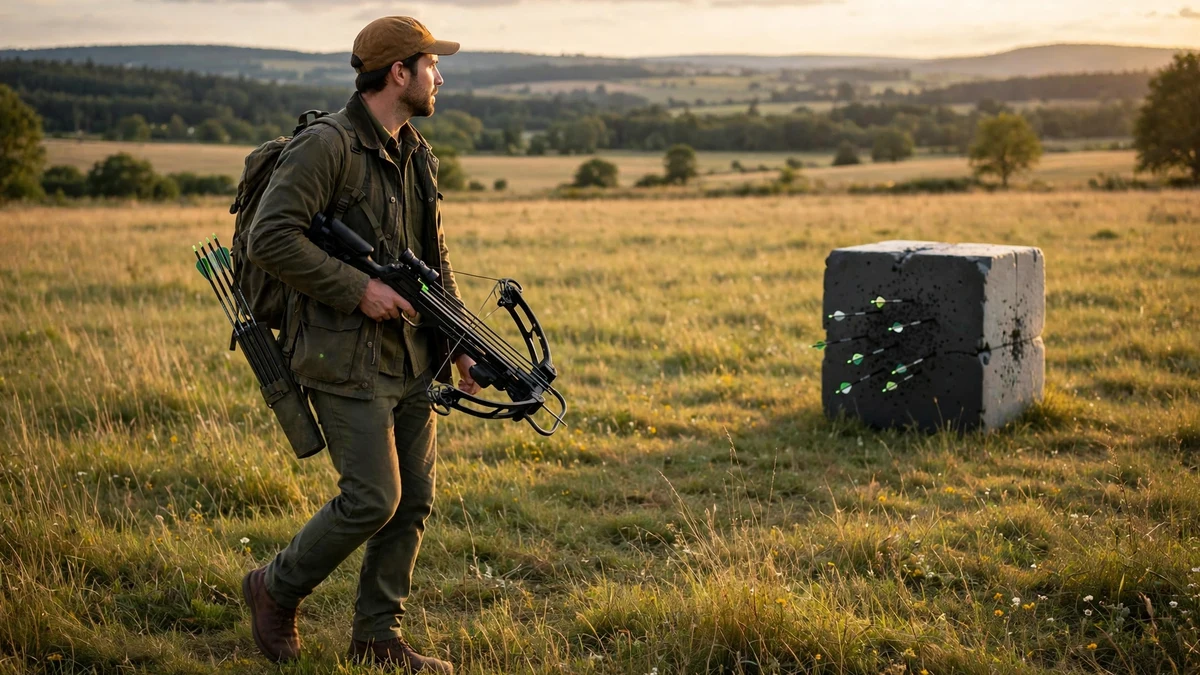
Your hunt is not over when you shoot: what you do in the next minutes decides whether you recover the deer. Stay still and watch, note exactly where the deer stood, which way it ran, and the last place it was seen, and mark the spot with a landmark. Listen, and do not climb down immediately.
Watch, mark, and wait
Wait before tracking. The wait depends on the hit, and the sources disagree on exact hours, so this guide gives ranges, not a single number.
| Hit | How long to wait | What to expect |
|---|---|---|
| Heart or double lung | 20 to 30 minutes, some recovery teams advise 1 hour | A well-hit deer usually goes down within 100 yards, often within 50 yards |
| Liver | Several hours, sources give 3 to 6 hours and 6 to 9 hours | Wait longer if unsure, the deer may bed down nearby |
| Gut | Many hours, often overnight, sources give 6 to 8 hours and 12 to 24 hours | Do not push a gut-hit deer, pushing it makes it run farther and makes recovery harder |
| Unsure where the hit was | 30 to 60 minutes, then start slowly and carefully | Move quietly and be ready to back out |
If the hit was outside the chest, such as neck, leg, rump, or back, the animal may stop bleeding and survive. If the conditions are right, with open terrain, tracking snow, and good initial blood, some hunter-education sources advise taking up the trail immediately and pushing the animal so it keeps bleeding. That is the exception, not the rule. Check local rules on tracking at night, using lights, and using tracking dogs before the hunt.
Read the blood and the bolt
Blood is a clue, not a diagnosis. Bright pink or red blood with bubbles means a lung hit, and a short trail is expected. Bright red blood in heavy spray means a heart or major artery hit. Dark red blood means a liver, kidney, or muscle hit, and a longer wait is needed. Dark or watery blood with green or brown bits of plant matter, or a foul smell on the bolt, means a gut hit, and a long wait is needed. Read the deer’s reaction too: a hard mule kick often points to a heart or lung hit, a hunched, slow walk away can suggest a gut hit, and a deer that walks or slowly runs off without a hard reaction can suggest a liver hit. Find the bolt if it passed through and inspect it.
Track it step by step
Mark each blood spot with flagging tape or a marker so the trail is not lost. Move slowly, look ahead for a bedded deer, and look past blood for tracks and broken cover. If the blood thins or stops, circle outward from the last sign in widening arcs. Carry a second bolt, and when blood trailing, keep the crossbow cocked with a bolt loaded and the safety on, in case the deer needs a follow-up shot. Never give up while there is sign to follow: a well-hit animal is usually found within 200 yards, while a poorly hit animal may travel considerably farther. For the full angle-by-angle placement detail, read the where to aim on a deer.
Frequently Asked Questions
How far should a beginner shoot a deer with a crossbow?
There is no consensus number, with sources giving figures from 30 yards to 50 yards. Use the paper-plate test: shoot three bolts from your hunting position, in your hunting clothes, with your hunting broadheads, and walk back until you cannot put all three inside a paper plate. Subtract 5 yards from the last distance where you passed.
Do I need to practice with my hunting broadheads, or are field points enough?
Field points are not enough. Fixed-blade broadheads almost always impact differently from field points, and mechanicals typically fly like field points but still need verifying. Sight in with field points, then shoot your exact hunting broadhead at 20 yards, 30 yards, and your maximum hunting distance, using the same bolt and the same grain weight.
Why do my broadheads hit somewhere different from my field points?
A fixed-blade broadhead has blades that act like small wings at the front of the bolt: if the bolt leaves the bow even slightly out of line, the blades catch air and steer the bolt away from your point of aim. The faster the crossbow and the bigger the blades, the larger the effect. A field point is a smooth, narrow cone with almost no exposed surface for air to push against, so it forgives a small wobble that a broadhead will not forgive.
Should I aim high or low from a tree stand?
Aim slightly lower than you would on flat ground at the same ranged distance, because a downhill shot drops less than a level shot at the same line-of-sight distance. TenPoint illustrates this with a 30-yard stand shot that might need the 20-yard pin or dot, depending on the angle. Use an angle-compensating rangefinder, which reports the horizontal distance to aim for, and practice from elevation.
Can I cock my crossbow in the tree stand?
Cock it on the ground, engage the safety, and haul it up unloaded on a pull rope. Load the bolt only once you are seated and secured. Never climb with a cocked and loaded crossbow, and never cock a crossbow while leaning over in a stand. The safe default for a beginner is ground first.
How do I safely unload my crossbow if I do not shoot?
First, know which system your bow has: a plain ACUdraw does not safely de-cock, while the ACUdraw De-Cock does. If your bow has a safe de-cock system, remove the bolt first, put the trigger in de-cock mode, and backwind the handle with control, following the manual exactly. If it does not, fire a practice bolt or a dedicated unloading bolt into a target or into soft, rock-free ground where your state allows it. Never try to uncock by hand or by reversing a plain crank.
What is buck fever, and can I stop it?
Buck fever is an adrenaline response: your heart rate rises, your breathing turns shallow and fast, your hands shake, and your fine motor control gets worse. There is no cure, only management. Breathe out longer than you breathe in, run the same checklist every time, get on a rest, aim at one small spot, and rehearse it at the range with a heart-rate drill.
How long should I wait before tracking a deer after the shot?
It depends on the hit, and sources disagree on exact hours. Wait 20 to 30 minutes for a heart or double-lung hit, with some recovery teams advising 1 hour. Wait several hours for a liver hit, with sources giving 3 to 6 hours and 6 to 9 hours. Wait many hours, often overnight, for a gut hit, with sources giving 6 to 8 hours and 12 to 24 hours. When in doubt, wait longer.
Is a quartering-away shot okay with a crossbow?
A slight quartering-away angle, less than about 45 degrees, is ethical: aim for the near-side shoulder area so the bolt travels forward through the chest toward the off-side shoulder. Sharp quartering-away shots are a problem, because the window shrinks and the risk of a glancing wound rises. Any quartering-toward shot is a no for a beginner, because the shoulder blade blocks penetration.
Keep Learning
- Best Crossbow for Beginners: 5 Picks to Start Hunting Right
- Deer Shot Placement Guide: Where to Aim With a Crossbow
- Crossbow Safety Guide: How to Handle Every Bow Safely
- How to Sight In a Crossbow in 5 Steps
- Best Crossbow Broadheads 2026: Fixed vs Mechanical
- Best Rangefinder for Crossbow Hunting 2026: 6 Compared