How to Tune a Crossbow: Recurve vs Compound Guide
The Short Answer
Tuning a crossbow means getting three things to agree: the bow, the bolt, and the optic. Inspect and tighten everything, set brace height on a recurve or check cam timing on a compound, make sure your bolts spin true and group with your broadheads, then calibrate the scope. I learned this the hard way: most accuracy problems are not the bow. They are loose screws, a tired string, sloppy cocking, or bolts that do not match the bow.
A quick, honest note from Nick: I am a beginner hunter, not a bow technician. Everything below is what I learned from my own mistakes, my owner manual, and a patient pro-shop tech who saved me from several bad ideas. This article contains affiliate links to the few products I use. If you buy through them, I may earn a commission at no extra cost to you. Read my full affiliate disclosure.
Which Crossbow Do You Have? Recurve and Compound Tuning Are Two Different Jobs
Here is the thing nobody told me when I started. “Tune a crossbow” means something completely different depending on whether your bow has cams (compound) or simple curved limbs (recurve), and how those parts work together to store and release energy is the place to start. Confusing the two is how beginners miss a problem or try to fix something that is not adjustable.
Recurve crossbows (the classic wide-limb design, like most Excalibur models) are the friendly ones. No cams to time, no cables to twist. Tuning a recurve is mostly about one number, brace height, plus inspection and good bolts. You can do nearly all of it on your kitchen table with a stringing aid.
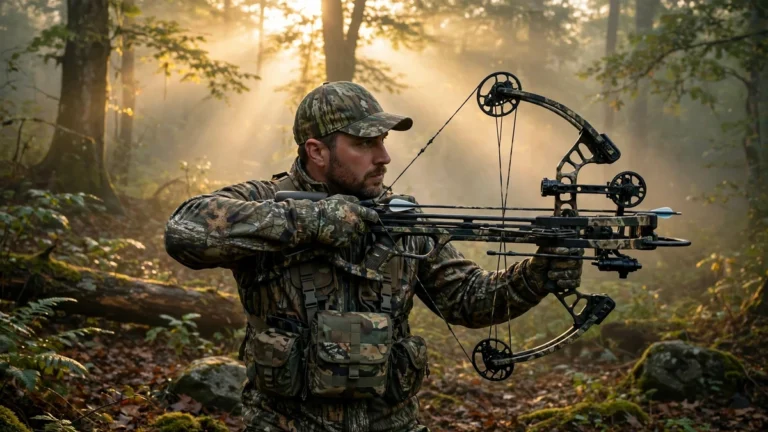
Compound crossbows (cams, cables, pulleys, like most TenPoint, Ravin, and Wicked Ridge bows) hold more speed in a narrower package, but the cam system complicates tuning, and how compound, recurve and reverse-draw bows differ explains the trade-off. You can diagnose a compound at home, but most actual fixing belongs in a pro shop with a bow press. If you shoot a compound, this guide teaches you how to find problems, not how to take the bow apart.
Everything from here splits along this line, and I will flag each step so you know which instructions are yours. If you are still shopping, my crossbow vs compound bow comparison lays out the practical differences between the designs.
Five Words and Ideas That Do Not Apply to Crossbows
Early in my research, I found a page telling me to adjust my crossbow’s “draw weight screws,” set “let-off,” install a “peep sight,” and take it to a “gunsmith.” Every one of those is a vertical-bow or firearm concept that does not transfer to crossbows. I am warning you off them explicitly, because that bad advice is still floating around.
- Draw weight screws: on a compound vertical bow you can back out limb bolts to lower draw weight. On a crossbow, the limb bolts set the bow’s geometry and are NOT a power adjustment. A crossbow shoots at its factory draw weight, period.
- Let-off: a vertical-bow compound concept with no adjustable meaning on a crossbow. If someone talks about tuning your crossbow’s let-off, they are describing the wrong machine.
- Peep sights: a peep goes on a vertical bowstring. There is no peep on a crossbow string.
- Tiller via limb bolts: routine on vertical bows, but on a crossbow a tiller check is a diagnostic measurement, not a knob you twist. Uneven tiller on a compound means a pro shop, not a DIY project.
- Gunsmith: a gunsmith works on firearms. A crossbow goes to a bow shop or back to the manufacturer.
If an article mixes these terms into crossbow advice, close the tab. That author is recycling vertical-bow knowledge that does not apply to your machine. Check your owner’s manual first, and when in doubt, call the manufacturer or a real bow shop.
The DIY vs Pro Shop Ladder: Know Your Lane
This is the most important table in the article. A crossbow stores hundreds of pounds of energy, and some jobs need a bow press, which safely compresses the limbs so a technician can work on the string and cables. Learn which steps are yours and which belong to someone with a press.
| Step | Recurve (DIY or shop?) | Compound (DIY or shop?) |
|---|---|---|
| Visual inspection of string, cables, limbs, rail | DIY. Do this before every season and every few sessions. | DIY. Same habit, same importance. |
| Tightening stock, scope, and accessory screws | DIY. A snug-check with the right driver. | DIY. Loose screws are the top cause of mystery misses I have seen. |
| Brace height adjustment (string twists) | DIY with a stringing aid. No press needed. | Not applicable the same way. Adjustments go through the cable system. |
| Cam timing dot check | Not applicable (no cams). | DIY check, pro-shop fix. Read the dots; a tech fixes the timing. |
| Cable twists or replacement | Not applicable (no cables). | Pro shop. Requires a press. Do not attempt at home. |
| Tiller measurement | Not applicable. | DIY measurement, pro-shop correction. |
| String replacement | DIY with a stringing aid, if your manual approves. | Pro shop. Press required. |
| String-creep marker tracking | DIY. The marker trick below. | DIY. Catches cable stretch too. |
| Bolt spin test and broadhead alignment | DIY. Cheap tools, big payoff. | DIY. Same. |
| Scope mounting and zeroing | DIY. Follow the manual, validate at the range. | DIY. Same. |
The pattern is simple. If the step touches the string or cables under load on a compound, it is pro-shop work. Everything about inspection, bolts, optics, and recurve strings is your work. Knowing your lane protects your warranty and your fingers. Check your owner’s manual first for what counts as owner-serviceable.
Step 1: Inspect and Tighten
Before I touch any tuning, I look at everything and tighten everything. About half the accuracy complaints I have heard ended with a loose scope mount or a fraying string anyone would have spotted in two minutes. This takes ten minutes and catches cheap problems before you chase expensive ones.
Check the string and cables first. With the bow uncocked, unloaded, and safety on, look down the full length of the string and cables. Look for fraying, separated serving, and any nick or cut. Run your thumb lightly along the serving; rough spots or loose wraps mean trouble. Broken strands or unwinding serving mean a string replacement, which is a pro-shop job on a compound. On a recurve, owners of Excalibur-style recurve crossbows get a simpler answer: a fresh string and a stringing aid, per the manual.
Check the rail and retention spring. Wipe the flight rail clean of debris and dried wax. The retention spring (the arm that holds the bolt on the rail) should press the bolt firmly but not crush it. A bent or weak spring lets the bolt lift at the shot, which shows up as vertical stringing. It is a cheap part and an easy swap on most bows; check your manual.
Tighten every screw. Stock bolts, scope rings, scope mounts, quiver brackets, sling studs, the stirrup. Vibration loosens things over a season. Snug each one with the correct driver and do not over-torque. I do this before the season, at mid-season, and any time a group moves without explanation. A loose mount makes zeroing pointless, so get this right before you read how to sight in a crossbow.
Lube on schedule. Wax the string and lube the rail on your manual’s cadence, typically every 25–30 shots. One caution: excess wax is not harmless, since too much wax can loosen the serving. Thin and even beats thick and gloopy. Ongoing care like this lives in my crossbow maintenance guide, the year-round companion to this article.
Step 2: Tune the Bow Itself
For recurve owners: brace height, the one number that matters
Brace height is the distance from the string at rest to a fixed point on the bow (on Excalibur recurves, from the string to where the riser meets the rail). As a string stretches, brace height shrinks, and the bow gets louder, harsher, and slower. This is the most common recurve issue and the easiest fix in crossbow tuning.
Here is what I do. Measure brace height against the spec in your manual. If the string has crept in, take the string off with a stringing aid and add twists: counter-clockwise twists shorten the string and increase brace height, clockwise twists do the opposite. As a concrete example from my own research: many Excalibur models are correct around 2.5–3 inches, and the RevX runs around 1.5–2 inches. Those are examples of how the spec looks, not your number. Your number is in your owner’s manual. Other brands spec it differently, so verify before touching anything.
Two hard rules. First, always use a stringing aid, never muscle a string on or off a recurve limb by hand. Second, check your owner’s manual first for whether string work is owner-serviceable on your model. Most recurve makers allow it, which is why recurve tuning is so beginner-friendly.
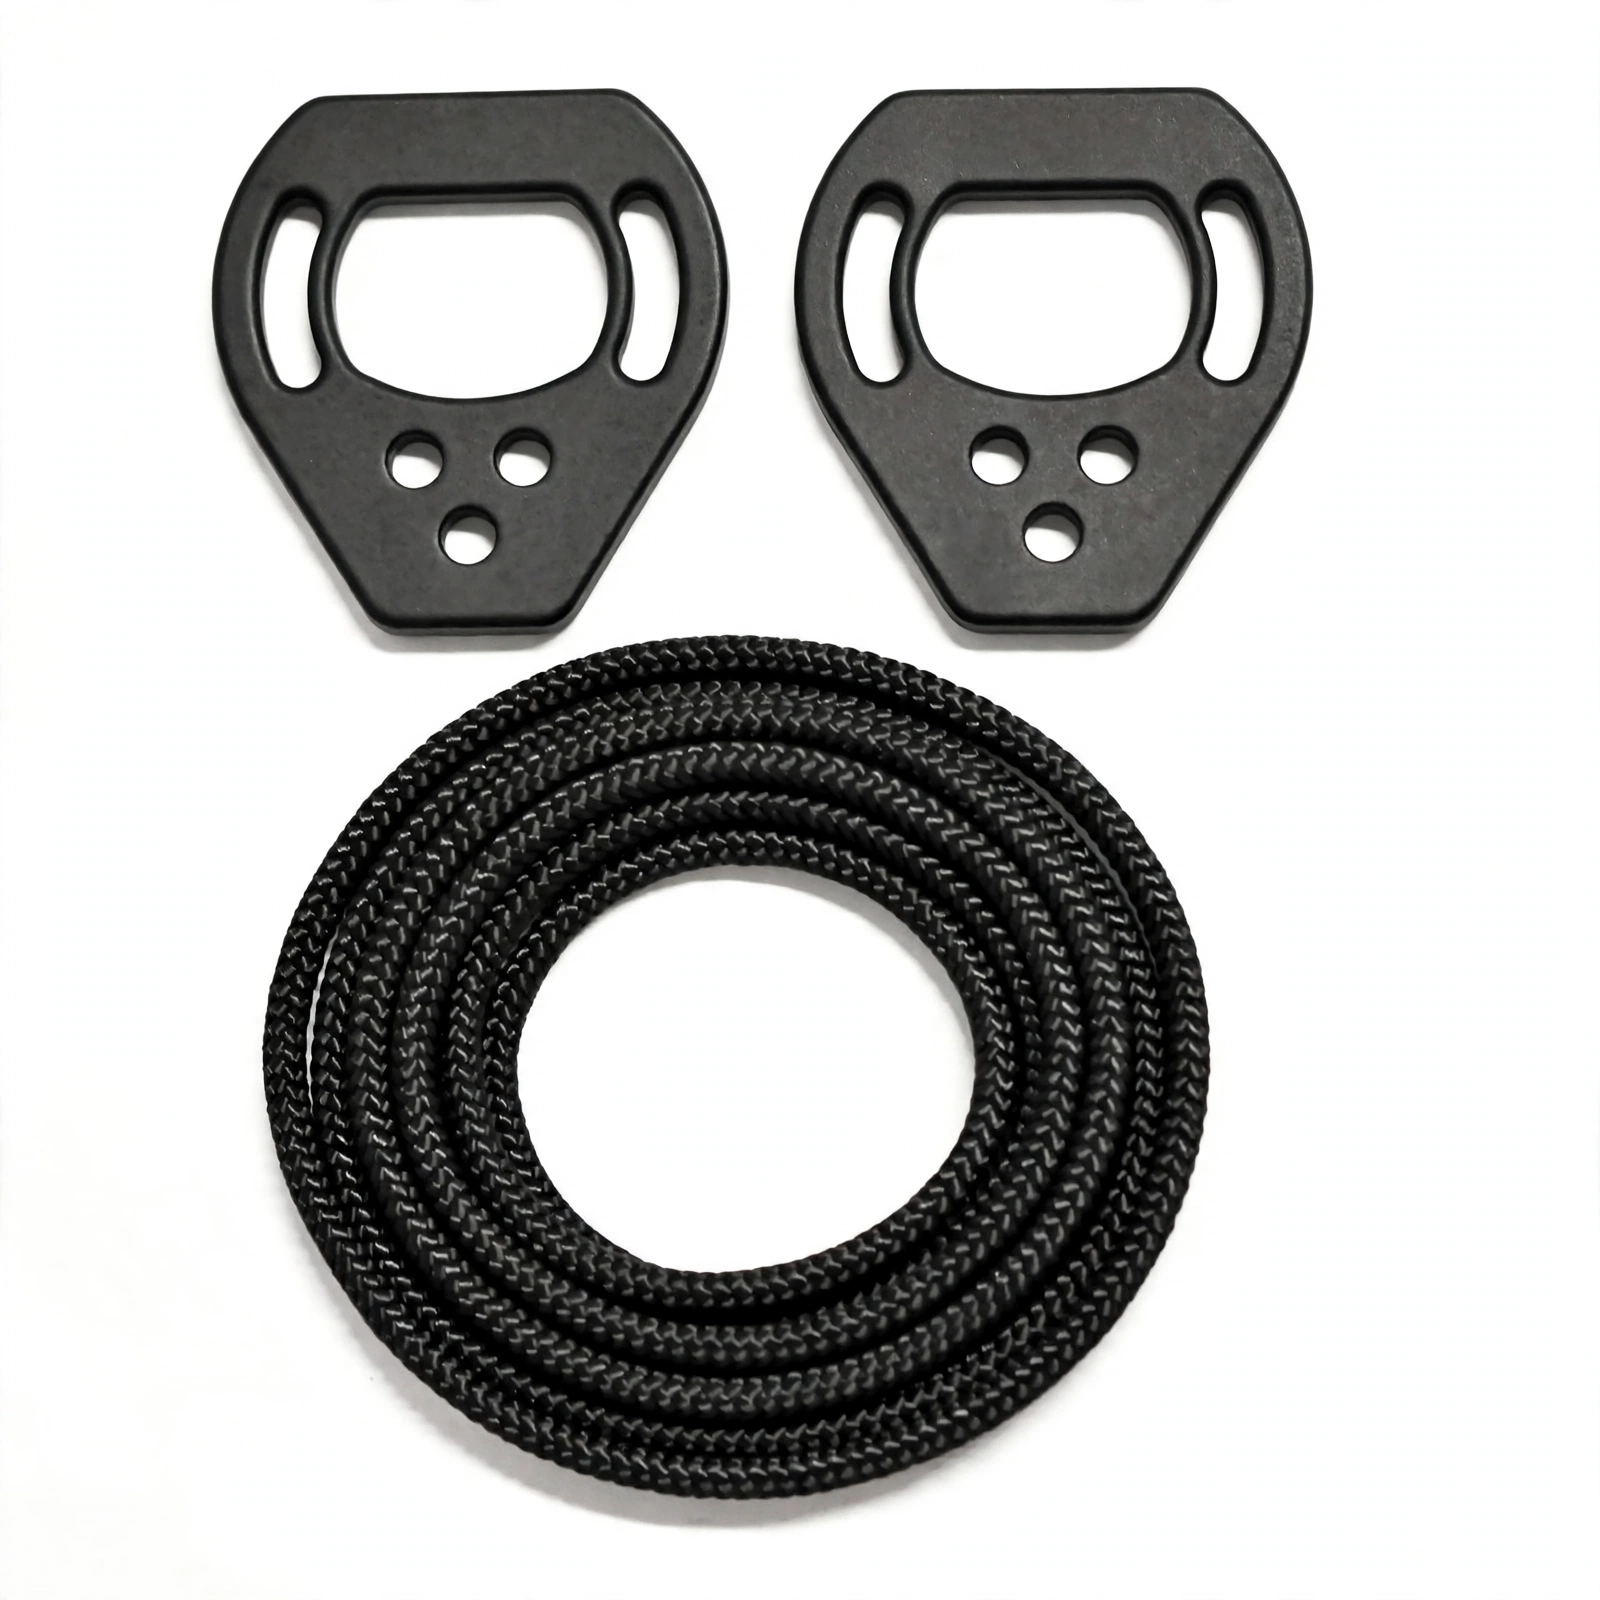
If your bow needs a stringing aid, this is the tool. It lets you relax the limbs safely to add or remove twists, swap strings, and set brace height. Inexpensive, and on a recurve the single most useful tuning tool you will own.
For compound owners: the cam-timing dot check
Most compound crossbows have timing dots or marks on the cams. At rest and at full draw, the marks on both cams should mirror each other in unison. When they do not match, one cam reaches full rotation first and the string pushes the bolt unevenly. The symptom is usually horizontal stringing or a group that moved sideways for no reason.
The DIY part is the checking. Cock the bow (empty, pointed in a safe direction, per your manual), compare the dots on each cam, then uncock it safely. My guide to cocking a crossbow covers doing this consistently, because sloppy cocking fakes a timing problem. If the dots are off, write down what you saw, photograph it, and take the bow to a shop. Cable adjustments need a press, and this is the lane where beginners stop and technicians start. You can also measure tiller (each limb base to the string, both sides) as a DIY diagnostic; an uneven reading goes to the shop too.
The string-creep marker trick
This is the cheapest early-warning system in crossbow ownership. When your string and cables are fresh and in spec, mark the string’s rest position: a dot of white-out or a short piece of thread on the rail beside the string, plus marks on each cam where the cable meets it. Every few sessions, glance at your marks. If the string has crept forward past them, the string or cables have stretched.
On a recurve, creep means add twists or plan a string change. On a compound, the tune has shifted and cam timing will follow, so book the shop before accuracy falls off a cliff. I check mine every time I wax the string, which keeps the habit tied to something I already do. A good baseline is a fresh string and cables roughly every two years of regular use, sooner if your marks show real creep. Check your owner’s manual first for your manufacturer’s replacement interval.
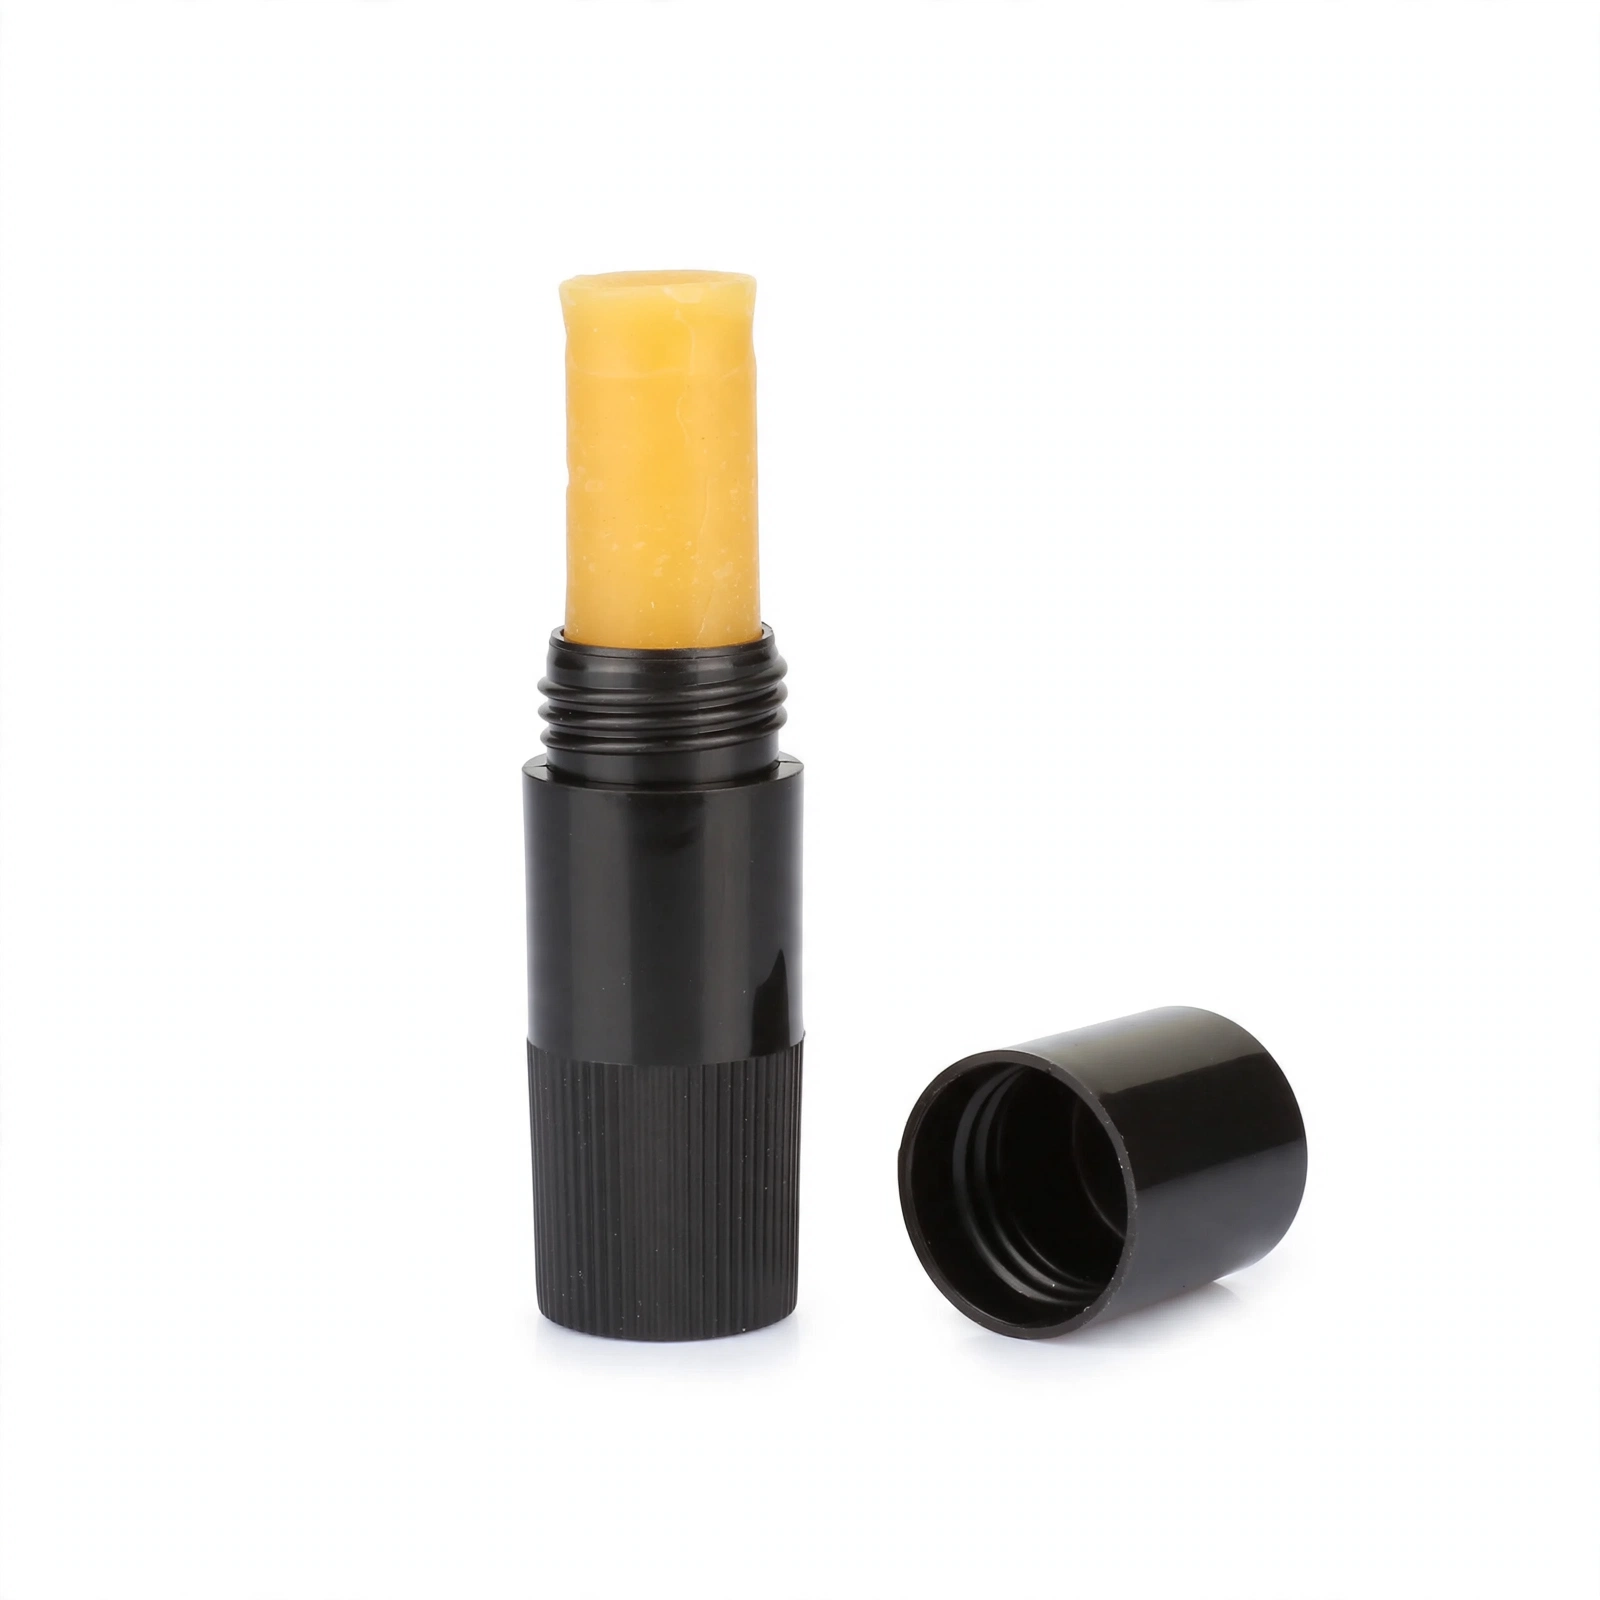
The wax I keep in my field kit. A thin, even coat every 25–30 shots keeps the string and serving healthy without gumming up the rail. Remember: thin and even, not thick and gloopy.
Step 3: Tune the Bolt
This is the step beginners skip, and it is the one that fixed my own groups. A crossbow bolt is short, stiff, and fast, so any flaw shows up big. If field points group tight but your hunting setup will not, do not touch the scope yet. The bolt is talking to you.
Start with the right bolts. Use only bolts that meet your manufacturer’s specs for length, weight, and straightness. This is a safety and accuracy rule, not a suggestion. Inconsistent bolts make tuning impossible because you are chasing a moving target. My crossbow bolt guide covers weights, straightness tolerances, and why advertised speed numbers assume a specific arrow weight.
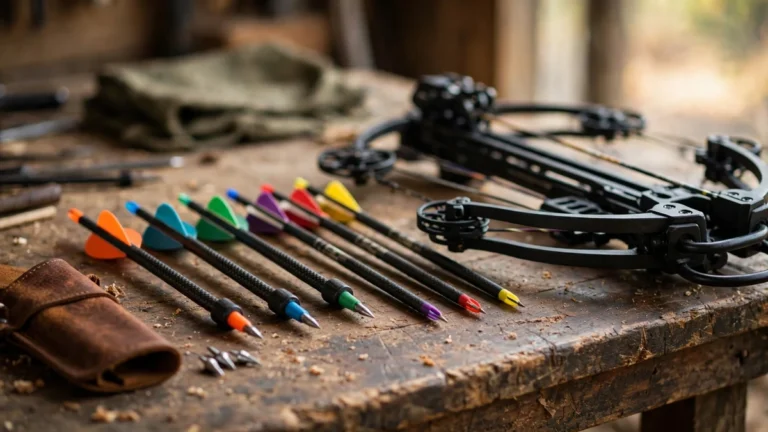
Spin-test every bolt. A spin tester (or the poor man’s version, rolling the bolt on a flat glass tabletop) reveals wobble in the shaft, a bent insert, or a broadhead that is not seating straight. A bolt that wobbles will never group with bolts that do not, no matter how much you tune the bow. I spin-test my hunting bolts at the start of every season and any time one takes a hard hit. Cull the wobblers to practice duty.
Treat broadhead planing as a tuning problem, not a scope problem. Fixed-blade broadheads can plane, or steer, at crossbow speeds, and the beginner instinct is to chase the impact shift with the scope. Do not. If field points group tight and fixed blades scatter or shift, the diagnosis is bolt setup: spin each broadhead-tipped bolt, check blade-to-vane alignment (some shooters use small O-rings behind the head to index it), and keep head and bolt weights consistent for good front-of-center balance. Three-blade heads in the 7/8 to 1-1/4 inch cut range are the most forgiving starting point. Mechanicals fly much closer to field points because the blades stay tucked until impact, which is why many hunters test both head types at 30 yards. My crossbow broadhead guide goes deep on fixed vs mechanical.
Run the field-point vs broadhead comparison test. Shoot a group with field points, then a group with your hunting broadheads at the same distance, without touching the scope between groups. Tight field points plus a tight broadhead group in a different spot means the setup is consistent and you just need a final scope tweak. Tight field points plus a scattered broadhead group means bolt setup work, not scope work. This single test saves a lot of wasted range time.
Check your cocking consistency too. Even a tuned bow throws shots when cocked off-center. About 1/16 of an inch of off-center cocking can move impact inches at 40 yards. If groups string horizontally and the bow checks out, the cause is often your cocking routine. A rope cocker with centering marks or a crank system fixes this. My cocking device guide compares the options.
Step 4: Validate Downrange (Why Paper Tuning Does Not Work on Crossbows)
Vertical-bow shooters tune with paper: shoot through a sheet and read the tear. Here is the straight answer I eventually got from experienced sources. Paper tuning does not work on a flight-rail crossbow, because the rail guides the bolt. A paper tear cannot read the bow the way it can on a vertical bow where the arrow flies free. One careful exception: a rail-free design exists on the market (the AXE AX440) where paper-like concepts could theoretically apply, but for the flight-rail bows nearly everyone owns, forget paper.
The real substitute is two tests, both at the range.
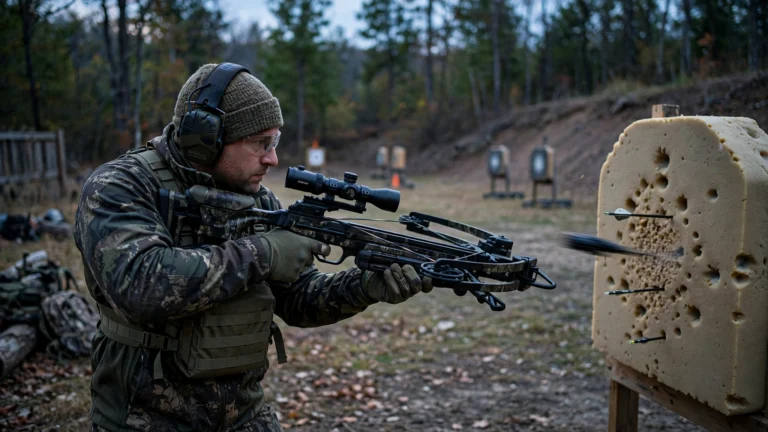
Walk-back tuning. Zero at 20 yards, then shoot the same aim point at 30, 40, and 50 yards without touching the scope, and watch where the groups land relative to vertical. A truly in-tune setup drops straight down the vertical line as distance grows. Groups that drift left or right as you back up reveal a problem in the bow or bolt setup: rest alignment on the rail, a cocking-center issue, or broadhead planing. Distance magnifies small errors until you can see them.
Broadhead grouping at hunting distance. After the walk-back, shoot your actual hunting broadheads at your maximum hunting distance, usually 30–40 yards for most of us. Field points tell you the bow is capable; broadheads tell you the hunting setup is capable. Only when both agree do you finish with the scope.
A good crossbow target rated for modern speeds matters here, because walk-back tuning means a lot of arrows, and an under-rated target will pass bolts through or chew up your broadheads.
Step 5: Tune the Optic Last (Never First)
The optic is always the last step, and beginners almost always do it first. I did. If the bow or bolts are off, zeroing the scope just bakes the error into your aim point. Tune bow, then bolt, then optic. In that order.
Mount it square. Before zeroing, make sure the scope is level with the crosshairs parallel to the rail. A canted scope throws shots sideways at longer distances even when it looks fine up close. A small bubble level on the rail while you tighten the rings is the cheap fix. Then zero per your manual; my sight-in guide walks through it, including dialing multi-reticle scopes for 20, 30, and 40 yards.
Stop canting the bow. Canting means tilting the bow sideways at the shot, and it moves impact sideways fast. This one is on the shooter, not the equipment. Keep the bow level and your cheek weld consistent, and your groups tighten for free. From an elevated stand, angles complicate everything; my treestand tips guide covers how shooting angles change point of impact.
If you are choosing an optic for a new bow, the crossbow scope guide covers the field. Get the mount right first and the zeroing is straightforward.
How I Keep My Bow Tuned Through the Season
Tuning is not a one-time event. A bow that is perfect in September can be off by November because strings stretch, screws loosen, and bolts take abuse. Here is the routine that keeps mine honest.
- Every few sessions: glance at the string-creep marks, wax the string (thin and even, every 25–30 shots), and wipe the rail.
- Monthly during season: snug-check every screw, spin-test the hunting bolts, and confirm the timing dots still match (compound) or brace height still measures right (recurve).
- Every other year: plan on a fresh string, and cables on a compound, even if the old ones look okay.
- Before the season: full inspection, full tune per this guide, walk-back validation, broadhead grouping at hunting distance. Then leave it alone.
If something feels off mid-season, go back to Step 1 and work the ladder in order: inspect, bow, bolt, optic. And if a step crosses into press territory, the shop is the correct tool for the job, not an admission of defeat. Keep my crossbow safety guide bookmarked alongside this one.
One more honest note. If you are tuning a bow you are not happy with, check whether the bow itself is the problem. My best crossbows guide is the hub for picking the right platform, my beginner guide speaks to where I started, and the best value picks cover bows that tune up well without breaking the bank. Shoppers on a tighter budget should see the best crossbows under $500, and the best hunting crossbow guide is worth a read with deer season in mind.
Frequently Asked Questions
How often should I tune my crossbow?
Do a full tune before every hunting season and spot-check through the year. I check my string-creep marks and wax every 25–30 shots, snug the screws monthly during season, and revalidate with a walk-back test any time a group moves. Plan on a fresh string (and cables on a compound) roughly every two years. Check your owner’s manual first for your manufacturer’s recommended service intervals.
Can I tune a crossbow myself, or do I need a pro shop?
Both, depending on the job. On a recurve, nearly everything is DIY with a stringing aid: inspection, brace height, bolts, and optics. On a compound, you can diagnose at home (cam timing dots, tiller measurement, creep marks, bolt work) but cable adjustments and string replacement need a bow press, so those go to a pro shop. The ladder table above maps every step. Knowing your lane protects your warranty and your fingers.
Does paper tuning work on crossbows?
No, not on a flight-rail crossbow, because the rail guides the bolt the whole way and a paper tear cannot read the bow the way it can on a vertical bow. The real substitutes are walk-back tuning (shooting the same aim point at increasing distances and watching for lateral drift) and the field-point vs broadhead comparison test. One careful exception: rail-free designs like the AXE AX440 are a different case, but nearly every crossbow on the market uses a flight rail.
How do I check cam timing on a compound crossbow?
Look at the timing dots or marks on both cams at rest and at full draw. They should mirror each other in unison on both sides. If they do not match, the bow needs a cable adjustment. Checking the dots is a DIY step; fixing the timing needs a bow press, so take it to a pro shop. Cock and uncock safely per your manual while doing this, with the bow pointed in a safe direction.
What is brace height, and how do I adjust it on a recurve crossbow?
Brace height is the distance from the string at rest to a fixed reference point on the bow. As the string stretches, brace height shrinks and the bow gets louder and slower. On a recurve, fix it with a stringing aid: counter-clockwise twists shorten the string and increase brace height, clockwise twists do the opposite. The correct number is in your owner’s manual (many Excalibur models spec around 2.5–3 inches). Never change a recurve string by hand; always use a stringing aid.
Why do my broadheads hit differently than my field points?
Because broadheads, especially fixed blades, steer in flight at crossbow speeds. This is a bolt-tuning problem, not a scope problem. Spin-test each broadhead-tipped bolt, check blade-to-vane alignment, keep head and bolt weights consistent, and run the field-point vs broadhead comparison test to see whether the issue is consistency (scattered group, fix the bolts) or a point-of-impact shift (tight group elsewhere, adjust the scope last). Three-blade heads in the 7/8 to 1-1/4 inch cut range are the most forgiving starting point, and mechanicals fly closest to field points.
Can I adjust the draw weight on my crossbow?
No. This is one of the vertical-bow ideas that does not transfer. A crossbow shoots at its factory draw weight; the limb bolts set the bow’s geometry and are not a power adjustment. Do not loosen them trying to turn the bow down. There is also no adjustable let-off and no peep sight on a crossbow. If a guide tells you otherwise, it is describing the wrong machine.
What is the string-creep marker trick?
When your string and cables are fresh and in spec, mark the string’s rest position (a dot of white-out or thread on the rail beside the string, plus marks where cables meet the cams). Every few sessions, check whether the string has crept past the marks. Creep means the string or cables have stretched: on a recurve, add twists or plan a string change; on a compound, a shop visit is coming. It turns gradual, invisible stretch into a visible fact.
The Bottom Line
Tuning a crossbow is simpler than the internet makes it look, once you split it correctly. Recurve: inspect, set brace height, tune the bolts, zero the optic. Compound: inspect, check cam timing and tiller, tune the bolts, zero the optic, and let a pro shop handle anything that needs a press. In both cases the bolt matters more than beginners expect, paper tuning is off the table, and the scope goes last.
My biggest lesson from my first two seasons: the bow is usually fine. It is the loose screw, the stretched string, the off-center cocking, or the wobbling bolt that costs you the shot. Work the ladder in order, mark your string, check your owner’s manual first for every step, and you will spend your range time confirming accuracy instead of chasing it. See you out there.