How to Sight In a Crossbow in 5 Steps
Affiliate Disclosure: ProCrossbow is reader-supported. When you buy through links on this page, we may earn a commission at no extra cost to you. Our rankings can’t be bought. See how we research and test.
My first attempt at sighting in a crossbow was a disaster. I burned through a dozen bolts in one afternoon, chased my impacts all over the target, and convinced myself my scope was broken. It was not broken. I just did everything in the wrong order and skipped the boring prep. My second attempt, done properly, took 45 minutes and ended with bolts touching at 20 yards. This is the guide I wish someone had handed me before that first frustrating afternoon, written by a first-season hunter who learned every step the hard way.
The Short Answer
Zero your crossbow’s top reticle dead-on at 20 yards using the windage and elevation turrets, shooting 3-bolt groups from a stable rest. Then set your scope’s speed ring to your bow’s true arrow speed and verify the lower reticles at 30, 40 and 50 yards. Plan on 15 to 30 bolts and under an hour your first time. Finish by confirming point of impact with your actual hunting broadheads.
What You’ll Need at the Range
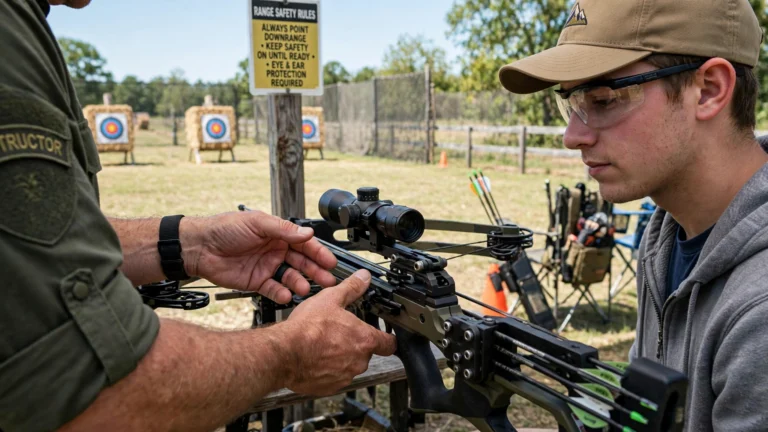
Gather everything before you start. Half of my first disaster was realizing mid-session that I was missing gear, which broke my rhythm and wasted bolts.
- Your crossbow, fully assembled, with the scope mounted. If the scope just came out of the box, mount it first and make sure the rings are snug. Proper mounting matters more than beginners expect, so read the prep section below before you shoot.
- Six or more identical bolts with field points. Identical means the same brand, length, weight and fletching, all matched to your bow. Our bolt guide explains why matched arrows are non-negotiable for a trustworthy zero, and matching arrow length and spine to your bow is the first step.
- A crossbow-rated target. Regular archery targets can fail to stop high-speed bolts. Use a bag or block target rated for your bow’s speed. Bag targets are easier to pull bolts from; foam blocks stop bolts fast. We cover target choices in our crossbow target guide.
- A stable rest. A shooting bench with sandbags works great. A purpose-built crossbow shooting rest, like the models you can find with a quick Amazon search for crossbow shooting rests, is even better. Do not try to sight in shooting offhand.
- Allen keys and small screwdrivers for scope ring screws and turret caps.
- A small bubble level for leveling your scope. This one upgrade to my process fixed a 40-yard drift I spent a week blaming on the scope.
- A tape measure or rangefinder, plus a pen and notepad. Guessing distances ruins the whole process, so measure 10, 20, 30, 40 and 50 yards exactly. Record your groups and settings; you will thank yourself later.
- A string wax stick to wax the rail and serving every 10 to 15 shots. Dry rails eat servings in a single session.
Quick safety note before anything leaves the rail: read our crossbow safety guide first if you are new to crossbows. Never dry-fire a crossbow (shooting without a bolt), keep fingers below the rail at all times, and treat every crossbow as loaded once it is cocked.
What Kind of Scope Do You Have?
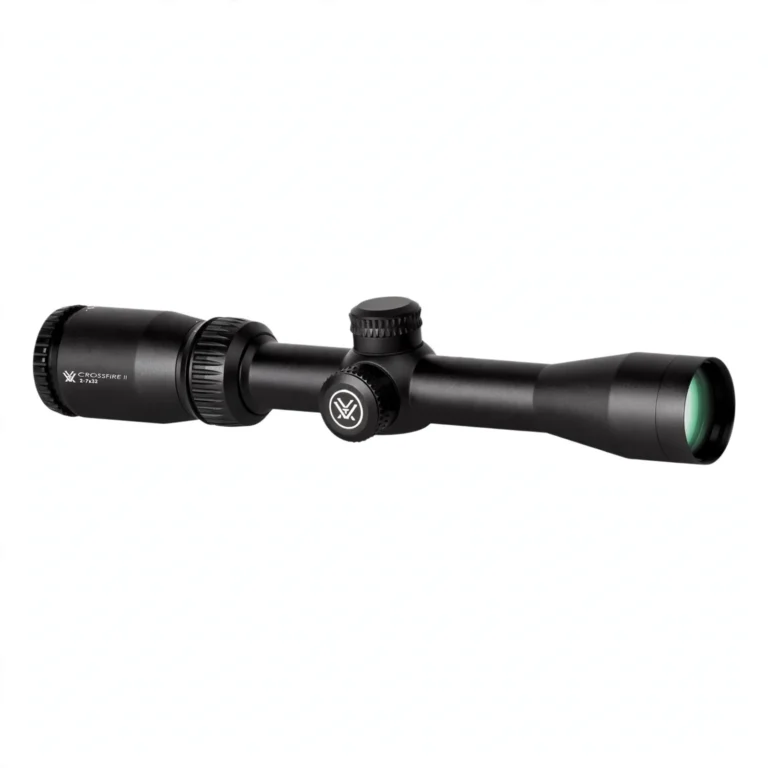
Your adjustment strategy depends on your optic. Most modern crossbow scopes fall into two camps: fixed reticle or speed-adjustable. Knowing which one you have will make everything below click into place.
| Scope Type | How to Recognize It | Your Zeroing Process |
|---|---|---|
| Fixed reticle | One crosshair or pre-etched dots for specific distances, no speed dial on the magnification ring | Zero the top crosshair at 20 yards with the turrets. The lower dots are fixed and correct only if your arrow speed matches the scope’s design speed. |
| Speed-adjustable | A ring marked with FPS numbers (for example 275 to 450) that turns to change reticle spacing | Zero at 20 yards with the turrets, then calibrate the speed ring so the 30, 40 and 50-yard reticles are true for YOUR bow and YOUR arrows. |
Most package scopes and mid-range upgrades today are speed-adjustable. The full step-by-step below covers both types, but pay special attention to the speed ring section if you have one. If you are still shopping for optics, our best crossbow scopes guide breaks down which type suits which hunter.
Step 0: Prep Work That Prevents 90 Percent of Problems
I skipped all of this on my first try. Do not be me. Ten minutes of prep saves hours of frustration, and it starts with a properly mounted scope: tighten ring screws evenly and firmly (15 to 20 inch-pounds on a small torque wrench if you have one; a quick Amazon search for a scope torque wrench turns up affordable options), but never crank them down like lug nuts, because pinching the tube causes erratic adjustments.
Level the scope to the rail
A canted (tilted) scope will throw your shots sideways at distance even if your 20-yard zero looks perfect. This was my mystery problem for a week: great at 20, drifting at 40. Place a bubble level on the flat part of your rail, then on the flat top of your elevation turret. Loosen the rings slightly, rotate the scope until the turret is level, and re-tighten. Then hang a weighted string or plumb line 10 to 15 yards away and confirm the vertical crosshair runs parallel to it. That one step fixed my drift completely.
Bore-sight before firing
Bore-sighting is a rough alignment that guarantees your first live shot lands on paper instead of the target frame. With the crossbow uncocked, sight down the barrel groove from the rear and center a fixed point on a target about 10 yards away. Without moving the bow, look through the scope and adjust the turrets until the crosshairs sit on that same point. A laser bore sighter does the same job faster if you own one, but the eyeball method works fine for getting on paper.
Step 1: Fire Your First Group at 10 Yards
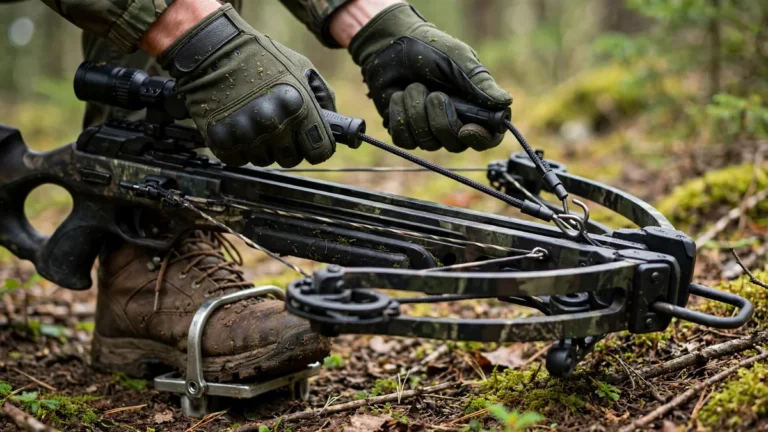
Set your target at a measured 10 yards. This feels silly close, but it guarantees your first bolts hit paper so you can see where they land. Get the crossbow into the rest, aim dead center with your top reticle, and fire a 3-bolt group. Let the bow settle completely between shots, and cock the string exactly the same way every time. If you are still learning the cocking routine, our how to cock a crossbow guide walks through rope cockers and crank devices. Do not touch any turret yet. Just look at the group and read it like a report card:
| What the Group Looks Like | What It Means |
|---|---|
| Tight cluster, off-center | Perfect news. The bow and scope are consistent; you only need turret adjustments. |
| Wide horizontal spread | Shooter wobble or loose scope mounts. Settle into the rest better, then check mount tightness. |
| Wide vertical spread | Inconsistent cocking, a loose string, or string not centered on the rail. Check your cocking routine. |
| No pattern at all | Something is seriously wrong: severely loose mount, damaged scope, or mismatched arrows. Stop and inspect. |
Step 2: Adjust Windage and Elevation
Now move the crosshairs to where the bolts are hitting. The rule that finally rewired my brain: chase the group with the reticle. Turn the turret in the direction you want the impact to move. Group sitting 3 inches left? Turn the windage turret toward “R” (right). Group 4 inches low? Turn the elevation turret toward “UP”. Most turrets have the direction printed right on the cap, so read it.
Do the click math before you spin blindly. Most crossbow scopes adjust 1/2 inch per click at 20 yards, so a 3-inch correction equals 6 clicks. At 10 yards each click moves impact roughly half that, about 1/4 inch. Fire another 3-bolt group after adjusting, and judge only the center of the group, never a single flier.
Repeat the group-and-adjust cycle until your bolts cluster around the bullseye at 10 yards.
Step 3: Move to 20 Yards and Set Your Zero
Move the target to a measured 20 yards. This is your primary zero distance and the standard for crossbow hunting. Repeat the same process: 3-bolt group, read the center, chase it with the turrets, confirm with another group. Your goal is a cluster centered on the bullseye with your top reticle.
Once your 20-yard zero is locked, do not touch the windage or elevation turrets again unless you change arrows or something physically shifts on the bow, and switching to lighted nocks counts as a change, so sight in with the exact lighted bolts you will hunt with.
Step 4: Calibrate the Speed Ring
If your scope has a speed-adjustable ring, this is the most misunderstood part of the process. The speed ring is NOT a zoom dial. It is a ballistic calculator that spaces your lower reticles (30, 40, 50 yards and beyond) to match your actual arrow flight. Here is the method that works, and it does not require a chronograph:
- Set the ring to your bow’s advertised speed. If your crossbow box says 380 fps, start the ring at 380. Treat this as a starting guess, not a fact, because factory speeds are measured with light test arrows and your hunting arrows are usually heavier.
- Move the target to 30 yards and aim with your second reticle down (the 30-yard mark). Fire a 3-bolt group.
- Read the vertical impact only. Ignore left and right for now; if those are off at 30, that is a leveling issue, not a speed ring issue. If the group hits HIGH, turn the speed ring to a HIGHER number (counterclockwise on most scopes). If the group hits LOW, turn the ring to a LOWER number (clockwise).
- Adjust in small increments and re-shoot. Small ring movements shift the group several inches at 30 yards.
- Confirm at 40 and 50 yards with their respective reticles. If the 40-yard mark is on, your calibration is correct. If 30 is on but 40 is off, keep fine-tuning the ring until both read true.
- Mark the ring’s position with a paint pen line across the ring and the scope body. If the ring ever gets bumped, you will see it instantly. Never move the speed ring afterward to “zoom in” on a target; that destroys the calibration.
If you own or can borrow a chronograph, shooting your actual hunting arrow through it gives you a truer starting number than the box rating. Either way, shooting groups at two distances calibrates the scope to your real arrow flight, so the chronograph is nice to have, not mandatory.
Step 5: Verify 30, 40 and 50 Yard Holds
With the speed ring calibrated, shoot real groups at 30, 40 and 50 yards using each distance’s reticle and write down exactly where each mark hits with YOUR arrows. Do not trust the generic numbers in the manual. Tape a small card to your stock with your holds; I keep mine in my quiver pouch as a backup.
One hard truth I learned: most whitetail shots happen inside 40 yards, and 30 yards is the real-world sweet spot. Having a verified 50-yard hold is great confidence, but do not confuse range confidence with hunting confidence.
Step 6: Shoot Your Broadheads Last
Everything so far was done with field points, and that is correct: never sight in with broadheads on an unrated target. But your hunting zero is not real until you have confirmed it with the exact broadheads you will hunt with.
Fixed-blade broadheads often fly a few inches differently than field points past 30 yards, because the blades can steer the arrow in flight. Mechanicals fly closer but still deserve verification. Shoot at least one group with each broadhead style you plan to use, at 20 and 30 yards minimum, on a broadhead-rated target. If a broadhead prints 3 inches left of your field points, you want to learn that at the range, not on a live deer.
Step 7: Confirm From Real Hunting Positions
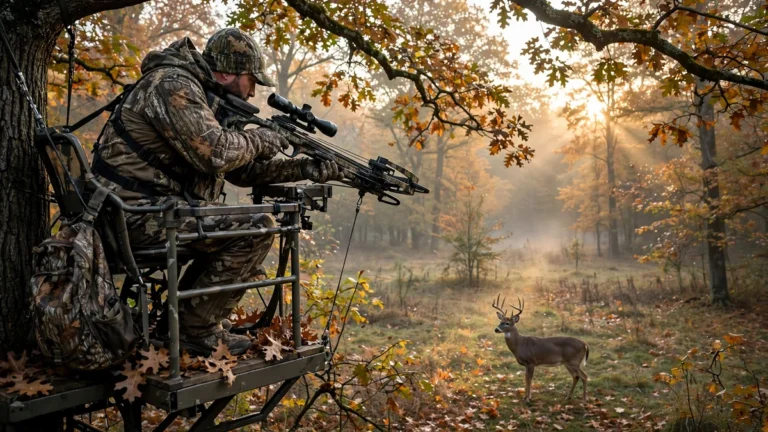
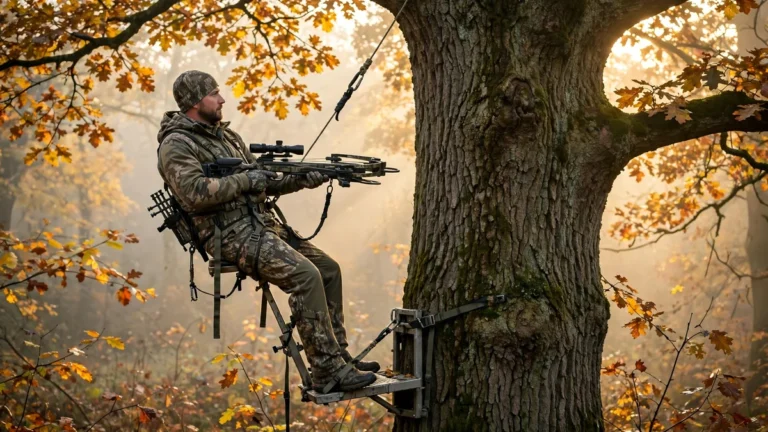
A bench zero is only half the job. Shoot a few bolts standing, kneeling, and from a seated position like you would in a blind. If you hunt from a treestand, practice from an elevated position, because steep angles change your point of impact. My personal standard: do not hunt until you can keep every bolt inside a paper plate at your maximum hunting distance. A paper plate is roughly the size of a deer’s vital zone. If your groups do not fit inside one, more practice now beats regret later.
Troubleshooting: When the Scope Won’t Cooperate
Run through the table for a quick diagnosis. Most sight-in problems come from a short list of culprits: loose mounts, the wrong turret direction, an uncalibrated speed ring, or inconsistent arrows. Fix the likely cause, re-shoot a group, and only then touch anything else.
| Symptom | Likely Cause | Fix |
|---|---|---|
| Bolts hitting left or right consistently | Windage off, or you are turning the turret the wrong direction | Confirm you are chasing the group: turn toward the direction of impact. Verify scope is level. |
| Bolts hitting high or low at all distances | Elevation turret needs adjustment, or 20-yard zero was rushed | Go back to 20 yards and re-zero carefully from a rest. |
| 30-yard reticle on, but 40 and 50 are high | Speed ring set too high (overstated velocity) | Dial the speed ring DOWN in small steps, re-confirm at 30 and 40. |
| 30-yard reticle on, but 40 and 50 are low | Speed ring set too low | Dial the speed ring UP in small steps, re-confirm at 30 and 40. |
| Tight groups but turret adjustments do nothing | Loose mounts, or the scope’s internals are failing | Re-torque all mount screws to spec. If it persists, the scope needs replacement. |
| Point of impact shifts between sessions | Mounts working loose, or cheap scope losing zero overnight | Re-torque everything. Mark turret positions. If it keeps drifting, replace the scope. |
| Bolts scattering with no pattern | Mismatched arrows, loose mounts, or off-center cocking | Use identical matched bolts, check mounts, cock the string perfectly centered (a crank device helps). |
| Groups fine at 20 but drift sideways at 40 | Scope is canted, or you are canting the bow | Re-level the scope to the rail with a bubble level and plumb line. |
How Often to Re-Check Your Zero
Zero is not a one-time event. Check it at the start of every season, after any hard knock to the bow, after changing strings or cables, and any time you switch bolt brands or weights. A quick 3-bolt confirmation at 20 yards takes 15 minutes and is the cheapest accuracy insurance in hunting. I re-check mine the weekend before opening day, every year.
Frequently Asked Questions
At what distance should I sight in my crossbow?
Zero dead-on at 20 yards, then verify your holdovers at 30, 40 and 50 yards using your scope’s reticle marks. Twenty yards is the standard because trajectory is flattest there, making it the most reliable foundation for every longer hold.
How many shots does it take to sight in a crossbow?
Plan on 15 to 30 bolts for a first-time setup: a few groups at 10 yards, zeroing at 20, calibrating the speed ring, and confirming holds at longer distances. If you are re-checking an established zero, 3 to 6 bolts is plenty.
What is the speed ring on a crossbow scope, and how do I set it?
The speed ring is a calibration dial (not a zoom) that spaces your 30, 40 and 50-yard reticles to match your bow’s true arrow speed. Start it at your bow’s advertised speed, zero at 20 yards, then shoot groups at 30: if impacts are high, dial the speed number up; if low, dial it down. Confirm at 40 and 50, then mark the ring and never move it again.
Which reticle do I zero first on a multi-dot scope?
Always zero the topmost reticle first, typically the 20-yard crosshair. The lower reticles depend entirely on that primary zero plus correct speed ring calibration, so a sloppy 20-yard zero corrupts every distance below it.
Can I sight in with broadheads?
Do the main sight-in with field points on a crossbow-rated target, then verify your broadheads hit the same point of impact before hunting. Fixed-blade broadheads often fly a few inches differently than field points, so this verification step is what turns a range zero into a real hunting zero.
Why are my bolts hitting left even after adjusting the scope?
You are probably turning the windage turret the wrong way. The rule is simple: chase the group. Move the reticle toward where the bolts are actually landing. If large adjustments do nothing, your mounts are loose or the scope is failing: re-torque everything to spec and start over.
My scope won’t hold zero between sessions. What is wrong?
The short list: loose ring or base screws, a scope tube pinched by overtightening, or failing internals. Re-torque all mounts to spec, mark your turret positions with a paint pen, and re-test. If the drift continues with tight mounts, the scope needs to be replaced.
Can I sight in my crossbow without a shooting rest?
You can, but you should not. Human wobble from offhand shooting masks the bow’s true point of impact, so you will burn through far more bolts and second-guess every adjustment. A stable rest, even a bench with sandbags, is the single biggest shortcut to a fast, trustworthy zero.
The Bottom Line
Sighting in a crossbow is a mechanical process, not magic. The sequence that finally worked for me: prep and level the scope, bore-sight, group at 10, adjust turrets, zero at 20, calibrate the speed ring, verify 30 through 50, confirm broadheads, and prove it from real hunting positions. My first attempt skipped half of these and cost me a whole afternoon; my second took 45 minutes. Follow the sequence and you will be stacking bolts before lunch.
If you are brand new to all of this, start with our beginner’s guide to crossbows for the big picture, then read how to cock a crossbow to make sure your string is centered every single shot. When you are ready to upgrade your glass, our scope guide has you covered, and if you are still choosing a bow, compare the best crossbows of 2026.