How to Replace a Crossbow String 2026: Recurve, Compound, and Hybrid
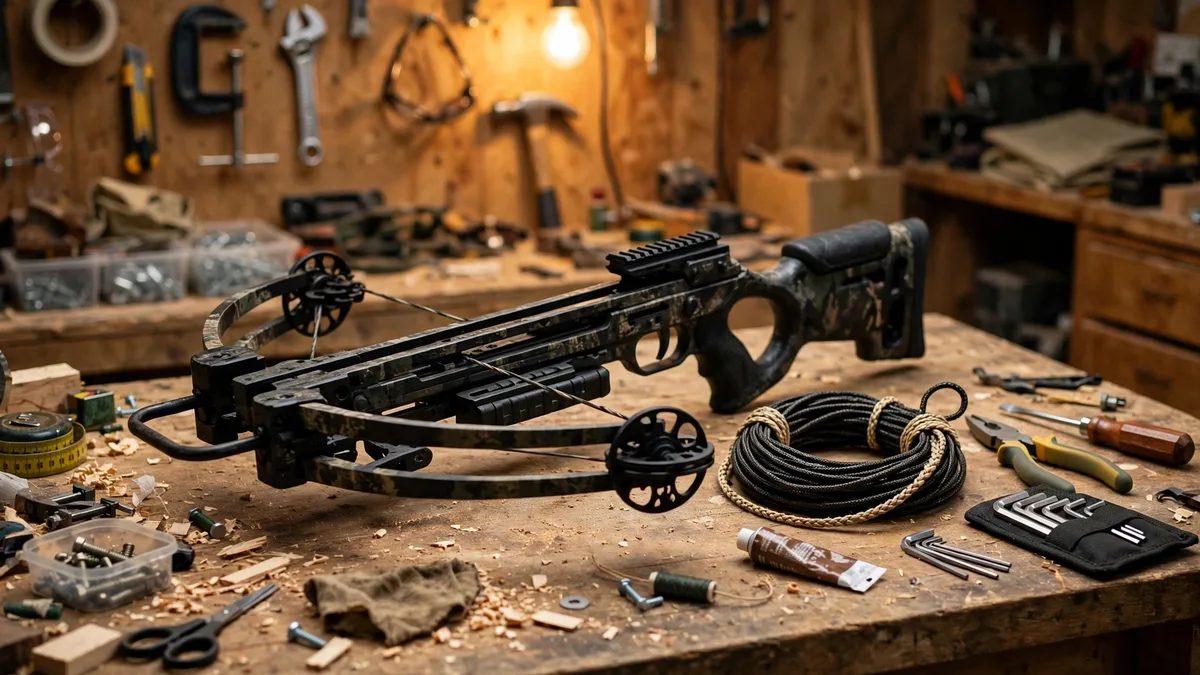
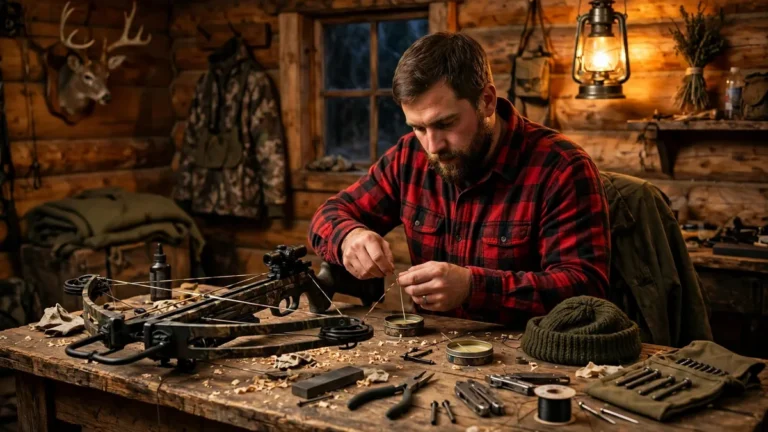
Replacing a crossbow string sounds simple until you realise the string is holding back hundreds of pounds of force. The safety-first rule is this: recurve strings are DIY-able with a stringer, compound and reverse-draw strings need a bow press and a pro shop, and you never work on a string under load. This guide walks through the ladder, step by step, so you know what you can do yourself and when to hand the bow to a pro.
The Short Answer
If you shoot a recurve crossbow, you can replace the string yourself with a stringer, following your manual exactly. If you shoot a compound or reverse-draw crossbow, take it to a pro shop with a bow press. Do not try to replace a compound string without a press. Do not loosen limb bolts as a press substitute. That is pro-shop territory, and getting it wrong can injure you and destroy the limbs.
The safety rules repeat in every section below, because they apply in every section. Decock the bow. Put the safety on. Never remove strings or cables under load. Never mix old and new components side to side. Your manual wins over any general guide, including this one. If your manual says something different from what you read here, follow your manual.
When to Replace Your String
A string does not last forever, and it does not always tell you clearly when it is done. The signs to watch for are fraying, serving separation, and creep. Fraying is broken or fuzzy strands in the string material. Serving separation is the wrapping coming loose or bunching up, especially in the centre serving where the rail and the nock contact the string. Creep is the string stretching over time, which changes your brace height and your point of impact.
Shot count and time both matter, and makers disagree on the interval. That is normal. Different bows, different strings, and different shooting conditions wear strings at different rates. The table below gives the published guidance by maker, and your manual is the final word for your bow.
Replacement-Interval Table by Maker
| Maker | Published Guidance | Notes |
|---|---|---|
| TenPoint | 2 years | Replace on the time interval even if the string looks fine |
| Ravin | 2 years or 400 shots | Whichever comes first; check your manual for your model |
| 60X Custom Strings | 1,000 shots or 2 years | Custom string maker guidance; applies to their strings |
| Excalibur | Follow your manual | Recurve strings are user-replaceable with a stringer; see the Hybrid X note below |
| Other makers | Follow your manual | Makers disagree; your manual wins over any general rule |
Inspect your string before every shooting session, not just once a season. Run your fingers along the string and the serving, look for fraying or separation, and check the brace height against your manual. If you see fraying, if the serving is separating, or if the string has crept enough to change your point of impact, replace it. Do not wait for the calendar if the string looks worn. A worn string can break under load, and that is dangerous.
Cost is not a reason to delay. A replacement string-only set is about $35 to $40 from the factory. A full string and cable set is about $120 to $160. Custom sets are also about $120 to $160. Shop fitting is about $75 per tune-up where published, and that figure is a published price, not our own price. A new string costs far less than a broken limb or an injury.
Tools and Parts
Before you start, gather everything you need. You need the correct string and cable set for your exact model and serial number. Crossbow strings are not interchangeable. A string for one model may be the wrong length or the wrong serving layout for another model, even from the same maker. Order by model and serial number, and check the part number against your manual before you open the package.
You need a stringer if you shoot a recurve. A stringer is a tool that lets you flex the limbs safely to remove and fit the string. Do not try to string a recurve by hand or by stepping on the string. Use the stringer your maker recommends, and follow its instructions.
You need string wax, and you need the right wax. Use a wax made for crossbow strings, not a petroleum-based lubricant. Petroleum products can damage the serving and the string fibres. Apply wax sparingly, rub it in with your fingers, and wipe off the excess. Wax the string before you fit it, and wax it regularly after that.
For a compound or reverse-draw bow, you need a bow press, and that means a pro shop. Do not buy a press and teach yourself on your hunting bow. A press is a serious tool, and using it wrong can damage the bow and injure you. The pro shop has the press, the experience, and the tools to check cam timing after the string is fitted.
Recurve Step-by-Step: The Stringer Method
Decock the bow. Put the safety on. Never work on a string under load. Unstringing under load can injure you and destroy the limbs. Read those sentences again, because they apply to every step below.
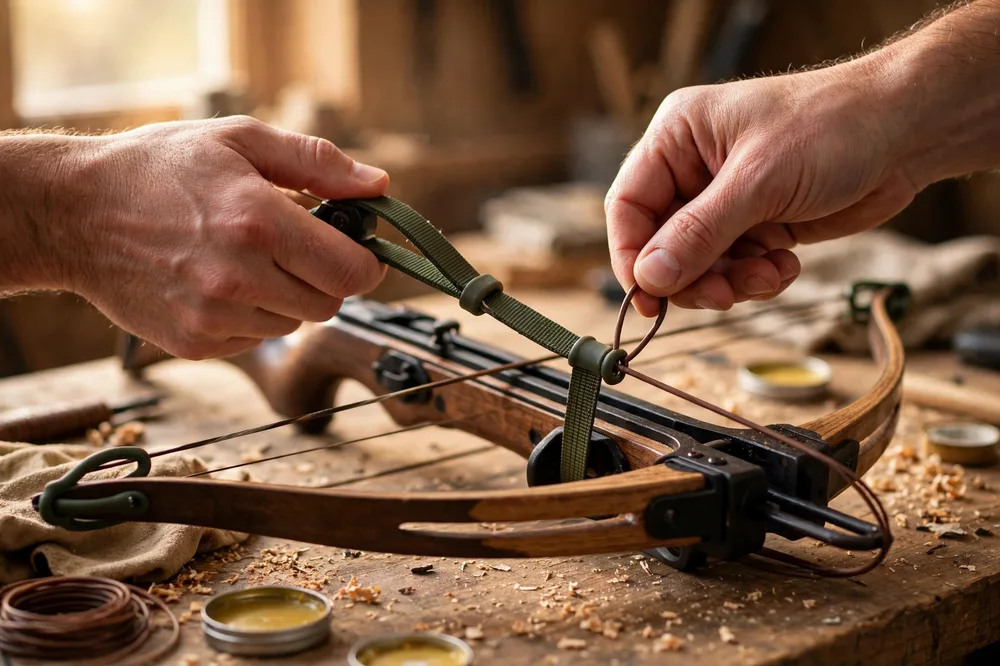
Here is the recurve stringer method, step by step. Follow your manual for the exact details for your model, because limb designs vary.
- Decock the bow completely. Confirm it is uncocked and the safety is on. Never work on a string under load.
- Fit the stringer to the bow according to the stringer instructions and your manual. The stringer attaches to the limb tips and lets you flex the limbs in a controlled way.
- Flex the limbs with the stringer until the old string is slack. Remove the old string loops from the limb tips.
- Prepare the new string. Twist the string in the serving-wind direction, 16 to 20 full twists, before you fit it. The twist direction matters: twisting against the serving wind can loosen the serving. Count your twists and keep them even.
- Fit the new string loops onto the secondary shelf of the limb tips, not the string groove. The loops sit on the secondary shelf during fitting, and they move into the string groove when the limbs are released. Putting the loops in the groove during fitting is a common mistake, and it can damage the string.
- Release the stringer slowly and evenly. Let the limbs take up the tension gradually. Do not let the stringer slip or snap back.
- Check the string seating. Both loops should be seated correctly in the string grooves, the centre serving should be centred on the rail, and the string should sit evenly on both limbs.
- Measure the tiller. Tiller is the distance from the string to the limb on each side, and it should be even. If the tiller is uneven, your string twists or your seating may be off. Check your manual for the correct tiller measurement for your model.
- Do not fully cock the bow with the re-stringer still attached. Remove the stringer completely before you cock the bow. Cocking with the stringer attached can damage the bow and the stringer, and it is unsafe.
- Wax the new string lightly, then check the brace height against your manual before you shoot.
Take your time. A recurve string change is a straightforward job when you follow the steps, but it is still a job that involves stored energy. Work slowly, keep your hands and face clear of the string path, and stop if anything feels wrong. If the string does not seat correctly, or the tiller is uneven and you cannot correct it, take the bow to a pro shop.
Compound Step-by-Step: Press Only and the Pro-Shop Ladder
Decock the bow. Put the safety on. Never remove strings or cables under load. Unstringing under load can injure you and destroy the limbs. Compound and reverse-draw bows store far more energy than recurves, and the cams and cables add complexity that makes DIY string work unsafe without a press.
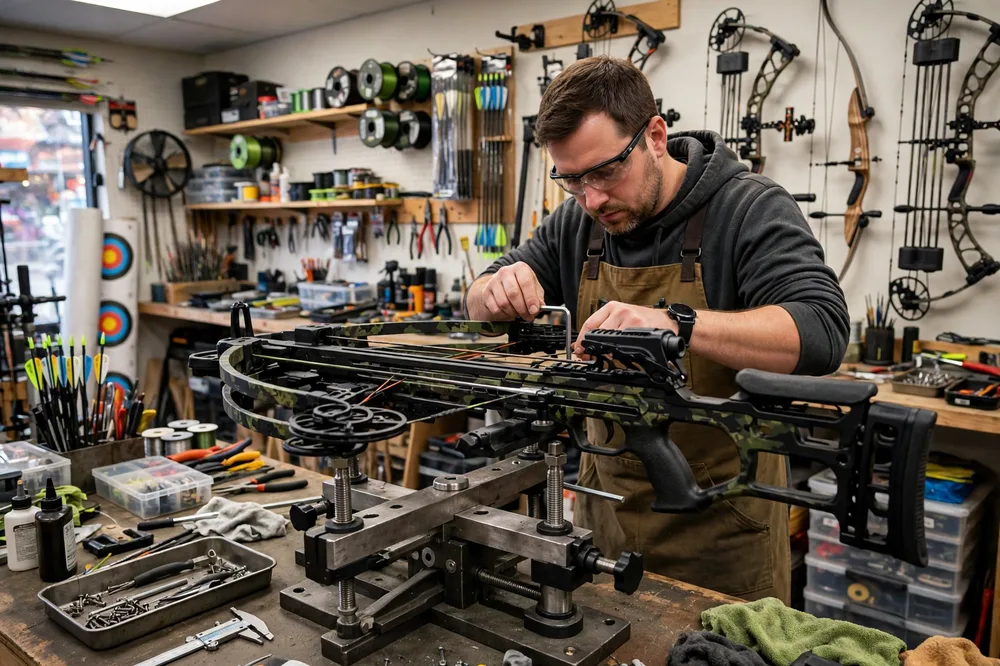
Here is the pro-shop ladder for compound string replacement. This is not a casual DIY job, and I am not going to present it as one.
- Decock the bow completely. Confirm it is uncocked and the safety is on. Never work on a string under load.
- Take the bow to a pro shop with a bow press rated for crossbows. Confirm the shop has experience with your make and model before you leave the bow with them.
- The shop presses the bow to relax the limbs and cables, then removes the old string and cables. The press holds the limbs safely while the string is slack. This is the step you cannot do without a press.
- The shop fits the new string and cable set, checking that the part numbers match your model and serial number. They check cam timing, because a new string can change cam timing, and incorrect cam timing affects accuracy and can damage the bow.
- The shop releases the press slowly, checks string and cable seating, and checks the brace height and cam timing again under tension.
- The shop test-fires the bow or has you test-fire it, then checks timing and point of impact again after the first shots.
Do not try to substitute for a press by loosening limb bolts. That is pro-shop territory. Loosening limb bolts to relax a compound bow is not a safe DIY method, and I am flagging it here as pro-shop only. If a video or a forum post tells you to loosen the limb bolts at home, do not do it. Take the bow to a shop.
The shop charge is part of the cost of owning a compound bow. Shop fitting is about $75 per tune-up where published, and that figure is a published price, not our own price. A full string and cable set is about $120 to $160, plus fitting. It is money well spent. A pro shop will also spot wear on cables, cams, and limbs that you might miss, and they will check timing in a way that is hard to do at home.
If you are learning, ask the shop if you can watch. Most good shops are happy to explain what they are doing, and you will learn more in one visit than from hours of reading. But watch, do not do. The press work stays with the pro.
Hybrid X Note: Follow Excalibur’s Official Guide
Decock the bow. Put the safety on. Never remove strings or cables under load. Unstringing under load can injure you and destroy the limbs. The Hybrid X is a cam-assisted bow, and it follows Excalibur’s official guide, not the general recurve method and not the general compound method.
Excalibur’s official guide for the Hybrid X says: decock the bow, engage the Full Draw Latch, put the safety on, and use the stringing aid through the risers. Remove the four cable loops, then lower the trigger with the crank. Never remove strings or cables under load. Do not mix old and new components side to side. That means if you are replacing the string on one side, do not leave an old string or cable on the other side. Replace the set as a set.
Follow Excalibur’s official guide step by step for your exact Hybrid X model, and follow your manual over any general advice. If you are unsure about any step, take the bow to a pro shop or contact Excalibur. The Hybrid X is a capable bow, but it is not a bow to learn string work on by trial and error.
After Replacement: Re-Zero, Timing, Wax, and First Shots
A new string changes your bow. It will stretch slightly as it settles, and your point of impact will move. That is normal. What matters is that you check everything before you hunt with the bow.
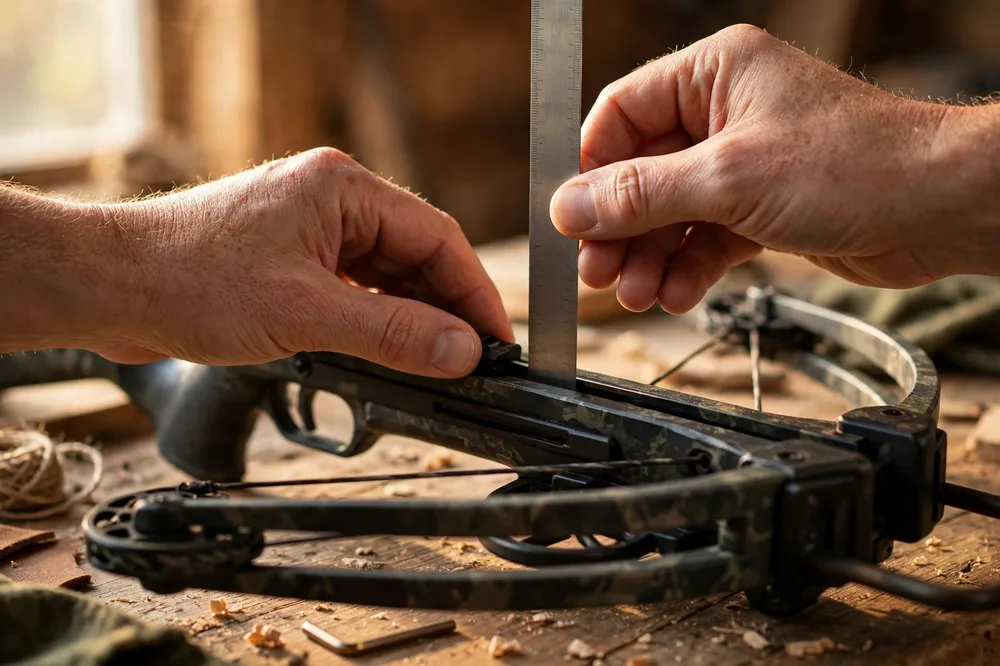
Follow these steps after any string replacement, recurve or compound.
- Check the brace height against your manual. A new string may need a few twists to bring the brace height into spec. Twist in the serving-wind direction, and check again.
- Check cam timing on a compound bow. If you had the work done at a pro shop, they should have checked this, but verify it yourself or ask them to show you. Incorrect timing affects accuracy and can damage the bow.
- Wax the new string lightly. Rub the wax in with your fingers and wipe off the excess. Do not use petroleum-based lubricant on the serving.
- Re-zero your scope. Shoot at 20 yards first, and adjust the scope until your groups are centred. Then check at 30 and 40 yards, and confirm your aiming points. Do not assume the old zero still holds.
- Check the first shots carefully. Shoot a few bolts, then inspect the string, the serving, and the cable seating. Look for anything loose, uneven, or out of place. Shoot a few more, then inspect again.
- Shoot the bow in over a session or two before you hunt with it. A new string needs a short break-in period, and your zero may shift slightly as it settles. Re-check your zero after the break-in.
Do not hunt with a bow you have not re-zeroed after a string change. Your point of impact will have moved, and a bow that is off by a few inches at 20 yards is off by a lot more at 40 yards.
Mistakes to Avoid
The most dangerous mistake is dry-firing, or firing the bow without a bolt. A dry fire can break the string, damage the limbs, and injure you. Never dry-fire a crossbow, and never let anyone else dry-fire yours. After a string change, double-check that you have a bolt loaded before you shoot, and check that the bolt is seated correctly.
The most common mistake is using the wrong string length. A string that is too long or too short changes your brace height, your timing, and your point of impact, and it can damage the bow. Order by model and serial number, check the part number before you fit the string, and do not assume a string for a similar model will fit yours.
Do not mix old and new components side to side. If you replace the string, replace the cables as a set when your manual or your pro shop recommends it. An old cable and a new string wear at different rates, and the mismatch can affect timing and accuracy. The Hybrid X guidance is explicit on this point, and it applies in spirit to every bow: replace the set as a set.
Do not use petroleum-based lubricant on the serving. Petroleum products can damage the serving material and the string fibres. Use a wax made for crossbow strings, apply it sparingly, and wipe off the excess.
Do not skip the re-zero. A new string changes your point of impact, and a bow that has not been re-zeroed is a bow you cannot trust. Re-zero at 20 yards, check at 30 and 40, and confirm your aiming points before you hunt.
Finally, do not rush. A string change is not a race. Work slowly, follow your manual, and stop if anything feels wrong. If you are unsure, take the bow to a pro shop. There is no shame in that, and it is far cheaper than a broken bow or an injury.
For help choosing the right replacement set, see our guide to the replacement strings and cables. For ongoing care, see our upkeep guide, our safety primer, and our guide on tuning your crossbow.
A new string lasts longer with proper care. See the best crossbow lube and wax.
Frequently Asked Questions
How often should I replace my crossbow string?
It depends on your maker. TenPoint says 2 years, Ravin says 2 years or 400 shots, and 60X says 1,000 shots or 2 years. Makers disagree, so your manual wins. Inspect your string before every session, and replace it sooner if you see fraying, serving separation, or creep.
Can I replace a crossbow string myself?
If you shoot a recurve, yes, with a stringer and your manual. If you shoot a compound or reverse-draw bow, no, not safely. Compound strings need a bow press, and that is pro-shop work. The Hybrid X follows Excalibur’s official guide. Never work on a string under load.
Do I need a press?
For a compound or reverse-draw bow, yes, and that means a pro shop. For a recurve, no, you need a stringer, not a press. Do not loosen limb bolts as a press substitute. That is pro-shop territory.
How do I know my string is worn out?
Look for fraying, serving separation, and creep. Fraying is broken or fuzzy strands. Serving separation is the wrapping coming loose or bunching, especially in the centre serving. Creep is the string stretching and changing your brace height and point of impact. If you see any of these, replace the string.
Can I change just the string and not the cables?
Sometimes, but it depends on your bow and the condition of the cables. If the cables are worn, replace the set as a set. Do not mix old and new components side to side. Your manual and your pro shop can tell you whether the cables need replacing with the string.
What happens if I use the wrong string length?
A string that is too long or too short changes your brace height, your cam timing, and your point of impact, and it can damage the bow. Order by model and serial number, and check the part number against your manual before you fit the string.
How do I wax a new string?
Use a wax made for crossbow strings, not a petroleum-based lubricant. Apply it sparingly, rub it in with your fingers, and wipe off the excess. Wax the string before you fit it, and wax it regularly after that. Do not use petroleum lube on the serving.
Should I replace the cables too?
If the cables are worn, yes, replace them with the string as a set. If they are in good condition, your manual and your pro shop can advise. Do not mix old and new components side to side, and never replace cables under load.
What does a shop charge?
A full string and cable set is about $120 to $160, and shop fitting is about $75 per tune-up where published. That fitting figure is a published price, not our own price. A string-only replacement is about $35 to $40 from the factory. Prices vary by shop and by model, so confirm with your local shop.
If you are choosing a bow you can service yourself, our best field-serviceable recurve picks are the field-friendly ones, and our top bows under $1500 list has several recurve and hybrid options in that range.
Keep Learning
- Crossbow Reviews 2026: All Brands and Models in One Place
- Best Crossbow Strings and Cables 2026: 6 Sets Compared
- Crossbow Maintenance Guide: Keep Your Bow Shooting Like New
- How to Tune a Crossbow: Recurve vs Compound Guide
- How to Cock a Crossbow Safely: Rope and Crank Methods
- Best Crossbow Lube and Wax 2026: 6 Products Compared