Crossbow Hunting Guide
Crossbow Hunting Guide
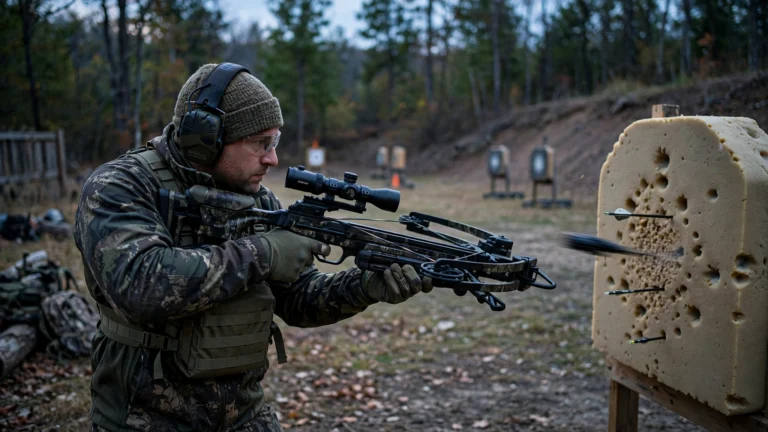
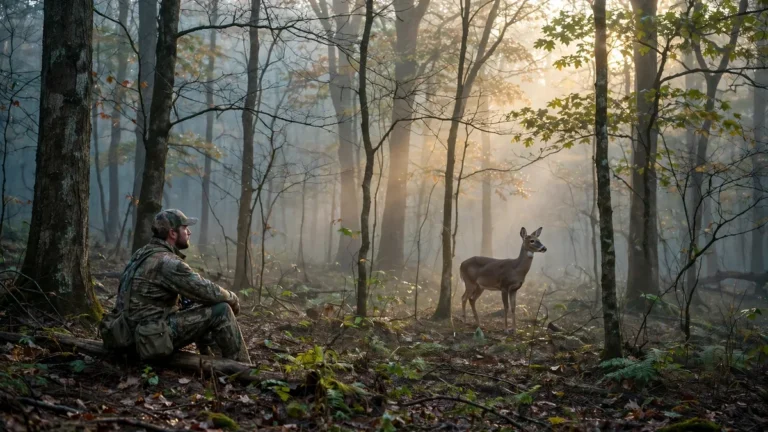
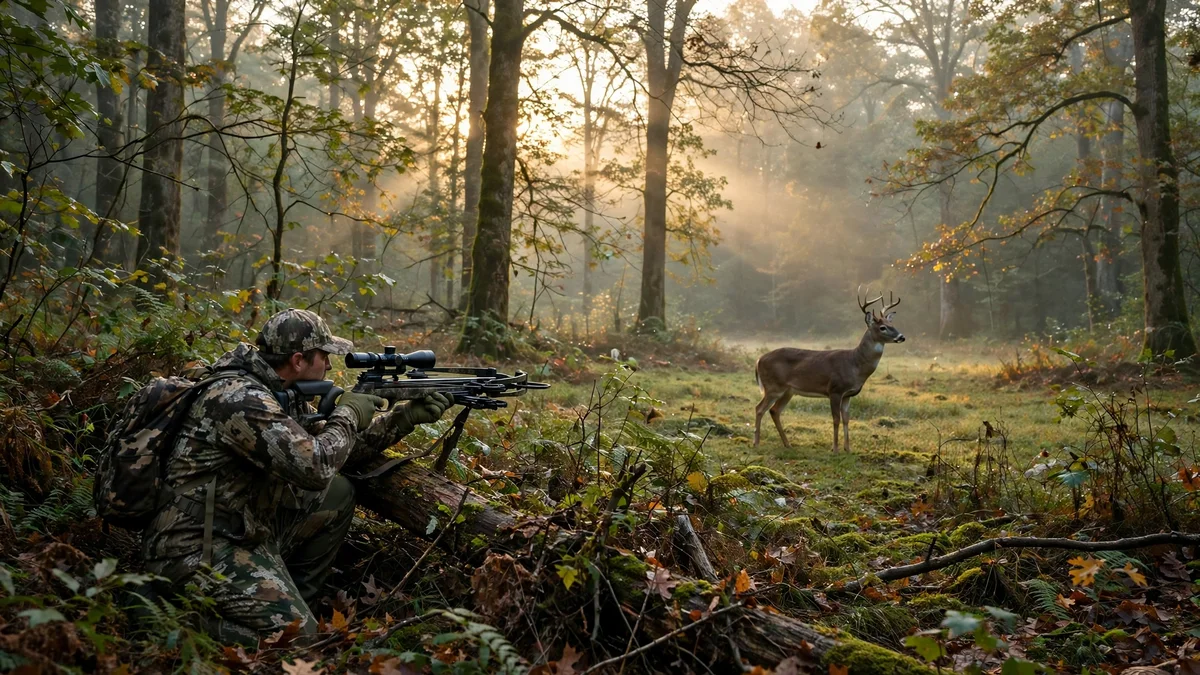
A crossbow lets a new hunter join archery season without spending years learning to draw and hold a vertical bow, but it is still a short range archery weapon, not a rifle with a string. If you get three things right before opening day, you will be ready: you are legal, you are safe with a cocked bow, and you have practised inside a range you have actually proven on the target. This guide walks you through all three, step by step, from choosing a first bow and sighting it in, through a four week practice plan, stand and blind setup, shot placement, tracking, and field dressing. It is written for a first season deer hunter, and the same habits carry over to turkey and small game.
The Short Answer
Start with the law, then the bow, then the practice. Take your state hunter education course, buy your licence and tag, and read the current season dates and equipment rules from your state wildlife agency, because those rules are the only authority and they change every year. Choose a bow you can cock the same way every time, with a draw weight that clears your state minimum, and sight it in starting at 10 yards, zeroing at 20 yards, and confirming at 30, 40, and 50 yards. Practise twice a week for four weeks, 10 to 15 shots per session, and set your personal maximum range with the paper plate test: walk back until you cannot put three bolts in a paper plate, then subtract 5 yards. For a first season, cap that range at 40 yards, and at 30 yards if you have not proven 40 yards on the range. Take only broadside or slightly quartering away shots inside that range, keep your fingers below the rail at all times, never dry fire, and wait the right time before tracking a hit deer. That is the whole guide in one paragraph. The rest of this page is the detail that makes each of those sentences work in the field.
Is Crossbow Hunting Right for You?
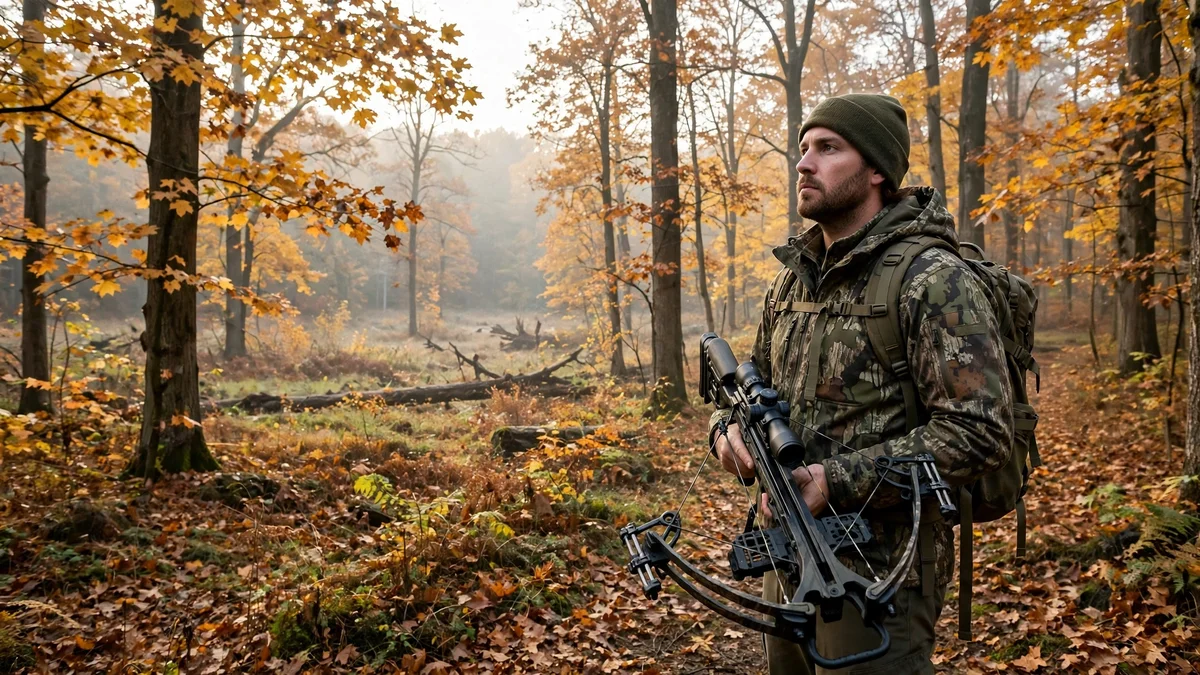
I started with a crossbow because I wanted to hunt archery season without spending a full year building the strength and form a compound bow demands. That is the honest appeal, and it is a good reason, as long as you do not mistake easier to learn for easy. A crossbow holds the draw for you, so you can focus on aiming, breathing, and shot timing instead of holding weight at full draw. You still have to cock it, load it safely, judge distance to the yard, read the wind, and pass on shots that are not there. You still have to track what you hit. The range is short, the reload is slow, and the bow is heavy and front heavy compared with a rifle. If that trade sounds right to you, a crossbow is a fine first hunting weapon.
What a crossbow does well, and what it does not
A crossbow does three things well. First, it shortens the learning curve. Most new shooters can group bolts at 20 yards in a single range session, once the bow is sighted in. Second, it opens archery season in many states, which usually runs longer than gun season and puts you in the woods when deer are less pressured. Third, it works for hunters who cannot draw a vertical bow because of a shoulder, elbow, or strength limitation, though some states still ask for a disability permit for crossbow use in archery season, so check your state rules before you assume anything.
What it does not do is shoot like a rifle. A bolt drops fast, drifts in wind, and takes about 0.3 seconds to reach a deer at 40 yards, which is long enough for an alert deer to move. You get one shot, then a slow, noisy reload that usually ends the encounter. A crossbow is also wider, heavier, and harder to manoeuvre in a blind or a stand than its size on a product page suggests. None of that is a reason not to hunt with one. It is a reason to hunt inside its limits, and to practise the way you will actually shoot.
Crossbow vs compound bow vs rifle, at a glance
| Crossbow | Compound bow | Rifle | |
|---|---|---|---|
| Learning curve | Short. Weeks of steady practice to hunt. | Long. Months of form and strength work. | Short. Days to shoot accurately on a range. |
| Ethical hunting range for a beginner | 30 to 40 yards, inside a proven personal limit. | 20 to 30 yards for most beginners. | 100 yards and beyond, with practice. |
| Season access | Archery season in many states, gun season in most. | Archery season. | Gun season only, in most states. |
| Weight and carry | Heavy and front heavy, 7 to 9 lbs rigged is common. | Lighter, 4 to 5 lbs is common. | Varies widely, often lighter and better balanced. |
| Reload speed | Slow. One shot, then a full re-cock. | Fast. Nock another arrow in seconds. | Fast. Cycle the action and shoot again. |
| Noise | Loud at the shot. Deer hear it. | Quieter than a crossbow. | Loud, with far more range to spare. |
Who should start with a crossbow
A crossbow suits a new hunter who wants to hunt this season, a rifle hunter who wants to try archery season, and a hunter with a shoulder or draw limitation who still wants to hunt with a bow. It also suits a hunter who will practise on a schedule, because the bow rewards steady, short sessions more than occasional long ones. It does not suit a hunter who wants long shots, fast follow up shots, or a weapon that forgives a guessed distance. If you are honest about which group you are in, the rest of this guide will fit.
Get Legal First
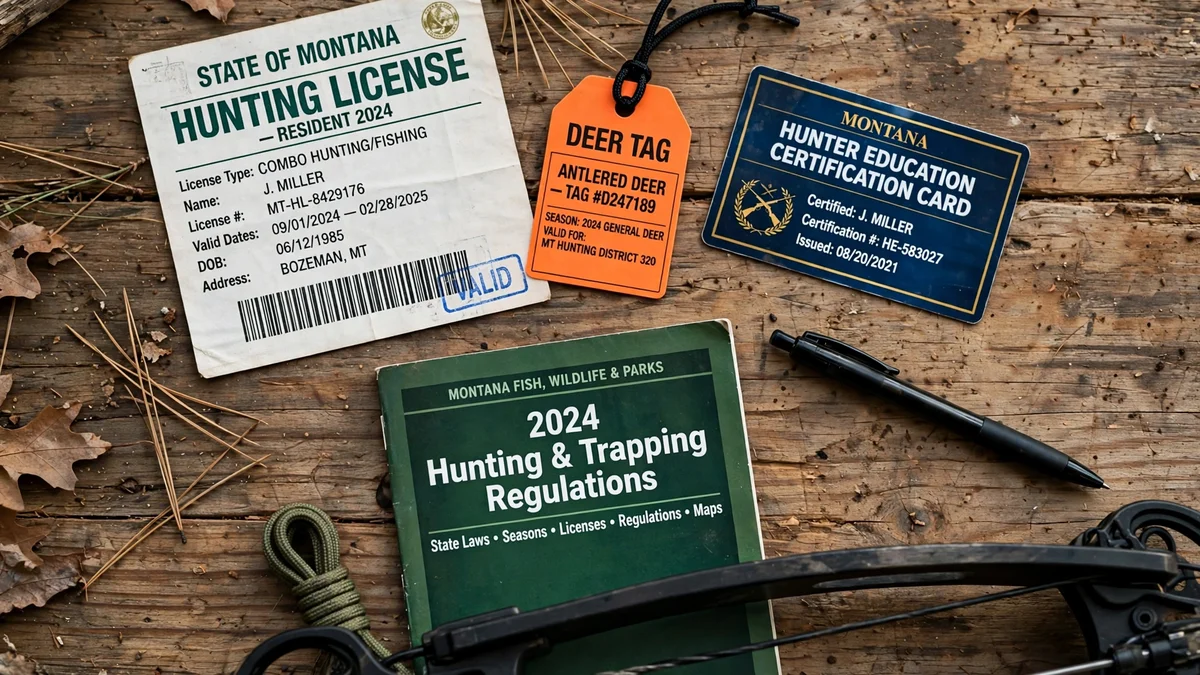
Do this before you buy a bow, because the rules decide what bow you can legally hunt with. Regulations change every year, and the state counts you see in search results conflict with each other, so I am not going to quote a number of states here. What follows is the checklist, and your state wildlife agency is the only authority that can confirm each line for your state and your season.
Hunter education, licence, and tag
Nearly every state requires a hunter education course before you can buy a licence, and many states require it for anyone born after a set date. Take the course early, because classes fill up before the season. Then buy your hunting licence and the tag for the species you plan to hunt. Start with one species, usually deer, and one area. Do not try to learn deer, turkey, and elk in the same first season. Keep your licence, tag, and a pen on you in the field, and learn how your state wants a harvest recorded. Some states use a physical tag, some use an app and a harvest record, and the rules for reporting a harvest and the deadline for doing it vary.
Season, bag limits, and shooting hours
Read the current season dates for your weapon type, not for hunting in general. Archery season, gun season, and muzzleloader season can each have different dates, and a crossbow may be legal in one and not in another. Check the bag limit for your zone, the either sex and antlered only segments, and the legal shooting hours, which are usually tied to sunrise and sunset. Check whether baiting is allowed where you hunt, and whether a separate permit is needed for it. Check the public versus private land rules for the land you will actually stand on, because a wildlife management area can set its own dates, bag limits, and weapon rules on top of the statewide ones.
Equipment rules that catch beginners out
Equipment rules vary by state, and they are the rules beginners break most often without knowing it. The items to confirm are the minimum draw weight for a crossbow, the minimum bolt length, the minimum broadhead cutting diameter, whether a working safety is required, and the transport rules for a cocked bow in a vehicle. As examples of how much these numbers move, the most common minimum draw weight for crossbows is 125 lb, Ohio sets a 75 lb minimum, and New York sets a 100 lb minimum. Illinois has a 125 lb minimum and no maximum. Do not rely on those examples as law. They are illustrations of the range, and your state agency page is the source that governs your hunt. Minimum bolt length is commonly 14 inches, and the minimum broadhead cutting diameter is commonly 7/8 inch, but again, confirm both where you hunt. Some states also set a minimum stock or overall length, and some western states limit crossbow use in archery season to hunters with a disability permit.
One recent change is worth knowing as an example of how fast rules move. New York expanded crossbow use to the full archery season beginning August 27, 2025, under bills S6360A and A8330A, with a 100 lb minimum draw weight. That change was verified from the official source, but it is still a 2025 change, so recheck it against the current New York rules before you plan a hunt there. Rules that changed last year can change again this year.
Where to check, and why no website table replaces it
Your state wildlife agency website and its current hunting guide are the only authority. That means your state Department of Natural Resources, Fish and Game, or Wildlife agency, by whatever name your state uses. Do not rely on forum posts, old magazine articles, or word of mouth, and do not rely on a 50 state table on any website, including this one. A table goes stale the year it is printed, and a rule that was true in one state last season may have changed on July 1. This site has no verified state guide hub yet, so this guide does not link to one. When a verified state guide exists, it will be linked here. Until then, the agency page is the link that matters.
Before your first hunt, confirm every line:
- Hunter education course completed, and the certificate in hand
- Hunting licence bought, for the right resident or nonresident class
- Species tag bought, and you know how to fill it out and report the harvest
- Season dates for your weapon type, your zone, and your land type
- Bag limit, either sex or antlered only rules, and shooting hours
- Minimum draw weight, bolt length, and broadhead diameter for your state
- Hunter orange rules for the season you will hunt
- Baiting rules, and whether a separate permit is needed
- Transport rules for a cocked crossbow in a vehicle
- Public land or wildlife management area rules, if that is where you will hunt
Choosing Your First Crossbow
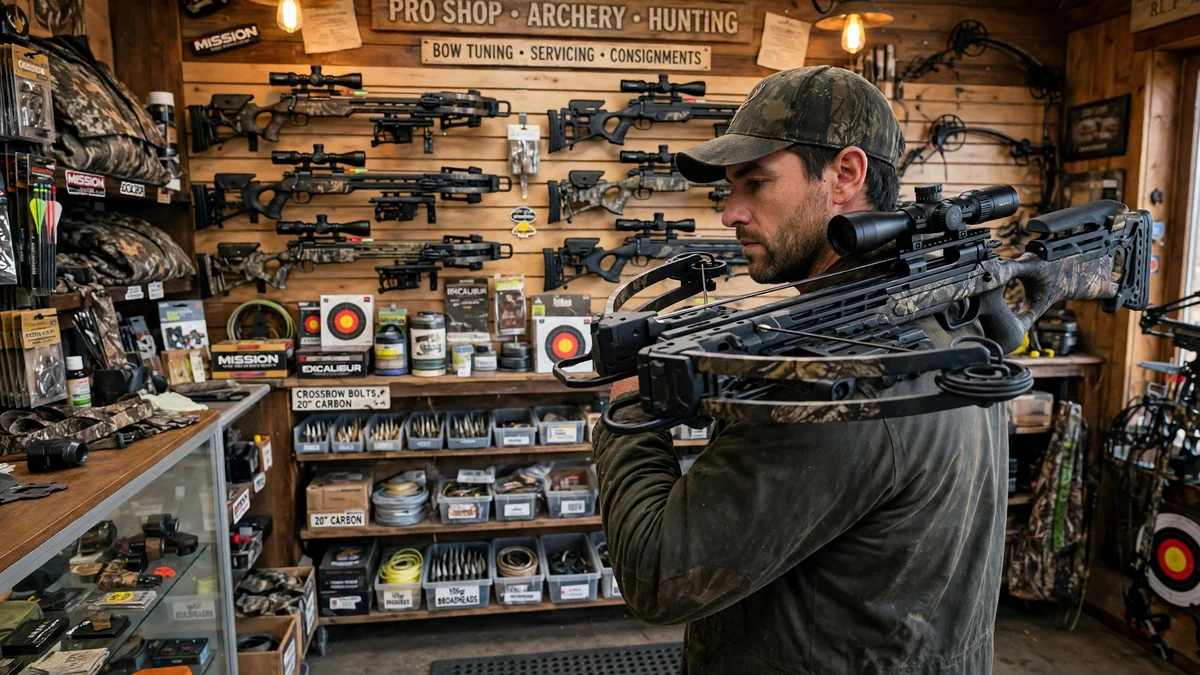
Choosing a first bow is simpler than the product pages make it look. You need a bow that clears your state minimum draw weight, that you can cock the same way every time, that fits the cover you will hunt in, and that leaves money in the budget for bolts, broadheads, a target, and a rangefinder. Speed matters, but it matters less than consistent cocking and a proven range. For the full buying walkthrough, read the buying advice for first-time buyers guide and the easy-to-learn starter picks guide, and compare the full field in the tested picks for every budget guide before you spend.
The 4 numbers that matter
Draw weight is the legal number and the cocking number. Most states set a legal minimum, most commonly 125 lb for crossbows, and a commonly quoted beginner sweet spot is 150 to 175 lb. Do not chase the highest draw weight you can find. A bow you cannot cock evenly every time will shoot inconsistently, and inconsistent cocking shifts point of impact by several inches. Cocking effort matters more than raw draw weight, because a rope cocker or an integrated crank changes the felt effort completely. Pick a bow you can cock the same way every time, then check that it clears your state minimum.
Speed is the second number, and it needs context. A speed of 300 fps is a commonly cited floor for deer with a modern crossbow, and 350 to 400 fps is the typical modern hunting range. Heavier bolts, around 400 grains total, penetrate better and are quieter than light speed bolts, and retained energy downrange matters more than the fps number on the box. There is no settled kinetic energy minimum for deer. Sources give figures from 27 to 40 ft-lb, 40 ft-lb, and 75 ft-lb, and those numbers cannot all be minimums in the same sense, so this guide does not present one of them as settled. The principle is simple: you need enough retained energy for a pass through, and energy falls fast with distance, which is another reason to keep your shots short.
Width is the third number, and it matters in a blind and in a stand. A narrow bow is easier to swing and easier to keep clear of branches and blind walls. The fourth number is cocking effort, covered in detail below, because it decides whether you can hunt with the bow at all on a cold morning with gloves on.
Length and weight matter too. A shorter, lighter bow is easier to carry and manoeuvre, but a very light bow can feel front heavy. Check the weight as you will actually carry it, with scope, quiver, and bolts fitted, not just the bare bow weight on the spec sheet. Shoulder the bow before you buy it, cock it with the included device, check where the safety sits under your thumb, and confirm the scope reticle has marks for the distances you will hunt, usually 20, 30, 40, and 50 yards.
Budget tiers, with real prices
The prices below are the site verified values for the bows named, and they are the only prices used in this section. A starter package that includes the bow, scope, quiver, bolts, and cocking device is usually better value for a first season than a bare bow plus separate accessories. Budget for a target, practice broadheads, and a rangefinder on top of the bow, and treat accessory totals as rough planning figures, not fixed prices, because they move with sales and stock.
| Tier | Example bow | Price | What you get |
|---|---|---|---|
| Budget | Boss 405 | About $330 | 220 lb draw. An honest entry tier that leaves budget for bolts, broadheads, a target, and a rangefinder. |
| Budget | Whitetail Hunter II | About $370 | 350 fps, 150 lb draw. A proven starter package bow, and the most common first bow shape in this price band. |
| Mid | Titan X | About $800 | 7.3 lbs, tested 400 fps, 5 lb cocking effort, trigger 3.5 lb listed vs 4.4 lb tested. A clear step up in build and trigger feel. |
| Step up | R10X Pro | About $1,850 | 7.95 lbs bare, 6.5 in cocked width, 12 lb Versa-Draw cocking effort. Narrow, easy to cock, and easy to manoeuvre in tight cover. A step up, not a starter recommendation. |
That table is the whole first bow shortlist for this guide. Do not stretch a first season budget to a flagship bow. The money is better spent on practice bolts, a good target, and time on the range. If you want the wider comparison before you decide, the tested picks for every budget guide covers the full field.
Package vs bare bow, and what to check before you buy
Buy a package for your first season unless you already own a scope and a quiver you trust. A package removes the guesswork over bolt length and weight, scope mounts, and cocking devices, and it usually costs less than the same parts bought separately. Before you pay, check five things: shoulder the bow and check the balance, cock it with the included device and check that the string seats evenly, work the safety with gloves on, confirm the bolt length and weight the manufacturer specifies for that bow, and confirm the scope reticle matches the distances you will hunt. If any of those five fails in the shop, it will fail worse in the field.
Cocking systems explained
Cocking is a buying decision, not an accessory, because it decides whether you can load the bow the same way every time. A rope cocker halves the effort and keeps the string even, but it needs a straight pull and a braced foot. A crank is slower but close to foolproof, and it is the right choice if you have limited strength or you plan to re-cock in a stand. Integrated systems are built into the bow, so there is nothing extra to carry or lose.
Name the exact system on the bow you buy, never just the brand name. The TenPoint ACUdraw family is four different systems, and they do not do the same thing. Plain ACUdraw takes 5 lb of effort and has no safe de-cock. ACUdraw De-Cock takes 5 lb and does allow a safe de-cock. ACUdraw Silent takes 5 lb. ACUdraw Pro takes 8.5 lb. That distinction matters every time you unload at the end of a hunt, and it is covered again in the safety section below. Ravin systems are easy to confuse too: the R10X Pro uses Versa-Draw at 12 lb cocking effort, while the R500 uses the VersaDrive screw drive system at 17 lb. Versa-Draw is not VersaDrive. Note: Ravin recalled the R500 in March 2024 (about 13,300 in the US plus 425 in Canada, serials R050-R057); Ravin offers a free repair, 888-769-7287. The Titan X takes 5 lb of cocking effort. For the full cocking sequence, read the step-by-step cocking walkthrough guide.
Your Gear Checklist
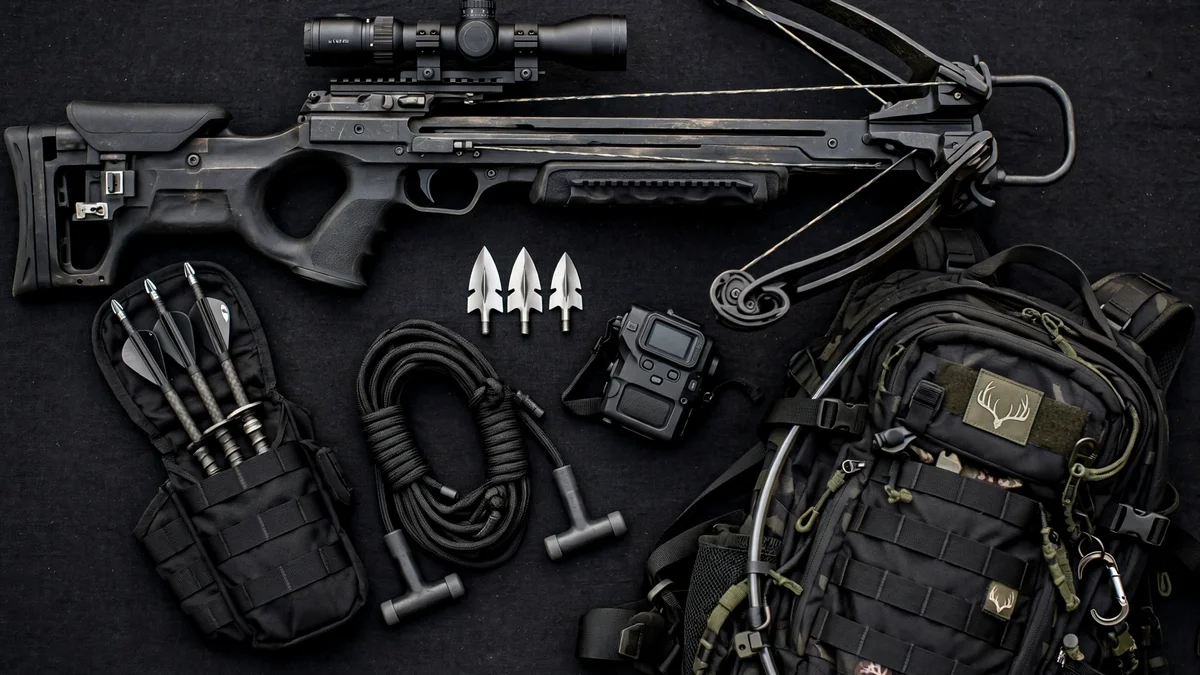
A first season kit is not a shopping list for a store. It is the set of things that keep you safe, legal, and able to recover what you shoot. Buy the must have items first, add the nice to have items in year two, and skip the rest until you know how you hunt. For string waxing, bolt inspection, and storage, read the season-ready maintenance checklist.
Must have kit, with quantities
| Item | Quantity | Notes |
|---|---|---|
| Crossbow, with scope, quiver, and cocking device | 1 | Package bows include these. Check the scope reticle and the cocking system before you buy. |
| Bolts, matched to the bow | At least 6 | Matched to the manufacturer length and weight specification. Inspect each one before every hunt, especially carbon bolts for cracks. A damaged carbon bolt can shatter on firing. |
| Hunting broadheads | At least 3 | 100 grain is the common weight. Minimum cutting diameter 7/8 inch in many states. Verify with your actual heads before the season, see below. |
| Field points, same weight as your broadheads | At least 6 | For practice. Save broadheads for verification and hunting. |
| Practice broadheads or an old head | 1 to 3 | For repeated shooting where the manufacturer allows it. Do not blunt your hunting heads on a target. |
| Discharge bolt | 1 | For safe uncocking where the bow has no safe de-cock system. Fire it into a dedicated heavy backstop target. |
| Crossbow rated target | 1 | Rated for crossbow speeds. A target rated for a vertical bow will not stop a crossbow bolt safely. |
| Rangefinder, preferably with angle compensation | 1 | Guessing distance is the most common cause of a missed vital zone. Range every lane before the hunt. |
| Case, hard or soft | 1 | For transport and storage. Protects the scope and the limbs. |
| Safety harness and lifeline | 1 set | Only if you hunt from a stand. Full body harness, from the ground up. |
| Sharp knife, gutting gloves, zip ties or string, headlamp, game bags | 1 set | Field dressing kit. Keep it in your pack, not in the truck. |
| Licence, tag, pen, phone or GPS, first aid kit | 1 set | Licence and tag on your person. Phone charged, with your location shared. |
| Spare string | 1 | Carry one in your kit bag, with string wax and rail lube. A frayed serving found at dawn ends the hunt without a spare. |
Fixed blade or mechanical broadheads
For a first season, choose a fixed blade broadhead as the default. Fixed heads are simpler, tougher, and they do not depend on a mechanism opening on impact. Mechanical heads often fly closer to field points and give a larger cutting diameter, but they must be tested for deployment, and they add a failure point a beginner does not need. Whichever type you choose, verify it. Shoot at least one 3 shot group with your actual hunting broadheads at 20 and 30 yards before the season, because field points and broadheads often fly differently. A 3 inch drift at 40 yards can turn a lung shot into a gut shot. Do not hunt with a broadhead you have not shot. For the full comparison, read the fixed vs mechanical broadhead picks guide.
Nice to have, and what to skip in year one
A shooting stick or rest, a sling, scent elimination spray, binoculars, and lighted nocks are all useful, and none of them is essential in year one. Lighted nocks help you see exactly where the bolt hit, which helps tracking, but they are optional, and their legality varies, so confirm the rule in your state before you use them. A spare string and cables, or at least a string wax and rail lube kit, belongs in the kit bag from the start. Skip extra gadgets, extra optics, and a second quiver until you know how you hunt. The best first season upgrade is not gear. It is range time.
Sighting In, Step by Step
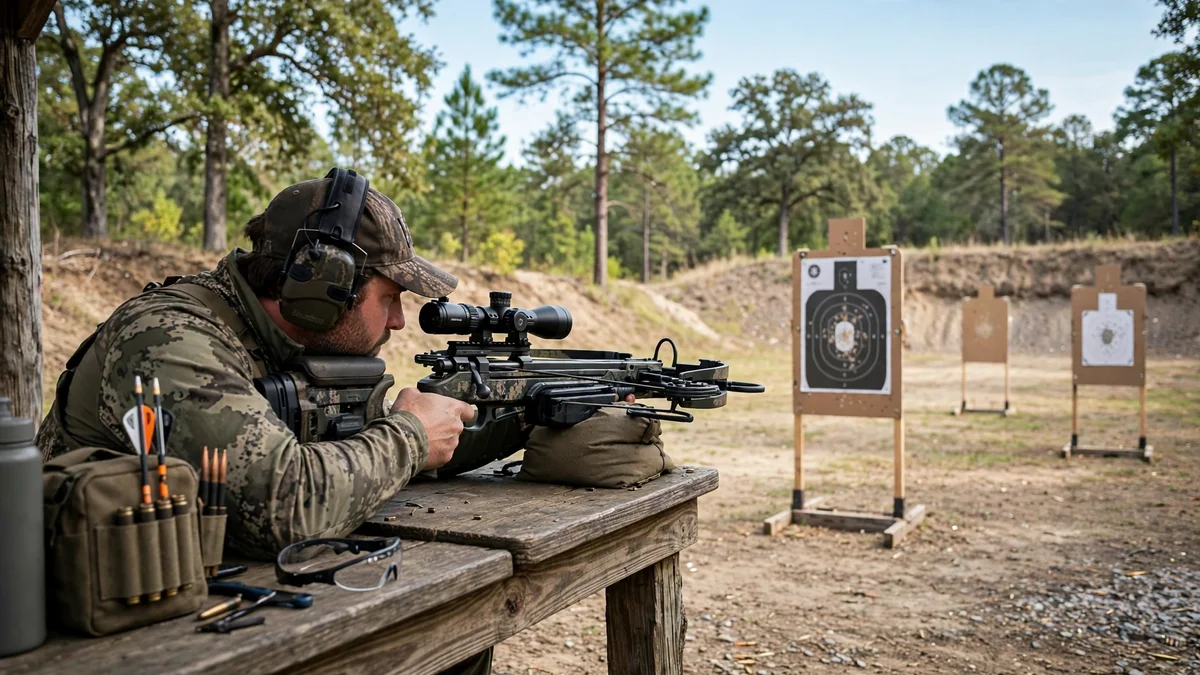
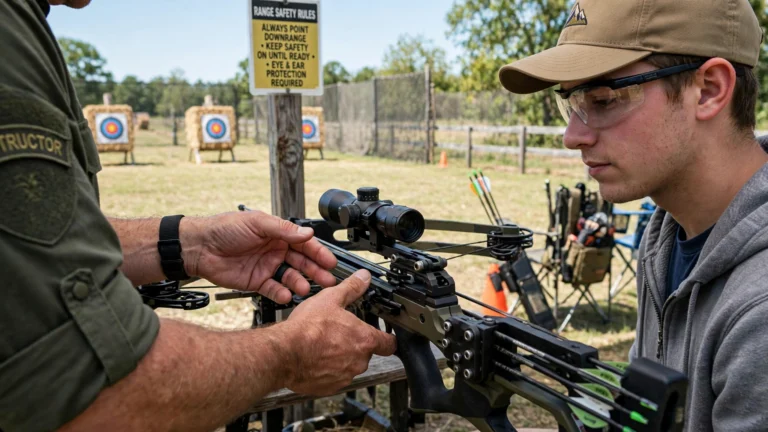
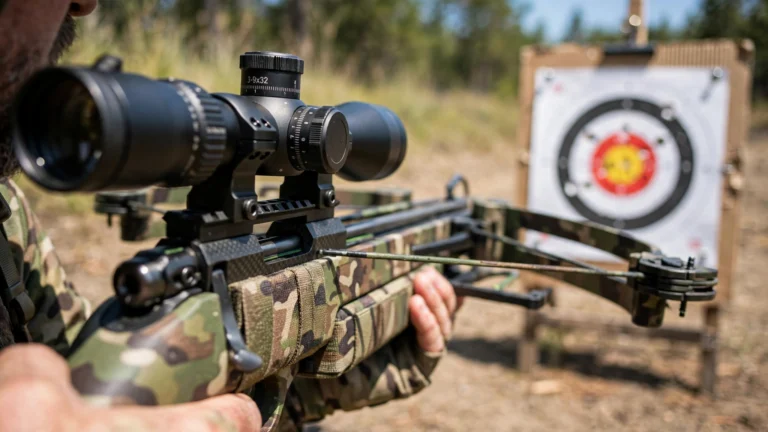
Sighting in is the most important hour you will spend before the season. A bow that is not sighted in is a bow that wounds deer. Allow a full session for a first timer, even though the basic process takes about 20 to 30 minutes on a bow that is already assembled and roughly aligned. Use a crossbow rated target and a solid rest, such as a bench, sandbags, or a tripod. For the full procedure, read the five-step sighting-in walkthrough guide.
Start at 10 yards, zero at 20 yards, confirm at 30, 40, and 50 yards
- Start at 10 yards. Shoot a group of 2 to 3 bolts with field points, using the top reticle or dot. Adjust windage and elevation until the group centres on the bullseye. Do not chase single shots. Adjust on the centre of the group.
- Move to 20 yards. This is the standard zero. Use the top reticle again and fine tune. Confirm a tight group before moving further. A good group at 20 yards from a rest is about 2 inches or better. That 2 inch group at 20 yards, from a rest, is your pass mark.
- Confirm at 30 yards. Shoot a 3 shot group using the 30 yard reticle mark. Adjust elevation only if windage is centred. If windage drifts, go back to 20 yards and re-zero.
- Confirm at 40 yards, then at 50 yards. One distance at a time, 3 shot groups at each, using the reticle mark for that distance. Do not zero at 50 yards. The zero stays at 20 yards, and 30, 40, and 50 yards are confirmations.
- Verify with hunting broadheads. Shoot at least one 3 shot group with your actual hunting broadheads at 20 and 30 yards before the season.
Expect the trajectory to look roughly like this for a 300 fps or faster bow with a 20 yard zero: about 1 to 2 inches high at 15 yards, and about 2 to 3 inches low at 25 yards. Treat those as approximate figures for one example bow, not a ballistics table for every bow. Your bolt weight, your speed, and your zero all change the drop. Most multi reticle scopes are marked 20, 30, 40, and 50 yards, sometimes further. Check your scope manual for the click value before you adjust, because one click moves point of impact by a different amount on different scopes, and a value quoted for one scope does not apply to all of them.
Practising in hunting conditions
A bench group does not equal a field group. After the bench zero, practise kneeling, sitting, and from a stand height if you can, in the clothes and gloves you will hunt in, and in wind and light rain. Cold hands, gloves, and heavy clothing change your shooting position, and you need to find that out on the range, not on a deer. Rest the fore-end on the stand rail in a stand, and use a shooting stick or a stable rest in a blind. Freehand shooting magnifies small tremors into misses, so a stable rest is non-negotiable for sighting in and strongly recommended in the field. If you are choosing a scope, read the what to look for in a scope guide before you buy.
Your 4 Week Practice Plan
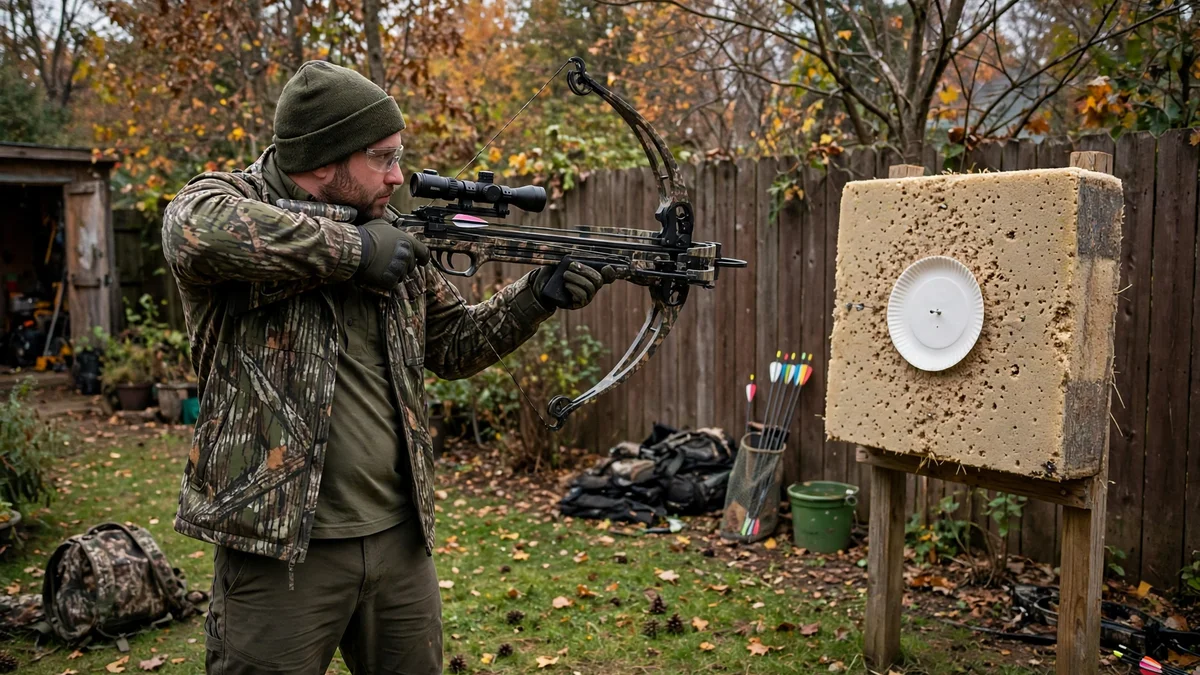
Crossbow practice is about consistent form, not volume. Shoot at least 2 short sessions per week for the month before the hunt, 10 to 15 shots per session. That is about 80 to 120 shots before opening day, which is plenty if every shot is deliberate. High round counts are not a virtue. Ten careful shots beat thirty rushed ones.
| Week | What to do | Pass mark |
|---|---|---|
| Week 1 | 10 yards, 3 shot groups, rest only. Learn cocking, loading, safety, and trigger squeeze. | Fist sized group, then a 2 inch group at 20 yards. |
| Week 2 | 20 yard zero confirmed, then 30 yards. 3 shot groups at each distance. Introduce sitting and kneeling. | 2 inch group at 20 yards from a rest, consistent groups at 30 yards. |
| Week 3 | 20, 30, and 40 yards. Broadhead verification at 20 and 30 yards. Range estimation practice with a rangefinder, including angle compensation from a stand. | Broadheads group with field points at 20 and 30 yards. Distances judged to the yard, not guessed. |
| Week 4 | Field simulation. Shoot from your stand or blind setup, in hunting clothes, at unknown distances inside 40 yards. Decide your personal maximum range. | Every shot inside a paper plate from a hunting position, at your chosen maximum range. |
The paper plate test, and how to set your personal maximum range
Ethical range has no settled number. Sources give 30 yards, 30 to 40 yards, 40 yards, 40 to 50 yards, and 50 to 60 yards, and those numbers cannot all be right for the same beginner. Do not pick one of them as your range. Test your own. Put a paper plate on the target, which is about the size of a deer vital zone, and walk back until you cannot consistently put three bolts inside it from a hunting position. That distance minus 5 yards is your personal maximum ethical hunting range. For most beginners that lands at 30 to 40 yards. For a first season, cap it at 40 yards, and at 30 yards if you have not proven 40 yards on the range. As your skill improves, aim for the stricter standard of a 4 inch circle, five times in a row, from a hunting stance. Until you can do that, the paper plate test is your rule, and the 40 yard cap is your ceiling.
Your ethical range is the shortest of three distances: your consistent accuracy limit from the paper plate test, your bolt energy limit, and the distance beyond which the animal can react before the bolt arrives. A deer can drop its body 6 to 8 inches in the time a bolt takes to travel 40 yards, because sound reaches the deer in about 0.1 seconds at 40 yards while the bolt takes about 0.3 seconds. That is why you aim for the lower third of the vital zone on a broadside shot, so a deer that drops moves into the bolt path rather than under it, and it is why long shots are unethical even if the bow can group at that distance on a range.
Where to Hunt, and How to Scout
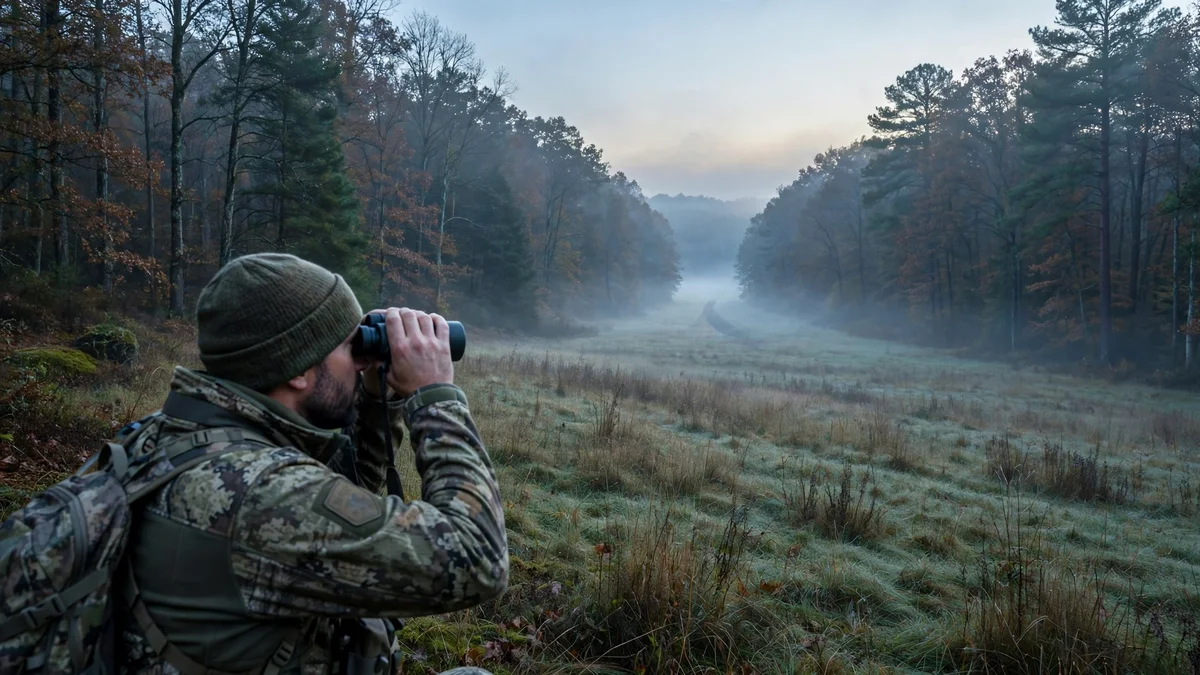
Scout in person, out of season, and start with one species and one area. Use a hunting app to find public land boundaries and access, but confirm on foot. Look for fresh tracks around water and food, trails, rubs, scrapes, droppings, and bedding areas. A trail, a funnel, a food source, or a water source within your proven range, usually inside 30 to 40 yards, is the setup to look for. Clear shooting lanes before the season, and range the lanes so you know the distances without guessing.
Public vs private land
Public land needs more scouting and more competition. Get there early, walk further than the parking lot crowd, and expect other hunters. Private land needs permission, in writing where possible, with a clear agreement on boundaries, stands, and game. Do not hunt land you have not confirmed access to. Either way, set up downwind of where deer will come from. Scent control helps, but wind decides. If the wind changes, move or wait.
Reading deer sign, and hunting funnels
Look for funnels where deer are forced into a narrow path: a fence gap, a creek crossing, a ridge saddle, or a strip of cover between two open areas. A funnel inside 30 yards of a stand or blind is worth more than a perfect stand 60 yards off a trail. Hunt with someone experienced the first time if you can. A second pair of eyes on sign, wind, and shot selection is worth more than any gear upgrade in year one.
Tree Stand or Ground Blind?
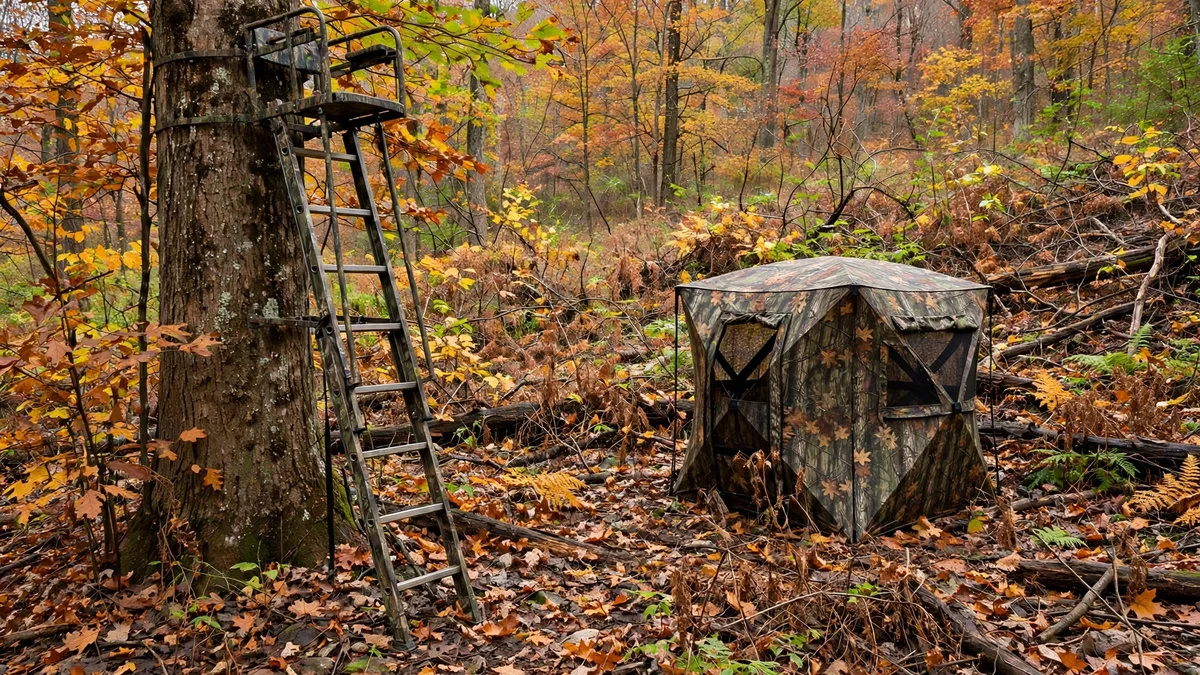
A crossbow changes both setups, because of width, limb clearance, and the way you haul the bow. A wide bow is hard to manoeuvre in a blind and in a stand, and a limb that clips a branch or a blind wall on the shot can deflect the bolt, crack a limb, or throw debris. That is where narrow bows earn their price. A bow with a 6.5 inch cocked width is genuinely easier in tight cover than a 9.5 inch bow, though width is one factor, not the whole choice. For stand specific width, haul lines, and shot angles, read the elevated shooting tips for treestands guide.
| Tree stand | Ground blind | |
|---|---|---|
| Best for | Seeing further, keeping scent above deer, hunting a trail or funnel. | No good tree, bad weather, hunting with a youth or a new hunter, turkey. |
| Crossbow problem | Limb clearance on both sides, and the full swing arc, not just the bolt path. Shooting lanes must be cleared for the limbs too. | Width inside the blind. You need room to swing the limbs and shoot in more than one direction. |
| Setup tip | Set within about 30 yards of a well used trail or food source. Height 15 to 20 feet is a common range. Higher sees further and keeps scent up, but increases fall risk and shot angle. | Pick a large hub style blind. Set it out early, ideally a month or more before hunting it, so deer get used to it, and brush it in. |
| Rest | Rest the fore-end on the rail. | Use a shooting stick or rest. Do not use a chair with arms, they interfere with the butt and pistol grip. |
| Hauling | Haul the uncocked bow up with a haul line after you are tethered in, muzzle down, safety on. | Carry the bow in uncocked, and load it only once you are settled and ready. |
Tree stand setup and safety
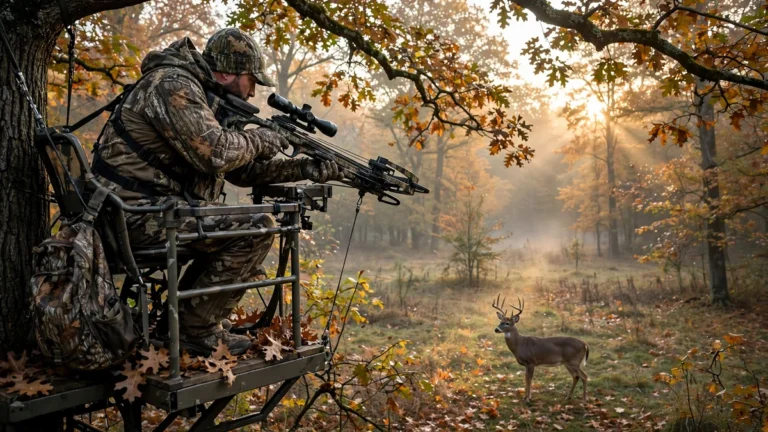
Wear a full body harness from the moment you leave the ground until you return, and use a lifeline. Single strap belts and chest harnesses are no longer recommended. Inspect the stand before the season, and do not hunt from a stand you have not inspected. Never climb with a cocked crossbow, and never cock a crossbow in a tree stand. Haul the uncocked bow up with a haul line after you are tethered in, muzzle down, safety on, and keep the bow tied or held, never leaning where it can rotate and bump the scope, because crossbows are front heavy. Practise the downward angle before the season. A rangefinder with angle compensation matters, because line of sight distance is longer than horizontal distance, and a steep downhill shot hits high if you use the line of sight range. For a deer directly under the stand, aim low and expect a steep, single lung pass through rather than a clean double lung pass through. For a rangefinder that handles angles, read the angle-compensating rangefinder picks guide.
Ground blind setup
A ground blind is the better first choice for many beginners, because there is no fall risk and the setup is forgiving. Set it out early, brush it in, and pick a large hub style blind so you have room for the limbs. Sit on a chair without arms, use a shooting stick or rest, and practise shooting through the blind windows before the season, because the window height and the blind walls change your shooting position. A blind also keeps you out of the wind and rain, which matters more than most beginners expect.
Which one suits a beginner, and when to switch
Start in a blind if you have no stand experience, if you are hunting with a youth or a new hunter, or if the cover has no good tree. Move to a stand once you are comfortable with the bow, the harness, and the hauling sequence, and once you have a trail or funnel that a stand covers better than a blind. Many hunters use both in the same season, and the right choice is the one that puts you inside your proven range, downwind, with a clear lane and a safe backstop.
Shot Placement
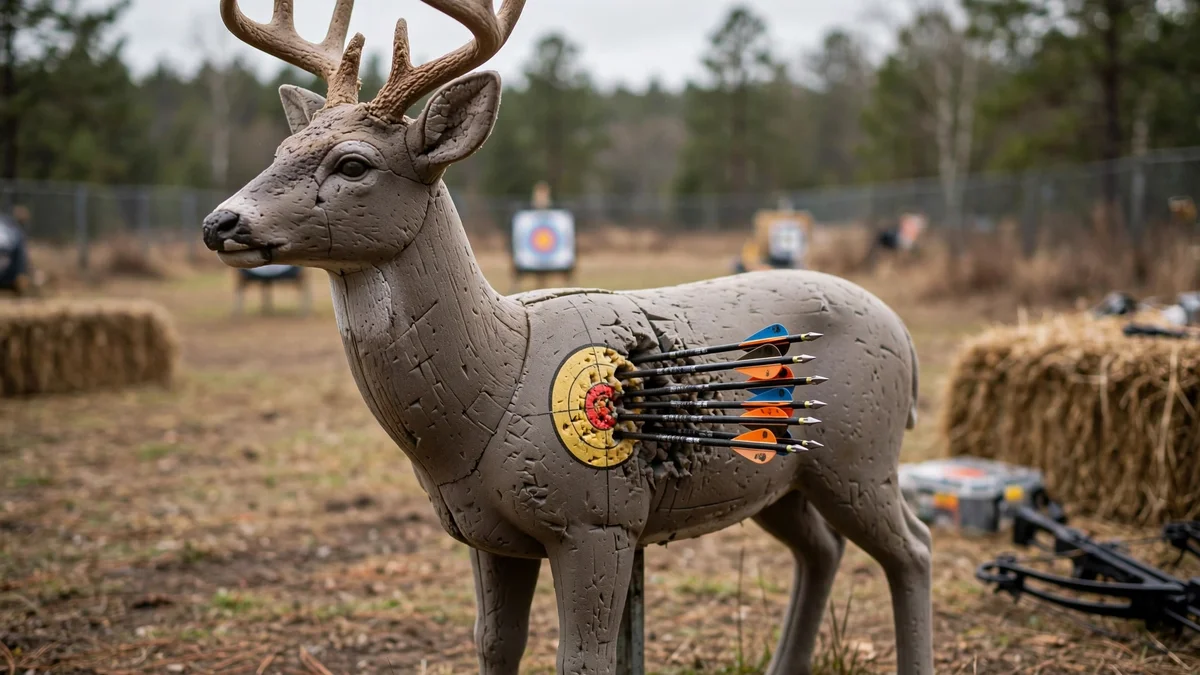
Shot placement is the skill that decides whether a hunt ends in a clean recovery or a long, uncertain track. The vitals on a mature deer are about 8 inches tall and 6 inches wide, which is roughly the size of a paper plate. That is the target the paper plate test is really testing. If you cannot put three bolts in a plate at a distance on the range, you cannot reliably put one bolt in the vitals at that distance in the field.
The broadside shot, your gold standard
The best shot is broadside, with the deer standing perpendicular to you and the full side visible. Aim just behind the front leg, about one third of the way up from the bottom of the chest. Another way to say the same thing is about halfway up the body, and the difference is small: line the vertical reticle with the centre of the front leg, and put the horizontal reticle about one third to one half way up the body. That puts the bolt through the heart and both lungs. Do not aim high on a broadside deer. Aiming too high sails over the back or wounds the backstrap. Aim for the lower third of the vital zone, so a deer that drops at the sound of the shot moves into the bolt path rather than under it.
Quartering away, your plan B
The second best shot is slightly quartering away, at less than 45 degrees, with the deer angled away from you. Aim for the near side shoulder area so the bolt travels through the chest toward the off side shoulder, exiting through the heart and lungs. Aim just above the sternum, perpendicular to the deer line of sight. This is a good shot when the deer is calm and close, and it is the shot to take when a perfect broadside is not coming. Do not take it at a steep angle or at long range, because the bolt has further to travel through the body and less margin for error.
Shots to pass on
Pass on the head shot, the neck shot, the straight away shot, and the steep quartering to shot. A head shot targets a small, moving vital zone with a miss that wounds the jaw. A neck shot targets a narrow column with the same problem. A straight away shot hides the vitals behind the spine and the hindquarters, and a steep quartering to shot puts the shoulder bone between your bolt and the vitals, so the bolt may reach only one lung. A straight on shot is also a pass for a beginner. Passing on a shot is not a failed hunt. It is the decision that keeps the next hunt possible, and it is the mark of a hunter who will recover what they shoot.
Turkey and elk, how the target changes
Turkey vitals are about the size of a baseball, tucked behind the wing, which makes turkey a harder target than deer at the same distance. On a broadside bird, aim about 1 inch down from the base of the neck, just behind the wing, or in the upper third just behind the wing butt. Keep the range short, and only shoot a bird that is standing still with a clear lane. Elk are larger animals, and the same broadside heart and lung placement applies, but they need more retained energy and a shorter range cap than deer. Do not give yourself the same 40 yard cap for elk that you use for deer. Shorten it, and only shoot a broadside or slightly quartering away elk inside the range you have proven with the heavier bolt you will actually hunt with.
Safety, Every Single Time
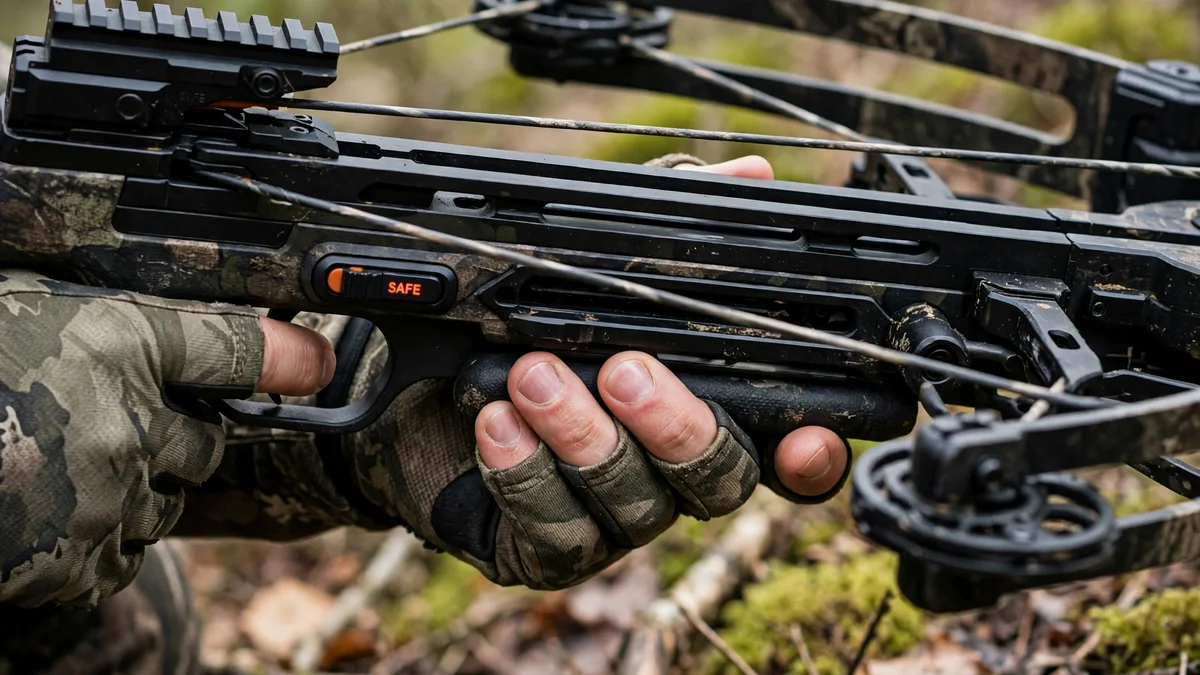
Safety with a crossbow is a sequence, not a single rule. Run the same sequence every time, in the same order, and it becomes a habit that holds when you are cold, tired, and excited. For the full safety guide, read the safety rules for handling every bow.
The firearm rules, applied to a crossbow
Treat a cocked crossbow like a loaded firearm. Point it in a safe direction at all times, keep your finger off the trigger until you are on target and ready to shoot, and positively identify your target and what lies beyond it before you shoot. Engage the safety immediately after cocking, before you reach for a bolt, because most accidental discharges happen during loading. A bolt that is too light can act like a dry fire, so never shoot a bolt lighter than your bow manufacturer minimum, and never shoot a damaged bolt.
Fingers below the rail
Keep all fingers and thumbs below the flight rail, always. The string travels at over 300 fps with enough force to amputate a finger. The flight deck above the rail is a permanent no fly zone for flesh. Curl your thumb under the fore-end, parallel to your fingers, and do not drape fingers over the top. Check your grip every time you shoulder the bow, because a grip that creeps up during a long sit is the most common way this rule gets broken.
Never dry fire, and how to uncock safely
Never dry fire, which means never fire without a bolt seated. Firing without a bolt lets all the energy shock the limbs, riser, and cams. It can crack limbs, derail the string, void the warranty, and send fragments toward the shooter. Anti dry fire mechanisms are a last resort backup, not a feature to test. An unseated nock causes a partial dry fire, so seat the bolt firmly until it clicks against the string.
Uncocking is part of the same sequence. The only safe ways for most bows are to fire a practice or discharge bolt into a dedicated heavy backstop target, or to use the manufacturer safe de-cock system where fitted. Never try to slowly release the string by hand. The latch can slip and cause a violent dry fire. Never discharge into the ground, because bolts can ricochet. This is where the ACUdraw names matter. Plain ACUdraw at 5 lb has no safe de-cock, so you must use a discharge bolt. ACUdraw De-Cock at 5 lb does allow a safe de-cock. ACUdraw Silent takes 5 lb, and ACUdraw Pro takes 8.5 lb. Never write, or think, just ACUdraw without saying which one, because the de-cock answer changes with the variant. If you dry fire your bow, stop, do not shoot it again, inspect it for damage, and follow the manufacturer instructions. Do not attempt a home repair.
Cocking and loading sequence, step by step
- Point the bow in a safe direction, with no one in front of it.
- Cock with a mechanical aid, a rope cocker or a crank, every time. A rope cocker halves the effort and keeps the string even. A crank is slower but foolproof.
- Engage the safety immediately after cocking.
- Inspect the bolt for cracks, especially a carbon bolt, before you load it.
- Load with your fingers below the rail, and confirm the nock is seated firmly against the string.
- Keep the safety on until you are on target and ready to shoot.
Transport and stand safety
Never walk with a cocked and loaded crossbow. Never cock a crossbow in a vehicle or in a tree stand. Unload before you move, and follow your state transport rules, because some states require the bow to be uncocked and cased in a vehicle. In a stand, wear a full body harness from the ground up, use a lifeline, and haul the uncocked bow up only after you are tethered in. Inspect the stand before the season, and do not hunt from a stand you have not inspected.
After the Shot: Tracking and Recovery
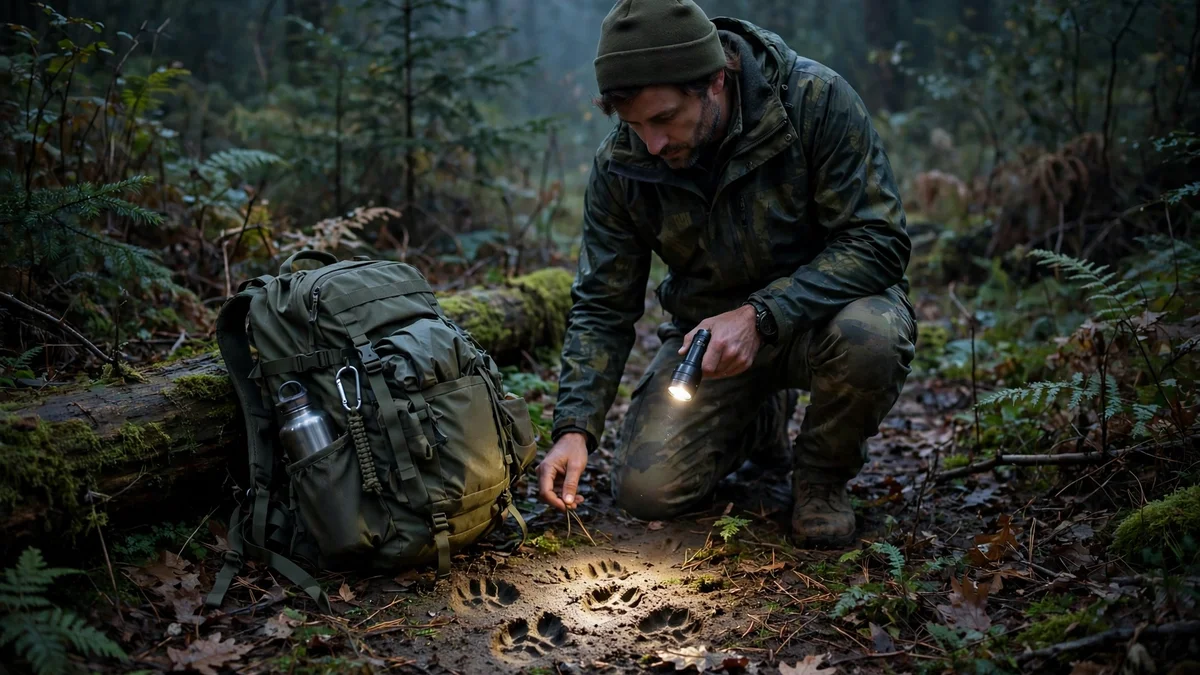
What you do in the first minute after the shot decides how the next hours go. Stay put, watch the deer until it is out of sight, and listen for a crash. Note the deer reaction, a mule kick, a hunched walk, or a tail tucked, and note exactly where the deer stood and where you last saw it. Mark both spots before you move, and check the bolt for blood, hair, and gut matter before you start trailing.
Wait times by hit type
Wait times are guidelines, not exact rules, and sources conflict on every hit type, so this table gives ranges, not single numbers. The rule that covers every conflict is simple: when in doubt, wait longer, not shorter.
| Suspected hit | What you saw | Blood and sign | Wait before tracking |
|---|---|---|---|
| Heart or double lung | Mule kick, hard sprint, crash heard, deer tips quickly, sometimes within sight | Bright red or pink frothy blood with bubbles, heavy trail | 30 to 60 minutes. 30 minutes is the minimum for a clear heart or double lung hit. |
| Single lung or high lung | Deer runs strong, does not look sick, may stop and walk off | Sparse pink blood | 45 to 60 minutes at minimum. Several hours is the conservative advice. Treat as unsure if you are not certain. |
| Liver | Deer hunches, slow trot, beds within 100 to 300 yards | Dark red blood | 4 to 9 hours. Some trackers say 4 to 6 hours, others say 6 to 9 hours. Use the longer wait if the trail is sparse. |
| Gut or paunch | Hunched posture, slow walk, tail tucked, foul smell | Green or brown matter, watery blood, sparse trail | 8 to 24 hours, or overnight. Some trackers say 8 to 12 hours, others say 12 to 24 hours. Back out quietly and come back in the morning for an evening gut hit, unless warm weather makes spoilage a bigger risk. |
| Unsure | You did not see the hit clearly | Any blood, or no blood | At least 1 to 2 hours, then start slowly and carefully. When in doubt, wait longer. |
Reading blood and sign
Blood colour tells you what you hit. Bright pink frothy blood with bubbles points to lungs. Bright red blood in heavy spray points to the heart or a major artery. Dark red blood points to the liver. Green or brown matter and a foul smell point to the gut. Hair and bone at the shot site add to the picture, and the bolt itself is evidence: check it for blood, hair, and gut matter before you move. Mark every drop with flagging tape or a GPS pin, and look past the blood for tracks, disturbed leaves, bedding, and water. A wounded deer that is not pressured will often bed down close by. A deer pushed too soon can travel a very long way on adrenaline and take its blood trail with it.
When to back out, and when to call for help or a tracking dog
Back out if the sign points to a gut hit, if the trail thins or stops, or if you jumped the deer from a bed and it ran strong. Go back to the shot site, mark it, and wait the full time in the table before you try again. If the trail thins or stops after a careful search, switch from blood trailing to sign trailing: grid search the last seen direction, check water and thick cover, and consider a trained tracking dog where legal. Rules on tracking dogs, and on using a light or a drone, vary by state, so check before you use them. Call for help early if you need it. A second person with a light, a pack, and a calm head is worth more than an extra hour of solo searching in the dark.
Weather and spoilage trade offs
Approaching rain or snow that will erase the trail argues for a careful earlier follow up. Hot weather argues against a long overnight wait, because the meat spoils. That is a judgement call, not a rule that overrides the wait times. A gut hit in warm weather is the hardest call in tracking: waiting protects the recovery, and waiting risks the meat. When you face it, weigh the temperature, the time of day, and the strength of the sign, and choose the option that gives you the best chance of recovering the deer. A recovered deer with some meat loss is better than a lost deer, and a deer you push and never find is the worst outcome of all.
Field Dressing Basics
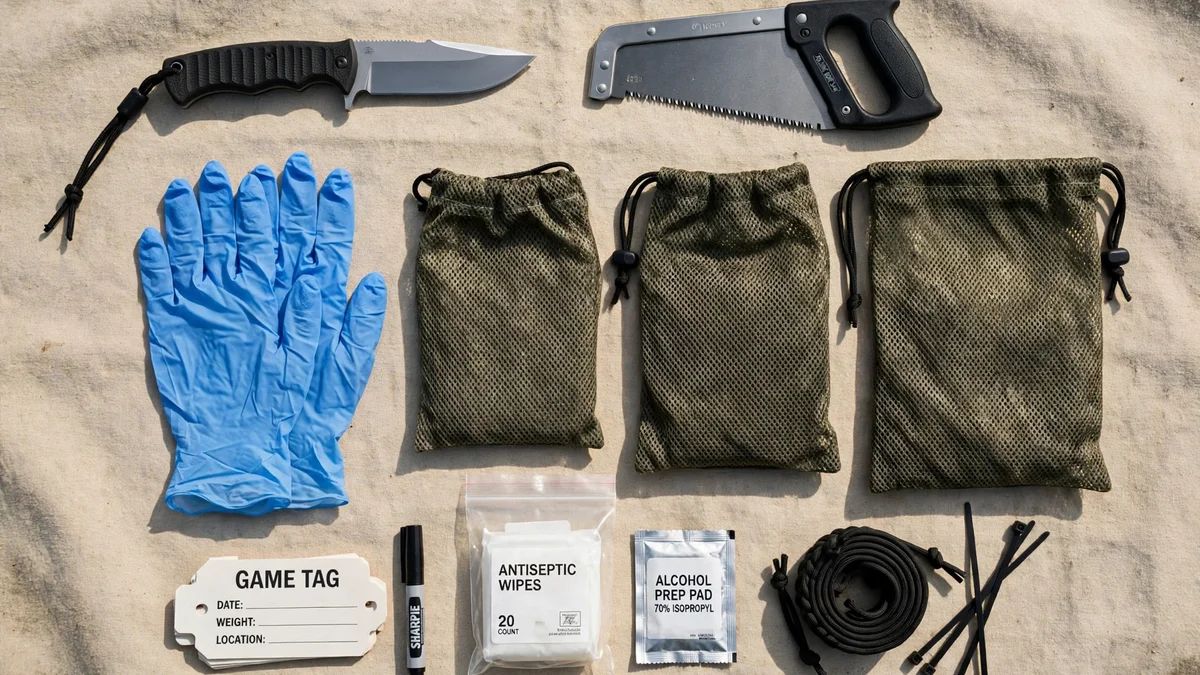
Field dress promptly to cool the meat. Warm weather makes this time sensitive. Tag the deer according to your state rules before you move it, and confirm it has expired before you approach it. Methods vary, and there is no single right way. What follows is the standard six step sequence. The gutless method, taking the backstraps, hams, and shoulders without opening the body cavity, is an alternative where legal and practical, but it is not taught in full here.
What you need in your pack
Gloves, a sharp knife, a headlamp if it is dark, string or zip ties, and game bags. Wear gloves, cover open hand wounds, wash your hands after, and keep the meat clean and cool. If you nick the guts, rinse and trim the affected meat.
The 6 steps
- Confirm and tag. Confirm the deer has expired, approach carefully, and tag it according to your state rules before moving it.
- Position the deer. Lay it on its back, head uphill if on a slope, legs spread. Put on gloves, and have your knife and headlamp ready.
- Tie off the anus. Cut around the anus and tie it off with string or a zip tie to avoid leakage. Some experienced hunters free the rectum last to avoid getting waste on the blade and the tenderloins. Either order works, and the point is to keep waste off the meat.
- Open the belly. Make a small incision below the sternum, just through hide and abdominal wall. Insert two fingers, lift the abdominal wall away from the stomach and intestines, and cut with the knife edge up between your fingers, up to the sternum. Do not puncture the stomach or intestines. That taints the meat.
- Cut the sternum and diaphragm. Cut or saw through the sternum cartilage, cut the diaphragm, reach up, and sever the windpipe and oesophagus.
- Remove the organs. Turn the deer on its side and pull the organs out in one mass, from windpipe to anus, cutting connective tissue as needed. Remove the bladder last and carefully, to avoid contaminating the meat. Drag the carcass away from the gut pile, drain blood from the cavity, wipe the cavity clean, and get the deer to a processor or a cool hanging place as soon as you can.
Weather, Wind, and Scent
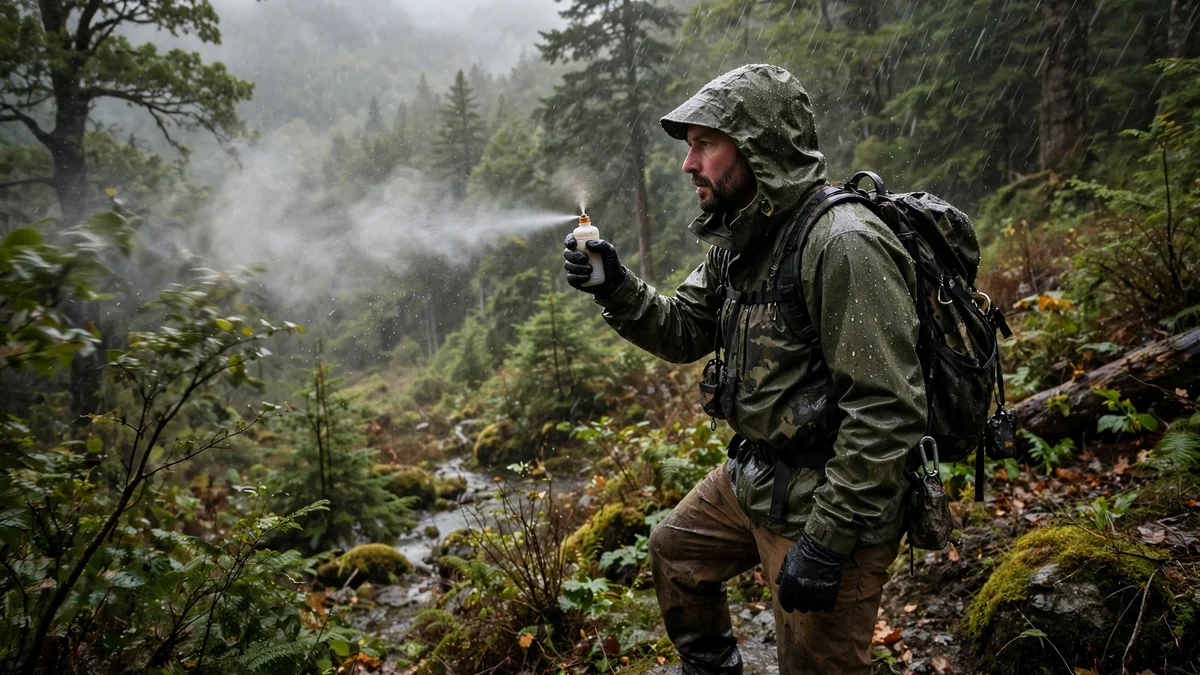
Weather is not a backdrop to a hunt. It changes where the bolt goes, whether you can track, and whether you can hold still. Plan for it the way you plan for distance.
Wind drift and bolt drop, in plain numbers
A 10 mph crosswind can push a bolt several inches off course at 40 yards, about 4 inches by one ballistics table, and about 8 inches at 80 yards. Do not shoot across a strong wind at long range. Bolt drop is just as real. A 400 grain bolt at 400 fps drops about 7 inches between 40 and 50 yards by one source, and over 7 feet at 100 yards by another. Those figures depend on bolt weight, speed, and zero, so treat them as approximate, tied to the stated example, not as a universal table. The practical lesson is the same either way: distance estimation matters more than scope magnification, and a 5 yard error at 40 yards can miss the vitals. Range every lane before the hunt, and carry a rangefinder.
Rain and blood trails
Light rain is huntable. Heavy rain erases blood trails and makes tracking harder, and it argues for marking the trail well and tracking sooner but more carefully, as covered in the tracking section. Keep the bow dry, keep the string waxed, and protect your optics. A wet scope lens at last light is a missed shot you will not get back.
Cold, clothing, and movement
Cold hands, gloves, and heavy clothing change your shooting position, so practise in the clothes you will hunt in. Keep your hands warm enough to work the safety and the trigger cleanly, and keep your movements slow. Deer see movement more than colour, so sit still, move slowly, and keep the bow ready but never pointed at anything you do not intend to shoot. Scent control matters more for crossbow hunters than for rifle hunters, because the shot is closer. Approach from downwind, use elimination spray and cover scent as a supplement, and never as a substitute for wind.
Common Beginner Mistakes
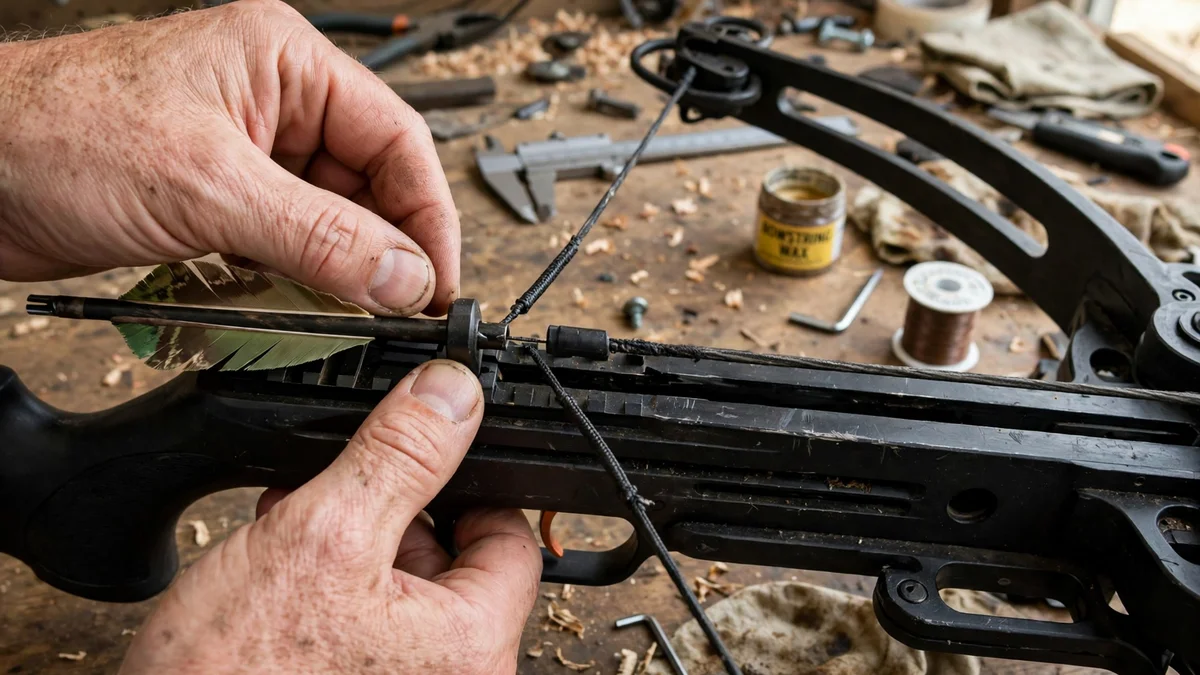
| Mistake | Why it hurts | Fix |
|---|---|---|
| Shooting beyond your proven range | Bolt drop, wind, and deer reaction turn a good group into a gut shot | Paper plate test, minus 5 yards, and a hard cap for the first season |
| Never verifying broadheads | Fixed and mechanical heads fly differently from field points | 3 shot group with hunting heads at 20 and 30 yards before the season |
| Uneven cocking by hand | Shifts point of impact by several inches, can derail the string | Use a rope cocker or crank every time |
| Fingers over the rail | String can amputate or crush fingers | Thumb and fingers curled under the fore-end, every shot |
| Dry firing or a partial dry fire | Destroys limbs, voids warranty, can injure the shooter | Never fire without a bolt, seat the nock firmly, use a discharge bolt to unload |
| No rangefinder, guessing distance | A 5 yard error at 40 yards can miss the vitals | Range every lane before the hunt, carry a rangefinder |
| Tracking too soon | Pushes a wounded deer further and thins the blood trail | Wait the time in the tracking table, longer when unsure |
| Hunting from an uninspected stand, no harness | Falls are the leading cause of hunting injury | Full body harness from the ground up, inspect the stand, use a lifeline |
| Skipping hunter education or the tag | Illegal hunt, fine, loss of licence | Course, licence, and tag before the first hunt |
| Practising only from a bench | Bench groups do not transfer to a stand or blind | Practise sitting, kneeling, and from height, in hunting clothes |
Every mistake in that table is one I have seen, or one I have made in some form, and every one of them is fixable before opening day. The pattern is the same in each row: a shortcut on the range becomes a problem in the field. Do the unglamorous work early, and the hunt itself gets simpler.
Frequently Asked Questions
Do I need a licence to hunt with a crossbow?
Yes, in nearly every state. You need a hunting licence and a tag for the species you plan to hunt, and nearly every state requires a hunter education course first. Buy the licence and tag before your first hunt, and check your state wildlife agency for the exact requirements, because they vary by state and by resident or nonresident status.
What draw weight should a beginner use for deer?
Check your state minimum first, most commonly 125 lb for crossbows. A commonly quoted beginner sweet spot is 150 to 175 lb, but cocking effort matters more than the raw number. Pick a bow you can cock the same way every time with a rope cocker or a crank, and make sure it clears your state minimum. Illinois has a 125 lb minimum and no maximum. Do not chase the highest draw weight you can find.
How far can I ethically shoot a deer with a crossbow?
There is no settled number. Sources give 30 yards, 30 to 40 yards, 40 yards, 40 to 50 yards, and 50 to 60 yards. Set your own limit with the paper plate test: walk back until you cannot put three bolts in a paper plate, then subtract 5 yards. For a first season, cap that range at 40 yards, and at 30 yards if you have not proven 40 yards on the range. Your ethical range is the shortest of your accuracy limit, your bolt energy limit, and the distance beyond which the animal can react before the bolt arrives.
How do I sight in a crossbow, and at what distance?
Start at 10 yards, zero at 20 yards, and confirm at 30, 40, and 50 yards, with 3 shot groups at each distance. A good group at 20 yards from a rest is about 2 inches or better, and that is your pass mark. Then verify with your actual hunting broadheads at 20 and 30 yards, and practise in hunting conditions, sitting, kneeling, and from height, in the clothes you will hunt in.
Should I use fixed blade or mechanical broadheads for my first season?
Choose a fixed blade broadhead as the default for a first season. Fixed heads are simpler and tougher, and they do not depend on a mechanism opening on impact. Mechanical heads often fly closer to field points and give a larger cutting diameter, but they must be tested for deployment. Whichever type you choose, shoot at least one 3 shot group with your actual hunting broadheads at 20 and 30 yards before the season, and do not hunt with a broadhead you have not shot.
How long should I wait before tracking a deer I shot?
It depends on the hit. For a clear heart or double lung hit, wait 30 to 60 minutes. For a single lung hit, wait 45 to 60 minutes at minimum. For a liver hit, wait 4 to 9 hours. For a gut hit, wait 8 to 24 hours, or overnight. If you are unsure of the hit, wait at least 1 to 2 hours, then start slowly. When in doubt, wait longer, not shorter, unless warm weather makes spoilage a bigger risk than the wait.
Is a tree stand or a ground blind better for a beginner with a crossbow?
A ground blind is the better first choice for most beginners, because there is no fall risk, the setup is forgiving, and it works well for turkey and for hunting with a youth or a new hunter. Pick a large hub style blind so you have room for the limbs, and use a chair without arms. Move to a stand once you are comfortable with the bow, the harness, and the hauling sequence, and once you have a trail or funnel that a stand covers better than a blind.
Can I hunt with a crossbow during archery season in my state?
It depends on your state, and the rules have changed recently in several states. New York expanded crossbow use to the full archery season beginning August 27, 2025, with a 100 lb minimum draw weight, but some western states still limit archery season crossbow use to hunters with a disability permit. Do not rely on a state count or a 50 state table. Check your state wildlife agency for the current rule before you plan a hunt.
What gear do I actually need to start, and what does it cost?
You need a bow with scope, quiver, and cocking device, at least 6 matched bolts, at least 3 hunting broadheads, field points, a discharge bolt, a crossbow rated target, a rangefinder, a case, a field dressing kit, and your licence and tag. A budget bow starts at about $330 for the Boss 405 or about $370 for the Whitetail Hunter II, a mid tier bow is about $800 for the Titan X, and a step up is about $1,850 for the R10X Pro. Budget for a target, practice broadheads, and a rangefinder on top of the bow.
Keep Learning
- Best Crossbows 2026: Tested Picks for Every Budget
- How to Choose a Crossbow: A Beginner’s Buying Guide
- Best Crossbow for Beginners: 5 Picks to Start Hunting Right
- How to Cock a Crossbow Safely: Rope and Crank Methods
- How to Sight In a Crossbow in 5 Steps
- Best Crossbow Scope 2026: What to Buy and Why